 This week I’ve been working on a video tutorial for ScreenCasts Online on the tool MarsEdit from red-sweater.com/…. MarsEdit is what I use for writing everything you see on podfeet.com. It’s a fabulous tool that makes blogging much easier. It’s beautifully designed and really capable.
One of the great things about doing tutorials is how much you’re forced to learn, even if it’s about an app you’ve been using for years. I’ve been finding some delicious nuggets I’d never noticed until I went through every option on every single menu.
It works with different blogging systems, but since WordPress is the dominant player and it’s what I use, I decided to demonstrate it with WordPress.
Setting up WordPress
When I embarked on this project, I had to figure out a way to demonstrate the tool without throwing up a bunch of glop blog posts on podfeet.com. I could have created another instance of WordPress on my site (I think), or I could have rented a server for $5-10 through a service like linode.com/….
I could have created a free account on wordpress.com/… which could have been fun.
 But there’s another easy and free method, and that’s to create an instance of WordPress right on my Mac. It would be free and would be independent of Internet access and speeds so it was a perfect solution.
To do this, you first install an application called MAMP from www.mamp.info/…, which is also free. This gives you an Apache web server, a MySQL database, and the php programming language, all on the Mac. That’s why it’s called MAMP.
That’s a quick step. Now it’s time to download and install WordPress inside this fancy new MAMP installation. If you start at wordpress.org/… (which is totally different from wordpress.com), you can download WordPress and do their “famous 5-minute installation”. This is not an exaggeration, in 5 minutes you’ve got WordPress installed and ready to go.
With MAMP, you have to “turn on” the servers, then it opens a web page with a link to your fancy new WordPress installation. You’ll notice that the url for your locally hosted website is called “localhost”. There’s no .com or .org or .co.uk, it’s just localhost. The full path to the WordPress installation is localhost:8888/wordpress where 8888 is the port number, but the important thing to note is the localhost part, which will be important much later in the story.
Teaching MarsEdit
At this point I was able to connect my fancy new localhost blog to MarsEdit and I got to work on the tutorial. All was glorious.
I did a lot of the tutorial while using HTML as the language to write the blog posts. So to put in a link I had glop like <a href=”blah.com”> and much much worse for the more complex things I was demonstrating. This is the language the web is built on. But for a lot of simple things, there’s a much cleaner and more human-readable language available to us. That language is called Markdown.

Instead of angle brackets and arcane commands like a href for a link, Markdown uses square brackets and round brackets that make the text readable and easier to see your mistakes. I think my favorite thing about Markdown is how much easier it is to make bulleted lists.
Enabling Markdown
In order to use Markdown in MarsEdit, you have to enable Markdown in WordPress. If you have a WordPress.com site (the free service where they build WordPress for you), there’s a simple switch to turn on Markdown. But if you build your own WordPress like I did, you need a plugin.
The easiest (in theory) plugin to use is called Jetpack. Inside WordPress you can install plugins directly. I did a search for Jetpack and hit the install button. I was surprised to see it pop up a button that asked for my FTP username and password. I had no idea why it would need that and what the heck my username and password would be.
FTP Rabbit Hole
I entered the IP address of the machine I was on and then tried my local login but when that didn’t work, I was stuck. I went to the googles and found articles explaining that macOS in the old days had a built-in FTP server, but if you needed one on the modern version of macOS you’d need to install it yourself.
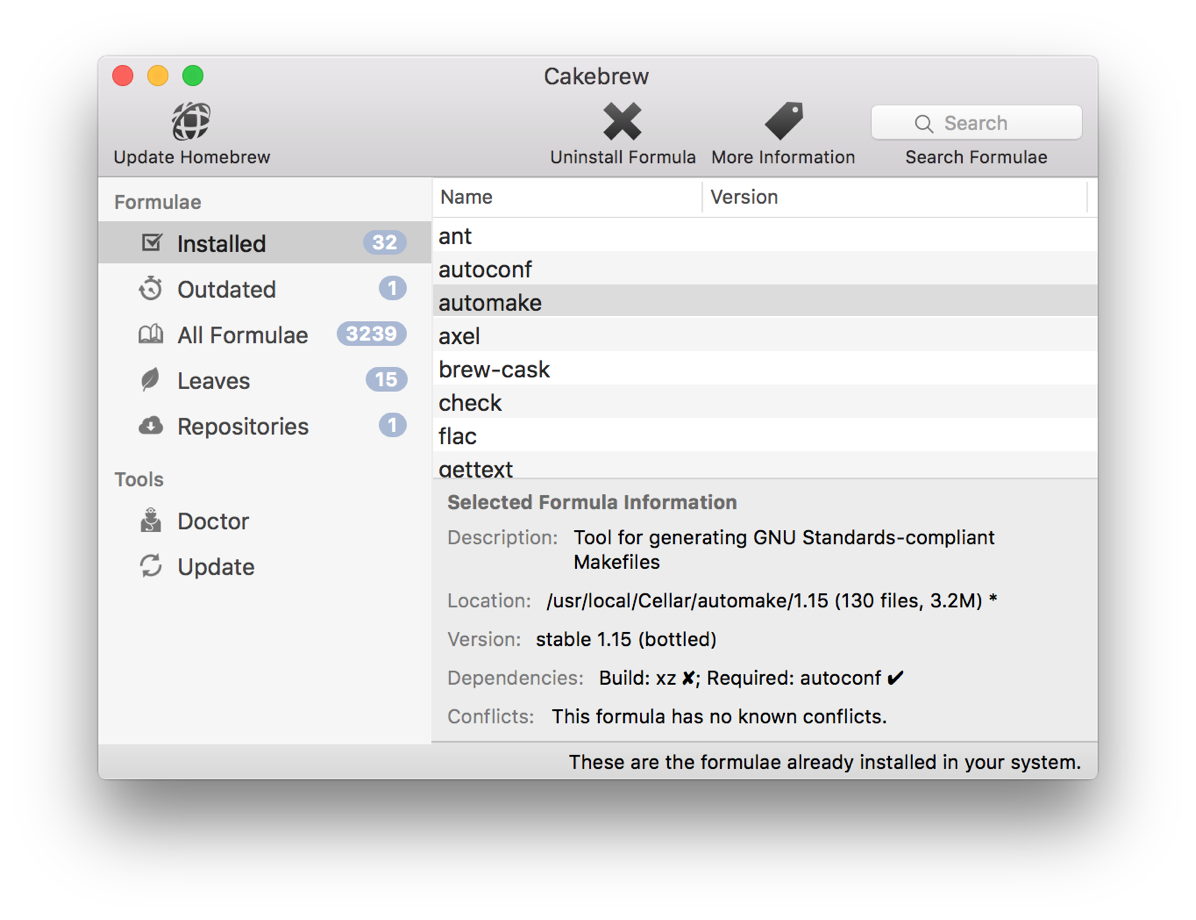
I found instructions on how to download and install inetutils on osxdaily.com/… via homebrew but it looked scary. I posted my question to our Slack group inside the Programming By Stealth channel where the loveliest nerds hang out.
Allister Jenks sent me the same osxdaily article on inetutils so I figured I’d just girl-up and install it. I ran the command to install and it spit the usual volume of glop on screen. Ok…that was fun, but do I now have an FTP server running? And if so, what’s my login name and password?
Back to Slack, and this time Troy Shimkus jumped into the conversation. I asked him if he had time for a screen share to help me and being the swell guy that he is, he agreed. We piddled about for a bit with what we saw on screen and during this I mentioned that I had no idea why I needed an FTP server running at all, just to install a darn plugin.
 Troy explained that to install a plugin via the web interface of WordPress, the plugin had to be FTPd to my server, in this case, my local Mac. Only when he explained that did I realize that I don’t have to install the plugin this way. You see, you can go to the plugin’s web page at WordPress.org, and download the plugin directly (plugins are just a folder of text files), and then slide that bad boy into the plugins directory on my Mac. Boom, done!
A quick trip to Cakebrew (a GUI interface to homebrew) to uninstall inetutils and I was ready to go. I thanked Troy and we signed off.
URL Rabbit Hole
Now I’ve got Jetpack installed into WordPress (after a half a day of faffing about), time to activate it. I hit the activate button and I get an error telling me that I can’t use most of the tools in Jetpack (including turning on Markdown) because I don’t have a dot in my URL! Well of course I don’t, because my URL is localhost.
Now I have a whole new rabbit hole to go down. I found several sites offering the steps to fix this problem. The one at drupalden.co.uk/… is probably the most well explained. But here’s all I would have to do:
- Open a file called httpd.conf inside my MAMP folder
- Set the document root folder
- Change the default port from 8888 to 80
- Add a VirtualHost entry to my httpd-vhosts.conf file to add a new URL, like www.mysite.com
- Edit my system level hosts file
Easy peasy, right? I’m starting to not care so much about demonstrating Markdown. I thought, maybe there’s another plugin that isn’t so strict about this whole having a dot in your URL name.

I found WP-Markdown which hasn’t been updated for a year and hasn’t been tested on the latest version of WordPress (version 5) but since this isn’t a real website on the Internet subject to attack vectors, I took a chance. And I lucked out.
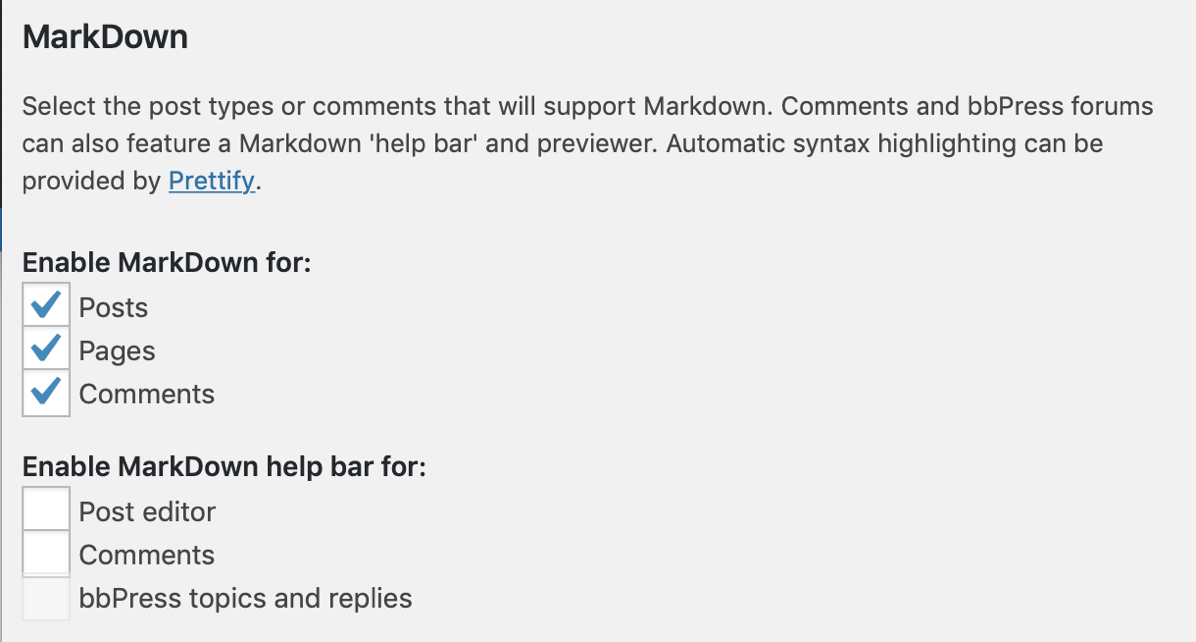
Now in WordPress I can see under Settings, Writing, the option to enable Markdown for Posts, Pages and Comments. Whoopee!
Back to Teaching MarsEdit
Now it was time to get back to teaching MarsEdit and to demonstrate how efficient you can be using Markdown. And no, the irony wasn’t lost on me that I’d spent over 8 hours chasing down how to get Markdown to work on localhost blog just to show how efficient Markdown is.
Normally I have a bottom line that gives a life lesson, or declares something good or bad, but this time it seems to just be a story about learning and tools and how helpful the NosillaCastaways are, especially in our Slack. You are a member of our Slack, right? It’s easy to join, just go to podfeet.com/slack and sign up.
