At the end of 2019 I took up woodworking. It is something I’ve always been interested in doing, and now that I’m retired I have time to explore such things. I watched several YouTube videos of people teaching how to make things (they are called “makers”). I learned lots of tidbits and techniques on how to use woodworking tools to build all sorts of things.
After stumbling around and making a few items that were really simple I got the hang of it and wanted to tackle something more complex. I noticed that all the people on YouTube that we’re doing complex builds were planning it out first using a 3-D modeling program called SketchUp from www.sketchup.com.
I had tried other 3D programs before and found them to be cumbersome, difficult to master, and not providing a lot of benefit for all the hard work required to learn them. So as a result I avoided learning SketchUp. Then things changed in the world, and I found I had much more time on my hands, so I thought why not learn something while I’m stuck inside. One of my favorite “makers” on youtube is a young woman from Texas, April Wilkerson at wilkerdos.com . She has a two part tutorial on SketchUp that makes it pretty simple to learn. I’ll ask Allison to put a link to the tutorials in the blog post.
Tutorial 1: https://youtu.be/rjSE28T3u78
Tutorial 2: https://youtu.be/vNf_YiBC_g0
I found SketchUp to be quite easy to use if you just first master the fundamentals in the tutorial. First off you really need a three button scroll mouse to use the tool. I tried it with a track pad and it results in utter frustration. The basic way that you create 3D objects in SketchUp is to first create a 2D shape and then extend it in the third dimension. All mouse actions are a click and release to start creating the object then move the mouse and click to finish. This is very counter-intuitive, since most of us have been taught since birth to click and drag. I still find myself doing that now and then when I use the tool.
In the bottom right corner of the screen is an area where dimensions are shown. This is where you can set the size of your objects, but you must do that before you start to draw another object. So as an example, if I want to draw a rectangle that is 24″ by 36,” I would select the rectangle tool and click and release at the starting point where I want the rectangle to begin. Then I move the mouse in the direction that I want the rectangle to grow and, at this point, I can click a second time to finish the rectangle or not, it doesn’t matter.
Before starting another rectangle though, I type 24, 36 on the keyboard and hit return. There is no need to click in the dimensions box on the screen first. If I change my mind and want it 36″ by 24″ because I can’t tell my X from my Y, I just type 36, 24 and hit return again and the size changes. You can keep changing the size until you start another rectangle.
Once you have the rectangle the size you want, you can add the third dimension. You select the rectangle by clicking on it and, using the “push/pull” tool, click in the center of the rectangle and move the mouse up or down to make it 3D. As with the 2D rectangle, you can set the size of the third dimension by typing it and hitting return.

Once you make the three dimensional object, each piece of it is individual. The sides, the lines that make up the edges, etc. So if you try to move the shape you’ll likely pull the shape apart. I’ve done this more times than I can count; just remember undo is your friend. To avoid this from happening, you select the whole shape by triple clicking it and then right click and select “Make component”. This puts a “bubble” around it making it act as a single object. You can then triple click it again at any time should you need to edit the shape further. By the way, to switch to the select tool quickly, just hit the space bar.
Using the move tool, you can move the shape to another location, and if you hold down the option key while you move the object it creates a duplicate and leaves the original where it is. The duplicate is a related component to the original. That means that if you edit the original, like make it bigger, the duplicate will get the same changes simultaneously. If you don’t want that to happen, you can right click on the duplicate and select “Make unique”.
To move around the workspace you can orbit, pan, and zoom. This is done with the scroll wheel button. Scrolling the wheel zooms in and out, clicking the wheel and moving the mouse will orbit your perspective around the point where the mouse is located. To pan, you do the same as an orbit but hold down the shift key as well. Once you do it a few times it becomes intuitive.
SketchUp’s power lies in the ability to precisely reference your objects. As you draw shapes they will naturally snap to be parallel to one of the three axis. And when you move an object to be next to another, you can grab the corner of the object and snap it to the corner of the other object making everything line up perfectly. You can also use the tape measure tool to create guide lines that you can use to precisely locate objects. It is hard to describe just how useful this is, but if you watch the tutorials you’ll get it.
SketchUp is free to use if you use the web based version and don’t need to store more that 10 GB on their cloud. If you want unlimited storage with the web based version it will run you $119/year. And if you prefer the desktop app they have SketchUp Pro for $299/year. So far the web based free version is just fine for me.
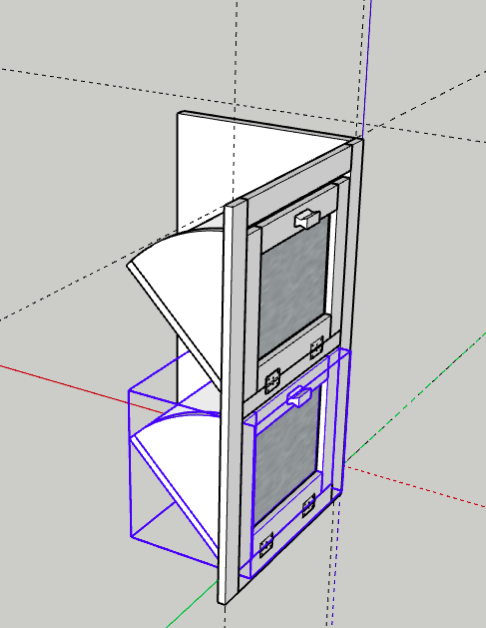
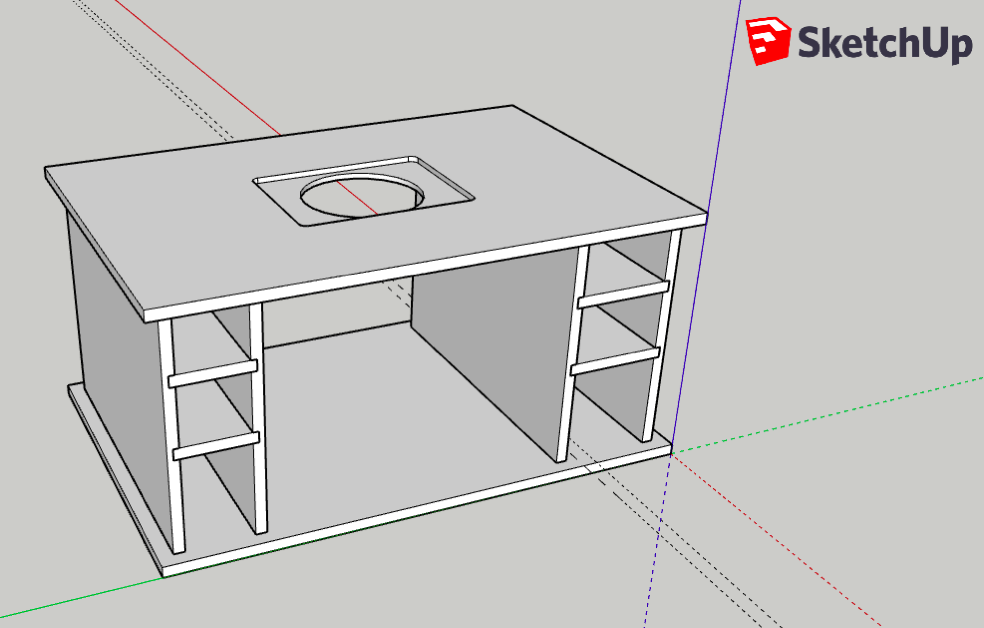
I have made a couple of fairly complex designs with SketchUp and it didn’t take me very long at all. As for how it helps, I have discovered several times where my pieces wouldn’t fit together and I didn’t waste any wood finding out. I would recommend SketchUp for anyone who needs to do 3D modeling, but make sure you watch the tutorials first. That’s it for now, time to head back to the shop.

