In episode 799 Allison told us how to install HOOBS (Homebridge Out-Of-the Box) onto a Synology. HOOBS was the Homebridge interface that allows non-HomeKit compatible IOT devices to show up in your Home app via this interface. She also mentioned that it could be done on a Raspberry pi and worked with Pat Dangler and it ended up being a lot of terminal commands.
Well, thanks to Bart, Allison, and Helma and my copy of the Taming The Terminal e-book I am not afraid of the terminal app anymore, so I wanted to give it a try.
I decided, instead of using HOOBS, to go to Homebridge.io and download it directly from there and see how difficult that was. After going to Homebridge.io I scrolled down the page a ways and found how to install Homebridge on a Raspberry pi. There’s a download link but right below that, there’s a “getting started” link. That’s where you want to click.
That gives you step-by-step instructions on how to install Homebridge on a Raspberry pi. It’s actually quite easy and I feel disappointed I didn’t actually crack open the terminal once. So I’m not sure exactly what Allison and Pat were doing and I’ll have to ask her about that later but I found this to be a very easy solution.

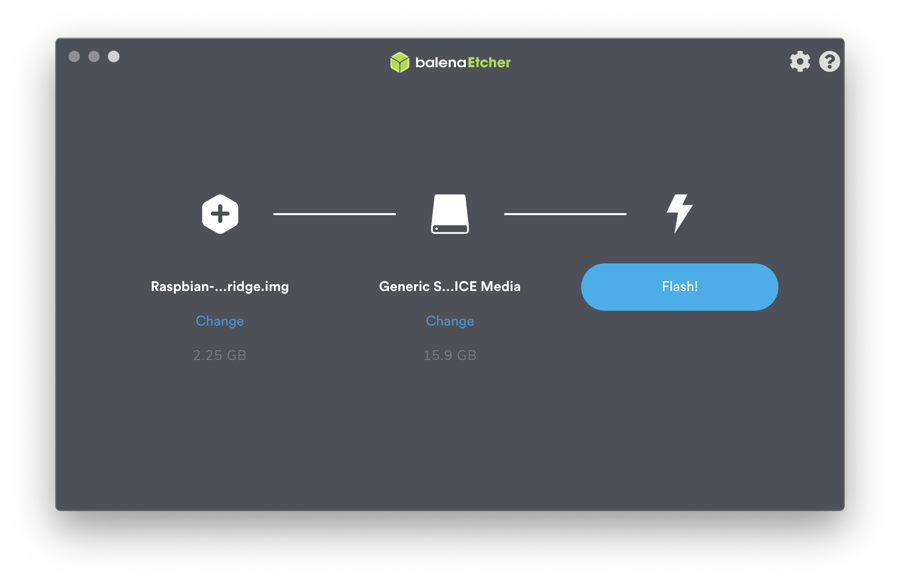
What you do is you click on the link for the latest version of Homebridge to install on the Raspberry pi, it’s on and getting started page. Once it’s downloaded then you download the app Etcher which does the job of flashing the Raspberry pi image to an SD card. It’s pretty straightforward. It’s a simple app and it was quite easy to use.
The link to get the Etcher app is on the same page as the instructions. So once that was downloaded I flashed the mini SD card with the Raspberry pi Homebridge image, removed the SD card, plugged it in my Raspberry pi. I plugged that into power and turned it on. Now you can connect via Wi-Fi but I found that to be a little bit problematic sometimes so I used a direct-connect via Ethernet. I connected it to my network switch.
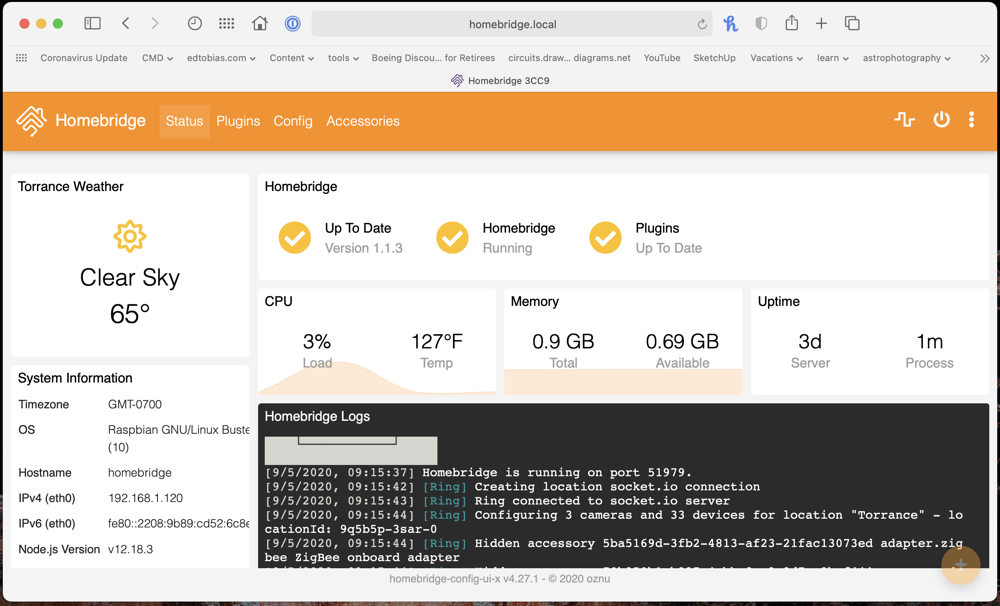
There is no need to bother hooking up a keyboard or monitor the Raspberry pi because it just hooks up directly to ethernet and then you connect via the web. Once powered up you simply go to a browser on your laptop and you type in the local link for the Homebridge app which they give you in the instructions.
Once there you can log in with the admin password which to start off with his admin for the username and admin for the password, which I recommend you change later, and then you got your full user interface which is quite easy to see. At the Homebridge interface, you click on the tab that says plug-ins and you can add all the plug-ins you want.

Like Allison I have a plethora of Wyze products throughout my house including four Wyze cams, one of them being a pan-cam. Unlike Allison though, I did want to take the chance and try the Real Time Streaming Protocol to add to Homebridge using the camera FFmpeg plug-in. So what I did was I took two of my Wyze cams and I took out the SD card and saved it, tucked it away nice and safe so I could go back to the original firmware if I needed to, or wanted to. And I took some new SD cards and flashed the Real Time Streaming Protocol firmware from Wyze onto those. It’s a really easy process and there is a link that I can provide in the show notes that goes directly to the Wyze support page which tells you exactly how to do it.
It’s not a problem at all. Once you flash the firmware to the SD card install it in your Wyze cam then you go back to your Wyze app and you open up that camera, you go to the little gear icon in the upper-right corner of that page and go to advanced settings. In advanced settings, you’ll find at the very bottom of the page of advanced settings another button called RTSP.
So you click on that and that takes you to the RTSP section of the camera now that you have the new firmware in there. In the RTSP page you have to enter a username and a password which is used to build a URL that will allow the camera FFmpeg plug-in to access the camera. So you pick a username and password and you click generate URL and you click the button that says copy.
After generating the URL in the Wyze app it’s always a good idea to check it out and see if it works. Make sure that the firmware got on the SD card OK and your Wyze cam is working OK. So one easy way to do that is to take that URL and plug it into a viewing app. I use video LAN Client, VLC. It’s easy to find I think it’s on the App Store. If not you can find it on the Internet quite easily.
In the Video LAN Client app under the file menu, just click on “open network”. That brings up a window that allows you to plug in the URL. You just paste in the URL that you copied from the Wyze app, hit the return, and it should bring up another window showing the output of your Wyze camera.
With that done this time to set up Homebridge. Go to the Homebridge page using your browser and click on “Plug-ins”. You can search for “camera FFmpeg” and do the install on camera FFmpeg.
Once the install is complete, click on the button that says settings and that will bring up a page where you can put in the information like the name of the camera that you want and then also the URL. Before you paste in the URL from the Wyze app into that field, you need to add a “-i ” before that. It says that in the page just to make sure you do that because otherwise, it won’t work.
Do that and then paste in the URL you copied from the Wyze app and click on “enable audio” because it allows you to then listen to the audio from the camera. And then hit save. Once you hit save you’re back at the Homebridge main UI page and you click on the power button in the upper right corner to reboot the Homebridge server and then that’s it. Now you should be able to go to your Home app in your phone open it up and you should be able to see the Wyze cam streaming into your Home app and that’s it.
All in all, I like the Homebridge installation on the Raspberry pi. It was very easy to do, it really didn’t take me long at all, perhaps 10 minutes just to do the flashing on the card and plugging it in. After that was just hooking up of the Wyze cams and that also didn’t take very long at all so give it a try I hope you like it.


Yep! Worked perfect!
I tried to check it before rebooting Homebridge…
Duh.. always reboot Homebridge after adding stuff!