In October I had a gentleman named Darcy Hegarty on Chit Chat Across the Pond to talk about the process he uses to create video screencasts for the video tutorial podcast ScreenCastsOnline. I wanted to talk to him about this because he created a process that is vastly different from how I do it for ScreenCastsOnline. For my last few tutorials, I’ve followed the Darcy Method and I have some observations about how I’m actually liking it better than my own process.
Before I can explain why I like his method better, I need to explain the differences in our workflows. I’ll start with mine.
The Allison Method

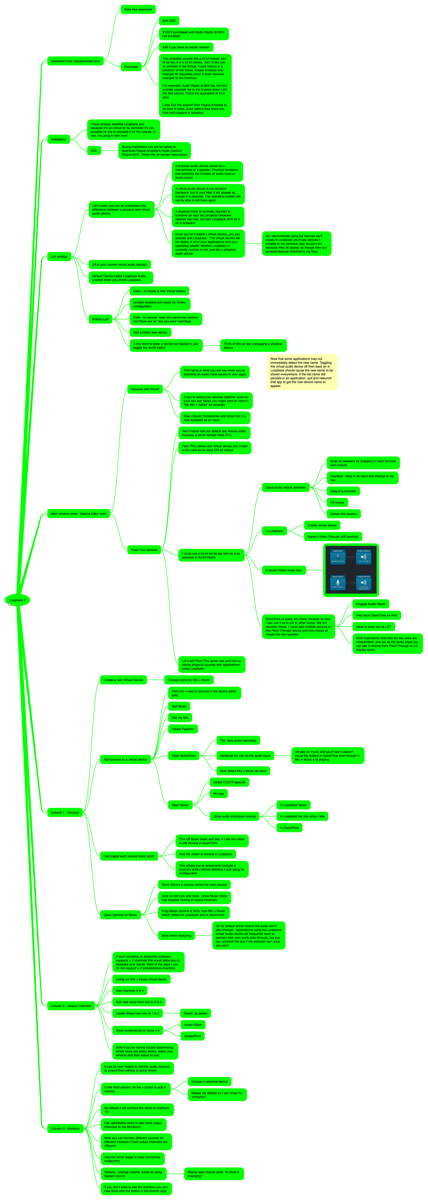
For at least a week or before I start recording, I test every feature of the software I’m going to teach. As I poke all the buttons, I keep a mind map open in the awesome iThoughts software. I throw concepts onto the mind map with brief explanations of each one. As I start to get a mess of nodes, I start to organize them into a story.
For example, I might decide to teach an entire tool, and then march through its settings at the end, or the tool might be better explained by jumping in and out of settings as the need arises in the use of a tool.
When I’m done working out the story I want to tell I make sure to flesh out any details I didn’t already understand. I write a bit of the intro and then I start the recording.
We use ScreenFlow as our recording, editing, and producing software for Mac apps, but iOS apps are actually more reliably recorded using QuickTime. ScreenFlow can record iOS devices but as a collective, the ScreenCastsOnline tutors have found it can be a bit hit or miss. So for iOS, we record in QuickTime, import the file into ScreenFlow, separate the audio track from the video track and then go to town editing.
I’ll describe the process for macOS as it’s easier to explain the Darcy Method differences if I stick to one platform. I also need to explain the geometry of how I work because it highlights some of the advantages of the Darcy method.
My Physical Setup
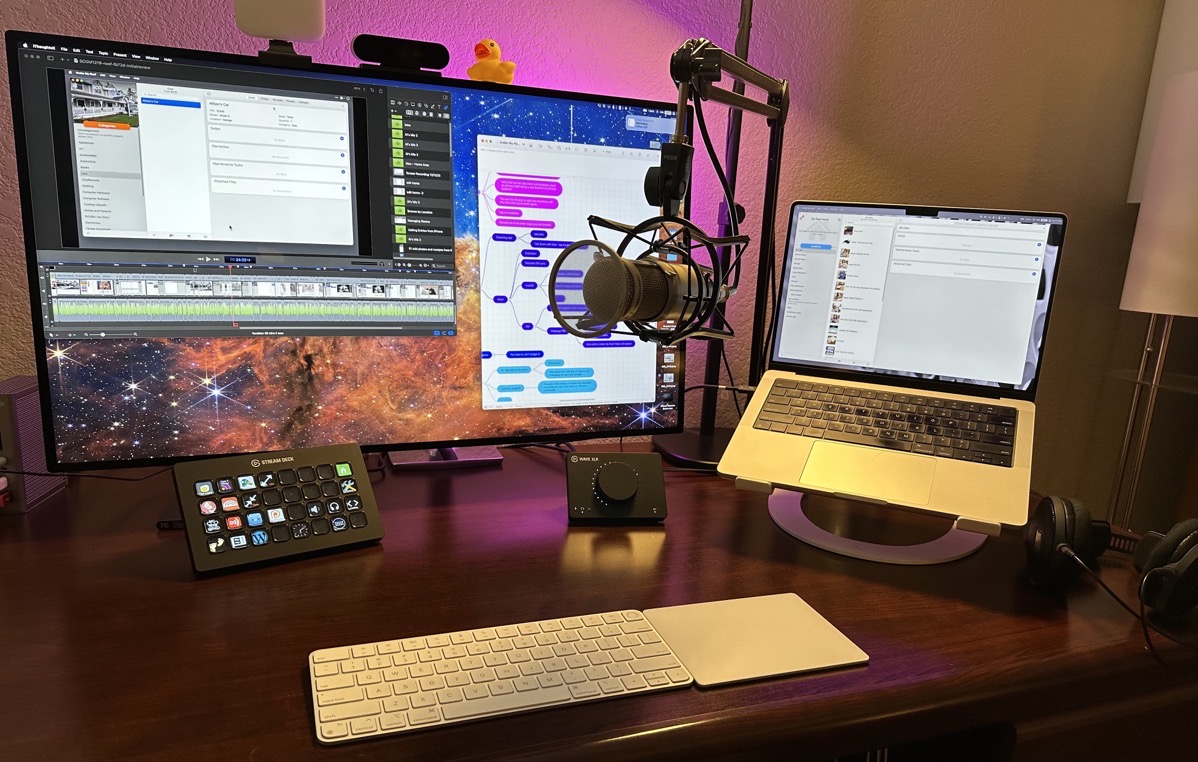
I have a 14” MacBook Pro on a TwelveSouth Curve stand diagonally to my right, with a Pro Display XDR display directly in front of me. My microphone is on a boom arm that comes down diagonally between them.
When I’m recording, I set the MacBook Pro as the primary display and I rotate the microphone so I’m speaking into it at the correct angle. It’s not the most ergonomic positioning, but since I do the editing on the big display, I’m switching back and forth often enough that I don’t get a crook in my neck.

On the big display, I’ve got ScreenFlow taking up the left two-thirds of the screen, and the right third is the mind map. I look at the mind map for a very small section of what I want to demonstrate, maybe practice it once on the app, and then I hit record for both audio from my mic and video from the Mac’s internal display.
I can usually only do maybe 3 minutes max before I have to stop. ScreenFlow asks to import the clip and name it on import, and I need to choose whether to drop it in immediately or to drag it into the timeline manually.
You might think it would be good to jump back in and start recording to stay in the flow, but I tend to edit the short clip right away, especially when doing Mac recordings. If I record too much, it’s not uncommon for the screens to change significantly so going back and doing a rerecord of a small piece if I find a mistake is impossible. I pride myself on the fewest number of page curl transitions to cover up moving items on the screen.
This means that the process is to review the mind map, record a couple of minutes, edit a couple of minutes, review the mind map, record a couple of minutes, edit a couple of minutes, and on and on.
Every time I stop between these steps is an opportunity for my procrastinator’s brain to think, “Hey, I really should go empty the dishwasher” or “Hey, I need a snack” or “Hey, I should take Tesla for a walk”. Once I step away from recording it’s really hard to get back into it again.
Audio Effect of My Process
I use the Elgato Wave XLR USB interface so I can plug my big-girl mic into my Mac. With my previous USB interface, I would get lots of pops and clicks because it was too slow. That meant constant voice-over recordings were required during the editing process.
While the Wave does a much better job, I do still get the occasional pop or click. I also get road or airplane noise that I didn’t notice while recording, so those require a voice-over recording as well.
I bring up the voice-over problem because the layout of my desk setup affects what you hear. As I mentioned, the mic is on a boom arm between the big screen and the laptop. I record video and audio looking at the laptop screen with the mic slightly to my left, but when I’m editing it’s on the big screen and the mic is now to my right.
I try to position it the same distance and angle as I flip back and forth, but it’s not uncommon for me to get it wrong and a voice-over bit will sound very obviously dubbed in.
Overall the process I follow is tedious, gives me opportunities to walk away and procrastinate, and is hard to keep in the flow.
The Darcy Method
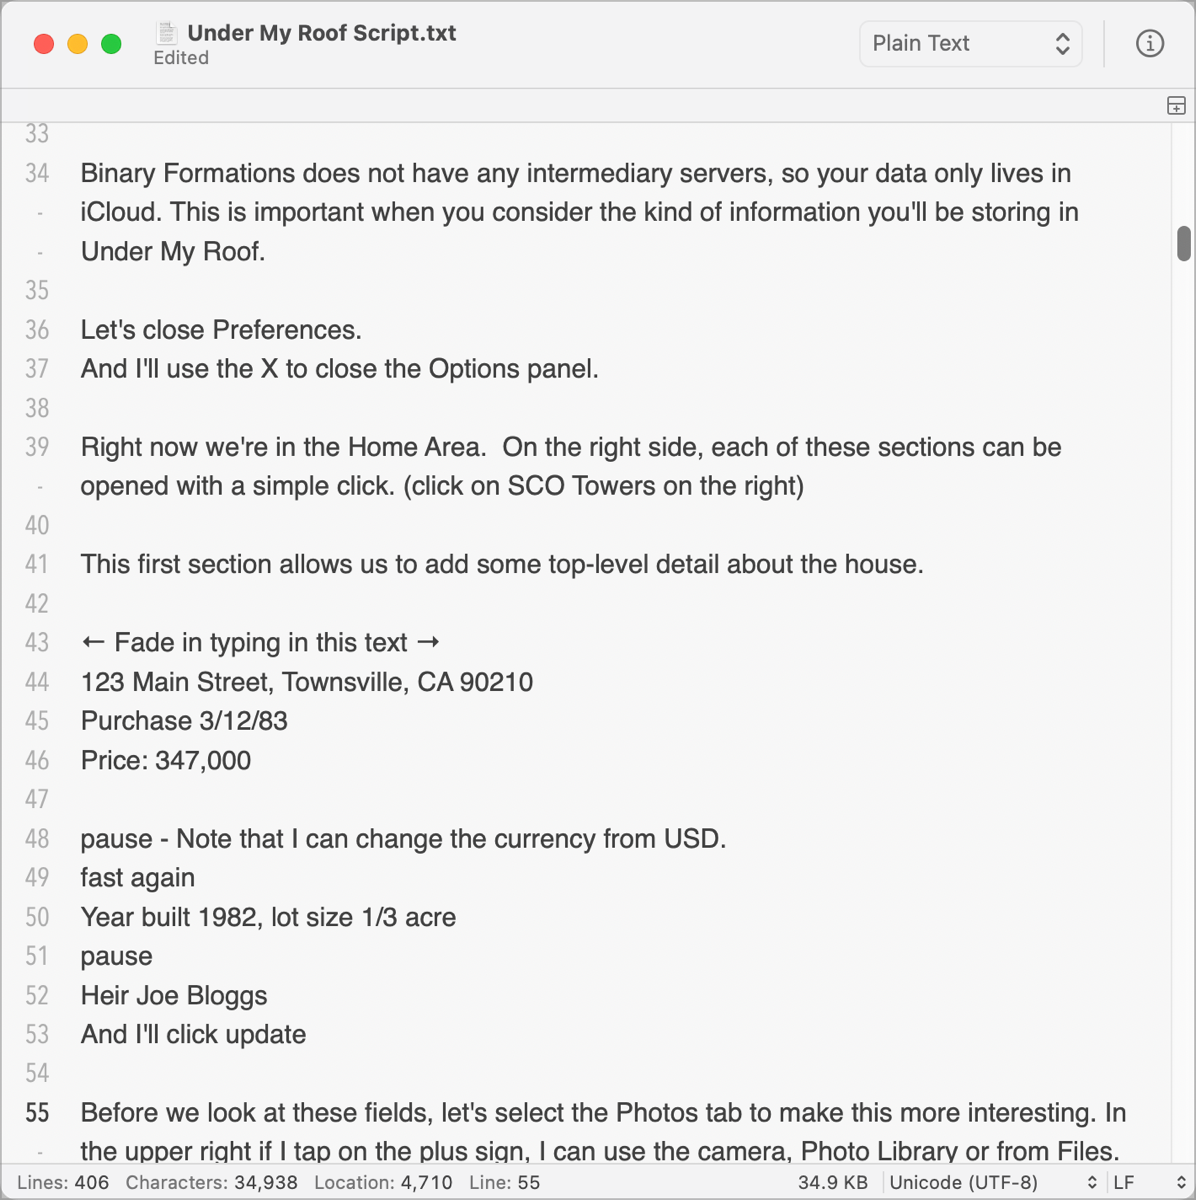
Darcy’s method is much different. I’m not sure how he gathers his original ideas of how to tell the story, but he writes out an entire script for the full tutorial video. Sounds like something I could do, right?
He starts by recording a scratch version of the audio. Then while listening to that scratch audio, he records the video without talking. After he’s got the video recorded, he goes back in and records a good version of the audio to match the video.
The Modified Darcy Method
For my tutorials on TouchRetouch and Under My Roof, I used what I’ll call the Modified Darcy Method. Or maybe The Darcy Method with a Podfeet Twist.
The TouchRetouch tutorial was 90% iOS-based, while the Under My Roof tutorial was 90% on the Mac. I think the benefits of the Darcy Method are more evident in recording on the Mac and I’ll elaborate on why.
When I created the Under My Roof tutorial, I still started by creating a mind map, but I found that I didn’t flesh it out nearly as much as I normally do. Part of that might be that I know the tool really well already, but I found that I wanted to start writing the script very early in the process.
I also found that I couldn’t stand to wait until I had the entire script written before starting to record. I normally delay recording till the last possible moment because it’s so darn hard to do, so this was a good sign. I wanted to practice the new method, and recording audio from a script is a very easy lift for me so I got started pretty quickly.
Benefit – I start recording sooner because it’s easier.
I wrote about 10 minutes’ worth of script with a reasonable stopping point, and then used ScreenFlow to record the audio in one cut. I’m not saying I didn’t make any mistakes, but I didn’t stop and start like I do when recording audio and video at the same time.
Since I was only recording audio, and the script was on my big display, my mic was on my right side. When i stopped and edited out the few mistakes, and did any voice-overs, my mic placement was identical so it did not sound like a bad dub.
In the Allison method, when doing a voice-over, I had to listen to what I had tried to say, memorize it, and then re-record. My skills at memorization aren’t great, so I’d clip out the bare minimum, which was often a small segment of a sentence. It was hard to get the intonation to match with the rest of the sentence. Since with the Darcy method I have a script, I can re-record a much longer segment so the cadence and intonation sounds the same.
Benefit — Voice-overs sound just like the original.
I’m calling my new method the Modified Darcy Method because of how he does the audio. He records a scratch version of audio, then records the video, then records a final version of the audio. I’m not sure how he reads a script for the final audio and watches the video at the same time to ensure he says things at the same time. My method was to do a good audio take and then record the video. There are some challenges to my process which might explain why he does two audio takes, but I’ll get to them in a moment.
When I first started on this new method, I simply read through my script in a normal cadence. But when I went to record the video, I realized I hadn’t left myself nearly enough time to execute some of the steps. It’s not difficult to cut the audio and add a pause after the fact, but it does make it hard to record the video when the audio has already moved on.
As I created the later segments of the script, I learned to type in intentional pauses so I’d remember to give myself a little bit of time in the appropriate places while recording the video.

It’s hard to actually start recording the video because you have to ask ScreenFlow to do two things at the same time. You have to tell it to play back the audio recording, but also start a video recording session. It’s up to the task, but timing is tricky. I have to back up the scrubber by a few minutes, hit play, then invoke the video recording, wait for it to let me start, and then sit there and wait until the audio catches up to where I need to be.
If I’m having timing trouble, I can stop the audio in ScreenFlow, finish a step and go back to ScreenFlow and restart, but that adds some editing steps. When you flip to ScreenFlow, even though it’s on a different screen, the menu bar will change on the main screen and that just won’t do.
After I learned to put in pauses, I found I could catch up in doing the steps on the video without much trouble. Then after recording the video and dropping it in, I could fix any timing problems by putting in freeze frames in the video. It’s super easy in ScreenFlow. You click in the timeline, grab the scrubber and pull the video apart. Then you put the scrubber back at the cut point and hit command-shift-F to add a one-second freeze frame. Easy to stretch and shrink to match the audio.
If the audio needed a pause to wait for the video, I wouldn’t necessarily make dead air while I completed the steps. In ScreenFlow, you can cut a video clip, hold down the option key, and stretch or shrink the video to slow it down or speed it up. It’s a really great tool to know because it makes your tutorials far less boring. We use it all the time when a step requires typing in text. Nobody wants to watch you painstakingly peck out a sentence, so we speed it up and drop it under the audio where we say what we’re doing.
Downside — Getting the timing right on reading the script is a bit tricky
While getting the timing just right on the audio for the script when not recording the video simultaneously is challenging, that downside is far outweighed by how much easier it is to do one thing at a time! As humans, we’re convinced that we can multitask, but it’s been proven in many tests that we really aren’t multi-tasking, we’re rapidly task-switching.
Even though I repeatedly practice the steps I’m going to demonstrate in a video screencast, it’s really hard to remember what I wanted to say at the same time I’m executing the task. You should see how many takes and retakes I do for the shortest, simplest tasks. It’s not uncommon for me to have to edit a segment that ends up only 2 minutes long but has 8 minutes of fumbles either in what I say or what I do on screen!
Benefit Recording only one thing at a time is way easier
Because recording audio and video at the same time is so difficult, it’s stressful and becomes exhausting. I found that with the two separate tasks, I simply enjoyed myself ever so much more. I should add one caveat to this though. Both of the applications on which I tested the new process were very well-behaved. I didn’t run into glitches or unexpected results. Under My Roof in particular is a rock-solid application, and one I know really well, so that definitely helped make creating the tutorial more enjoyable.
On the timing of the video and audio recordings with respect to each other, there’s one thing I need to work on. J.F. Brissette is my editor for the ScreenCastsOnline videos and he said that my timing was such that I tended to start doing an action in the video slightly before I explained the step. It is much more natural to have the explanation come slightly in advance before starting to demonstrate a step.
J.F. was able to correct for this, but that’s a lot of rework that I can remove if I can get the timing right before sending it to him. I love that J.F. gives me (gentle) suggestions on improvement whenever possible because it really helps me to improve my craft.
The final benefit to the Modified Darcy Method is that when I’m done, I have a nearly perfect transcript of the entire tutorial. I’m convinced that this transcript could cut costs in creating the subtitles, but I haven’t convinced the ScreenCastsOnline team to suggest it to the company they use for transcription.
Whether they need it or not, there’s a big benefit to me. While there’s no substitute for a video tutorial to learn a tool, there’s still value in the blog posts I do that explain the capabilities of the software I enjoy using. With the transcripts, if I haven’t already told you about an app, I’ve got a nice framework from which to start. For example, I’ve done tutorials on Under My Roof and TouchRetouch, both of which have a lot of capability I’ve not yet told you about.
Thoughts on iOS Apps with the Darcy Method
I want to briefly circle back on the Darcy Method with iOS. I still like it for iOS but the benefits aren’t as great because it’s so much easier to demonstrate iOS apps for a video tutorial. The screens are much more predictable, so if I mess up the audio, I can just pause a heartbeat and rerecord and I’ll know that my cursor hasn’t moved to the wrong spot on the screen.
I think I’ll keep using the Darcy Method for iOS but the benefits just aren’t as big.
Bottom Line
The bottom line is that I’m really enjoying the Darcy Method and I plan to keep using it and refining it until I can call it my own.

