Back in the day, I was a huge fan of a company called Wyze which sold very inexpensive ($25) security cameras. They seemed to be unstoppable as they came out with pan cameras, outdoor cameras, then vacuums, and even scales.
But then a couple of years ago they confessed to having a security problem with their original Wyzecams that they’d known about for quite some time but never told anyone about because they couldn’t fix it. Instead of leaving it up to us whether we wanted to throw them away and buy something secure, they figured they just didn’t want us to worry our pretty little heads about it.
At the time, we had four indoor Wyzecams, only one of which had the security flaw, but I threw them all in the bin. We have four additional cameras that view the outdoors (two are outdoor cameras and two are indoors but point outdoors through windows) and we decided to keep those. I swapped out the indoor Wyzecams for cameras from eufy. eufy is owned by Anker, which is a Chinese company that may influence your decisions in this area. I’ll be providing a reason why this works for me.
We went along happily with a mixed-camera household for several more years. Wyzecams and Ring for outdoors, and eufy for indoors. Then in September, Wyze messed up again. Wyze provides a browser-based portal through which you can see the feeds from your camera. Unfortunately, they made some mistakes, and for a period of time, people were actually seeing other peoples’ webcams. It was bad enough that The Wirecutter officially removed them from their recommendation list and wrote a post about it.
I still wasn’t overly worried about this because as I said my Wyzecams don’t point indoors. However, both of my kids were using Wyzecams (on my recommendation) to monitor my grandchildren. Because I had suggested this great camera for only $25 apiece, I felt responsible, so I replaced all of their Wyzecams with eufy cams. My kids are security conscious, especially when it comes to their children so they were quite happy that I took this step for them.
And … 2 weeks later the eufy cams I had just bought for them went on a crazy good sale during Amazon Prime. While I was annoyed that it hadn’t occurred to me to wait for Prime Day to buy all of those cameras, I decided to take the opportunity to replace at least some of my remaining Wyzecams.
I chose eufy because they are HomeKit-compatible and I’ll get into what that means after I explain the models I chose.
eufy Camera Models are Confusing
The first thing to say about buying a eufy camera is that their model numbers are very confusing, and they’ve been known to change the model number of a camera while not changing the camera itself. My original eufy cams appear to be identical to my new ones but they have a different model number. The second thing to be cognizant of is that some of their cameras (mostly the outdoor wireless ones) need a hub. I find their explanations of the hub-based models to be very confusing so I’ve shied away from them. They may be awesome, but I can’t speak to them at all.
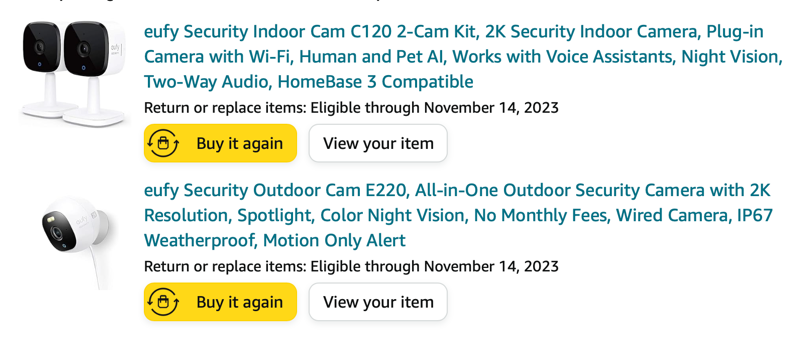
For my needs, I bought a pair of Eufy Security Indoor Cam C120 wired cameras for the standard price of $76, which makes them $38 apiece. Not really that much more than the insecure Wyzecams. These are small cubic cameras mounted on a pivot base so you can rotate them into any position you need. The software will accommodate being mounted upside down if that’s a requirement for you.
These two cameras will replace two cameras that as I mentioned, face outward but live indoors. One is mounted at the top of our front window and watches for people coming up to our front door.
The second indoor but looking outdoors camera is mounted very cleverly. It took Steve, Kyle, and me to get this working, but Steve wanted it to be stuck up against the glass of our garage door looking outward. When the garage is closed, it gives a nice wide-angle view of the driveway, and when the door is open, we can tell because we’re looking at the ceiling. The tricky bit was figuring out how to run the cable so it didn’t get tangled up as the garage opened and closed but with some clever mechanical engineering we got it working.
One caution if you try this method of buying indoor cameras to look outward. You need to disable the infrared light for night vision. Turns out that light reflects off the glass and makes it impossible to see outdoors at night. The advantage of using indoor cameras to look outdoors is you can buy cheaper, non-weatherproof cameras, and easily plug them into indoor power.
Because the Wyzecams were so inexpensive, Steve mounted a third one outdoors on the corner of the house also looking forward from our house. He snaked the power indoors beside the garage door and figured if it didn’t last outdoors, he was only out $25. As it turns out, it’s weathered our rainiest year ever. But it’s going in the bin anyway. I bought the eufy Security Outdoor Cam E220 to replace it. I bought the wired version so he’ll need to do the same snaking of the power cable into the garage.
Why eufy?
I said earlier that I would explain why I chose eufy to replace the Wyzecams. The main reason is that they’re reasonably priced cameras that are HomeKit-compatible. There are a few reasons why that’s important to me. My theory is that companies have to go through at least a wee bit of vetting in order to qualify to be inside HomeKit. Also when you move a camera into HomeKit, many of the controls for the cameras are removed from the vendor’s application and moved to HomeKit.
When you have a security camera, you’d really like to be able to retrieve footage from the camera if something unfortunate was to happen, such as a break-in. You can put an SD card into most cameras and hope the thief doesn’t steal the entire camera, or you can pay a fee to the camera company to provide you with cloud storage of your videos.
But there’s another way to store your streams in the cloud and it may not cost you any extra money. If you’re paying for iCloud+, you can use HomeKit Secure Video.
In December of 2022, Bart Busschots, in one of his Security Bits segments, outlined some real concerns about how eufy store its videos and also explained that using HomeKit Secure Video was the solution to protect your personal videos. This is why I’m okay with using cameras from a Chinese company.
Here’s a little blurb from an Apple support article about HomeKit Secure Video:
Record video: If you subscribe to iCloud+, you can view the last 10 days of activity from one to an unlimited number of cameras. The 50 GB iCloud+ plan supports a single camera, the 200 GB iCloud+ plan supports up to five cameras, and the 2 TB iCloud+ plan supports an unlimited number of cameras.
Note: Video content doesn’t count against your iCloud storage limit.
For the last year or so, we’ve had our four existing indoor eufy cameras in HomeKit and it’s been lovely. One of the coolest things I discovered recently is that you can view all of your Eufy cams on your Apple TV using the Home app. I feel like I’m running an official security service with this grid of cameras!
eufy Setup
Now that maybe you’re sold on this idea, I wanted to walk you through a little bit of the eufy cam setup process. I took screenshots of every single step, but to be perfectly honest, I don’t think you’ll need a lick of help.
You install the eufy Security app on your iPhone or iPad, click the plus button, and choose which kind of camera you have from the list – they even give you pictures so it’s not hard. Once you’re in the right device family, you’ll see pictures of the specific cameras and you choose the one you have. The C120 I purchased is a 2K (not 1080p) camera and that will become important later.
Add a new home name (or add to an existing home), and you’re ready to follow the step-by-step instructions. Plug it in, wait till the light turns blue, and then scan the QR code on the bottom of the camera. It took me a few tries to get the camera to recognize the wee tiny QR code but it eventually found it. Next, the onscreen instructions tell you to hold down the sync button on the back of the camera until it beeps, and again they give you a picture so you know which button to press. I love that.
The app will ask for access to Bluetooth to connect to the device, and then it will show you a list of the WiFi networks it found. It says quite clearly to please select a 2.4GHz Wi-Fi. Like many of us, I have a mesh network (Eero) and it’s a little tricky to get to just the 2.4GHz radio. Buried under troubleshooting in the Eero app, you’ll find a way to disable the 5GHz radio for 10 minutes. But I decided to test eufy to see if I really needed to do that, and I charged ahead with my combined WiFi radios. eufy came through like a champ and immediately connected to my WiFi after I gave it the password.
As soon as I connected it to my network, I heard Steve say, “Hello?”, but he wasn’t home. It was coming out of the camera! When the camera joined our network, he got a notification, tapped into the eufy app, and started watching me! Freaked me out a little bit but it was good to see it was working and he had fun freaking me out.
Once the camera is on your network, the eufy Security app will start to help you walk through some of the settings, like how you want to get notifications. It will also bellyache about the fact that you don’t have a microSD card installed and offer to sell you some cloud storage. I suggest that you just skip over these steps if you’re going to enable HomeKit Secure Video.
Enabling HomeKit Secure Video
Before you can put your cameras into HomeKit, you need to enable Home in iCloud. On your iOS device, open Settings, tap on your name and select iCloud. You’ll need to select “Show All” to reveal Home in the list, and then you can toggle it on.
I assumed that at this point I would need to do something in HomeKit to pull in the cameras, but it’s the other way around. eufy has to give the cameras to HomeKit. For a given camera, when you see the grid of them in the eufy app, tap once to see the gear, and go into settings. Under General, you’ll see HomeKit Portal and then Add Accessory. At this point, the eufy app will explain some of the downsides of moving the camera into HomeKit.
Remember I said these cameras were 2K? Turns out Apple only support 1080p for HomeKit cameras. I suspect it’s because of the size of higher-resolution videos since you’re not paying extra to share them in iCloud. But you’ll also lose more eufy features like on-device AI, sound detection, and pet commands. Those pet commands are kinda cool. You can point a camera at your living room, define the couch as a pet zone, and then if your dog jumps on the couch, the camera will automatically play back a recording you make of your voice saying “Down Spot!” But you don’t get to do that if you put your eufy cams in HomeKit.
You’ll also lose activity zones which are areas you define in the field of view where you want to monitor for movement. This is super helpful if you’ve got a tree that’s constantly moving in the wind. But don’t dismay about losing this feature, because HomeKit itself supports activity zones.
Before I enabled HomeKit Secure Video for my eufy cams, I had enabled video storage on my Synology using a capability built into the eufy software. Unfortunately, NAS storage is also disabled if you use HomeKit to manage your eufy cams. It’s a good tradeoff for me to have storage in the cloud, but if you’re using NAS storage it’s something to consider.
And finally, remember that we have the option of using a microSD card on the eufy cams? Yeah, HomeKit can’t access the SD card clips. It really does sound like Apple sandboxes cameras inside the walls of your HomeKit home. That’s comforting for me since again these cameras are from a Chinese-owned company.
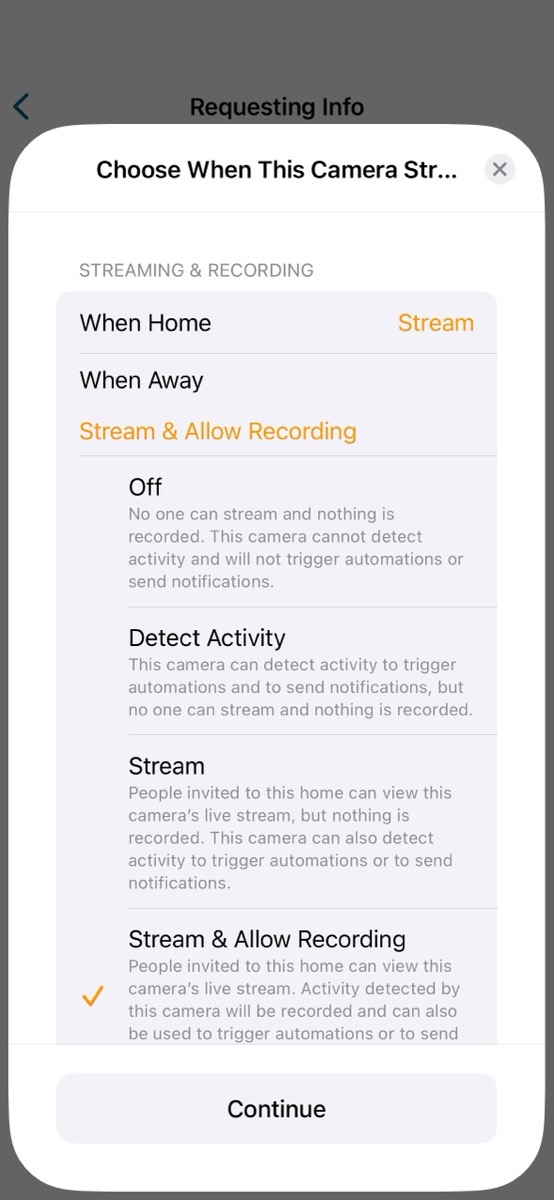
The rest of the steps are the normal ones to add a device to HomeKit, like naming the device, and telling HomeKit in which room you’re going to place the camera. As the eufy software did earlier, HomeKit will start asking you questions regarding under which conditions you’d like to have streaming and recording take place.
I like the granularity in HomeKit. You can set recording differently when you’re home vs. away since it knows where your phone is, and you can decide whether it’s when no one is home vs. just you who aren’t home. When you’re home, maybe you want to be able to stream on the fly, but you don’t want every little thing you do in your home recorded. When you’re away, you might want to stream and allow recording. This way if the cat sitter is there, you’ll have a recording to make sure they showed up, but you can also just stream to watch your cats sleep. There’s also an option to detect activity, but it can’t actually stream and record with this selection. It can, however, use activity detection to trigger automations and send notifications. I haven’t fooled with that setting yet.
In HomeKit settings for each camera, you can select whether to record when any motion at all is detected, or you can toggle on specific items such as whether people, animals, vehicles, or packages are detected.
HomeKit Secure Video even enables face recognition if you choose to enable it. Once enabled you can see a list of recent times it recognized people along with wee tiny thumbnails – and it’s astonishing how well it recognizes us from these little images.
The one thing Steve and I have struggled with in setting up a new eufy cam in HomeKit is how to manage the notifications. Our existing eufy HomeKit cameras don’t bother us much but the new one pointing out the window was sending us notifications like crazy. We set up zones (you can do multiple zones by tapping on the screen to draw geometric shapes) but it still kept notifying us. We shut off vehicle detection because of all the cars that go by our house, but the notifications continued to come fast and furious.
We noticed that there’s also a toggle for notifications over in the eufy app. It was toggled on, and even though it says it’s not able to do much, we turned it off. Now we’re not getting any notifications at all, even when we have person detection on and I’m waving my arms around like crazy in front of it.
I’m sure we’ll get the hang of it but one of the downsides to having this many controls is it’s hard to tell which one is controlling things. I’ve got some work to do to get the video recording working as well, but I know I can crack it because I’ve got all the other eufys successfully recording!
How’s the Video?
Since I replaced a 1080p Wyzecam with a 2K eufy cam that was downsampled to 1080p, you might be wondering how the video looks. Before removing the Wyzecam from its front window view, I put the eufy cam up right beside it and took screenshots of both cameras’ video. The improvement with the eufy was remarkable. The main problem with the Wyzecam was that it was super pixilated as though the image was moving far too quickly for it to keep up. To be fair, the Wyzecam is pretty old so it’s possible the newer models have faster video processing.
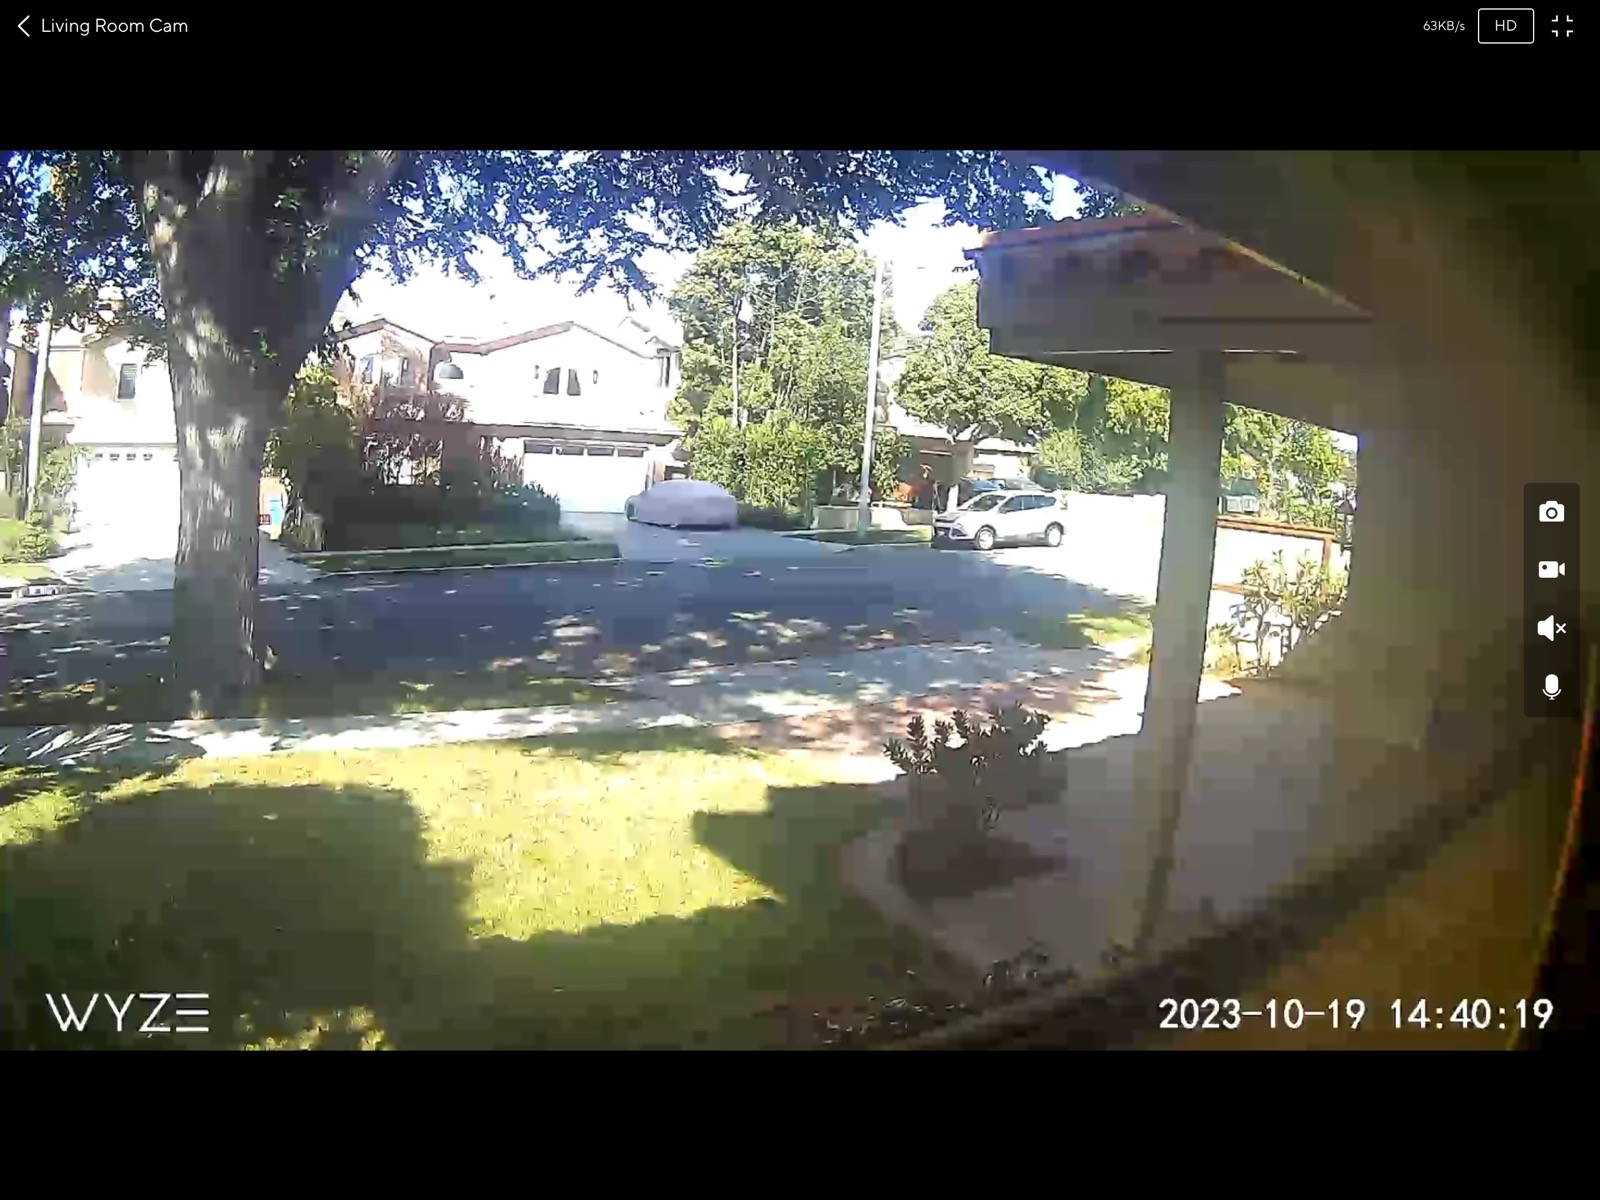
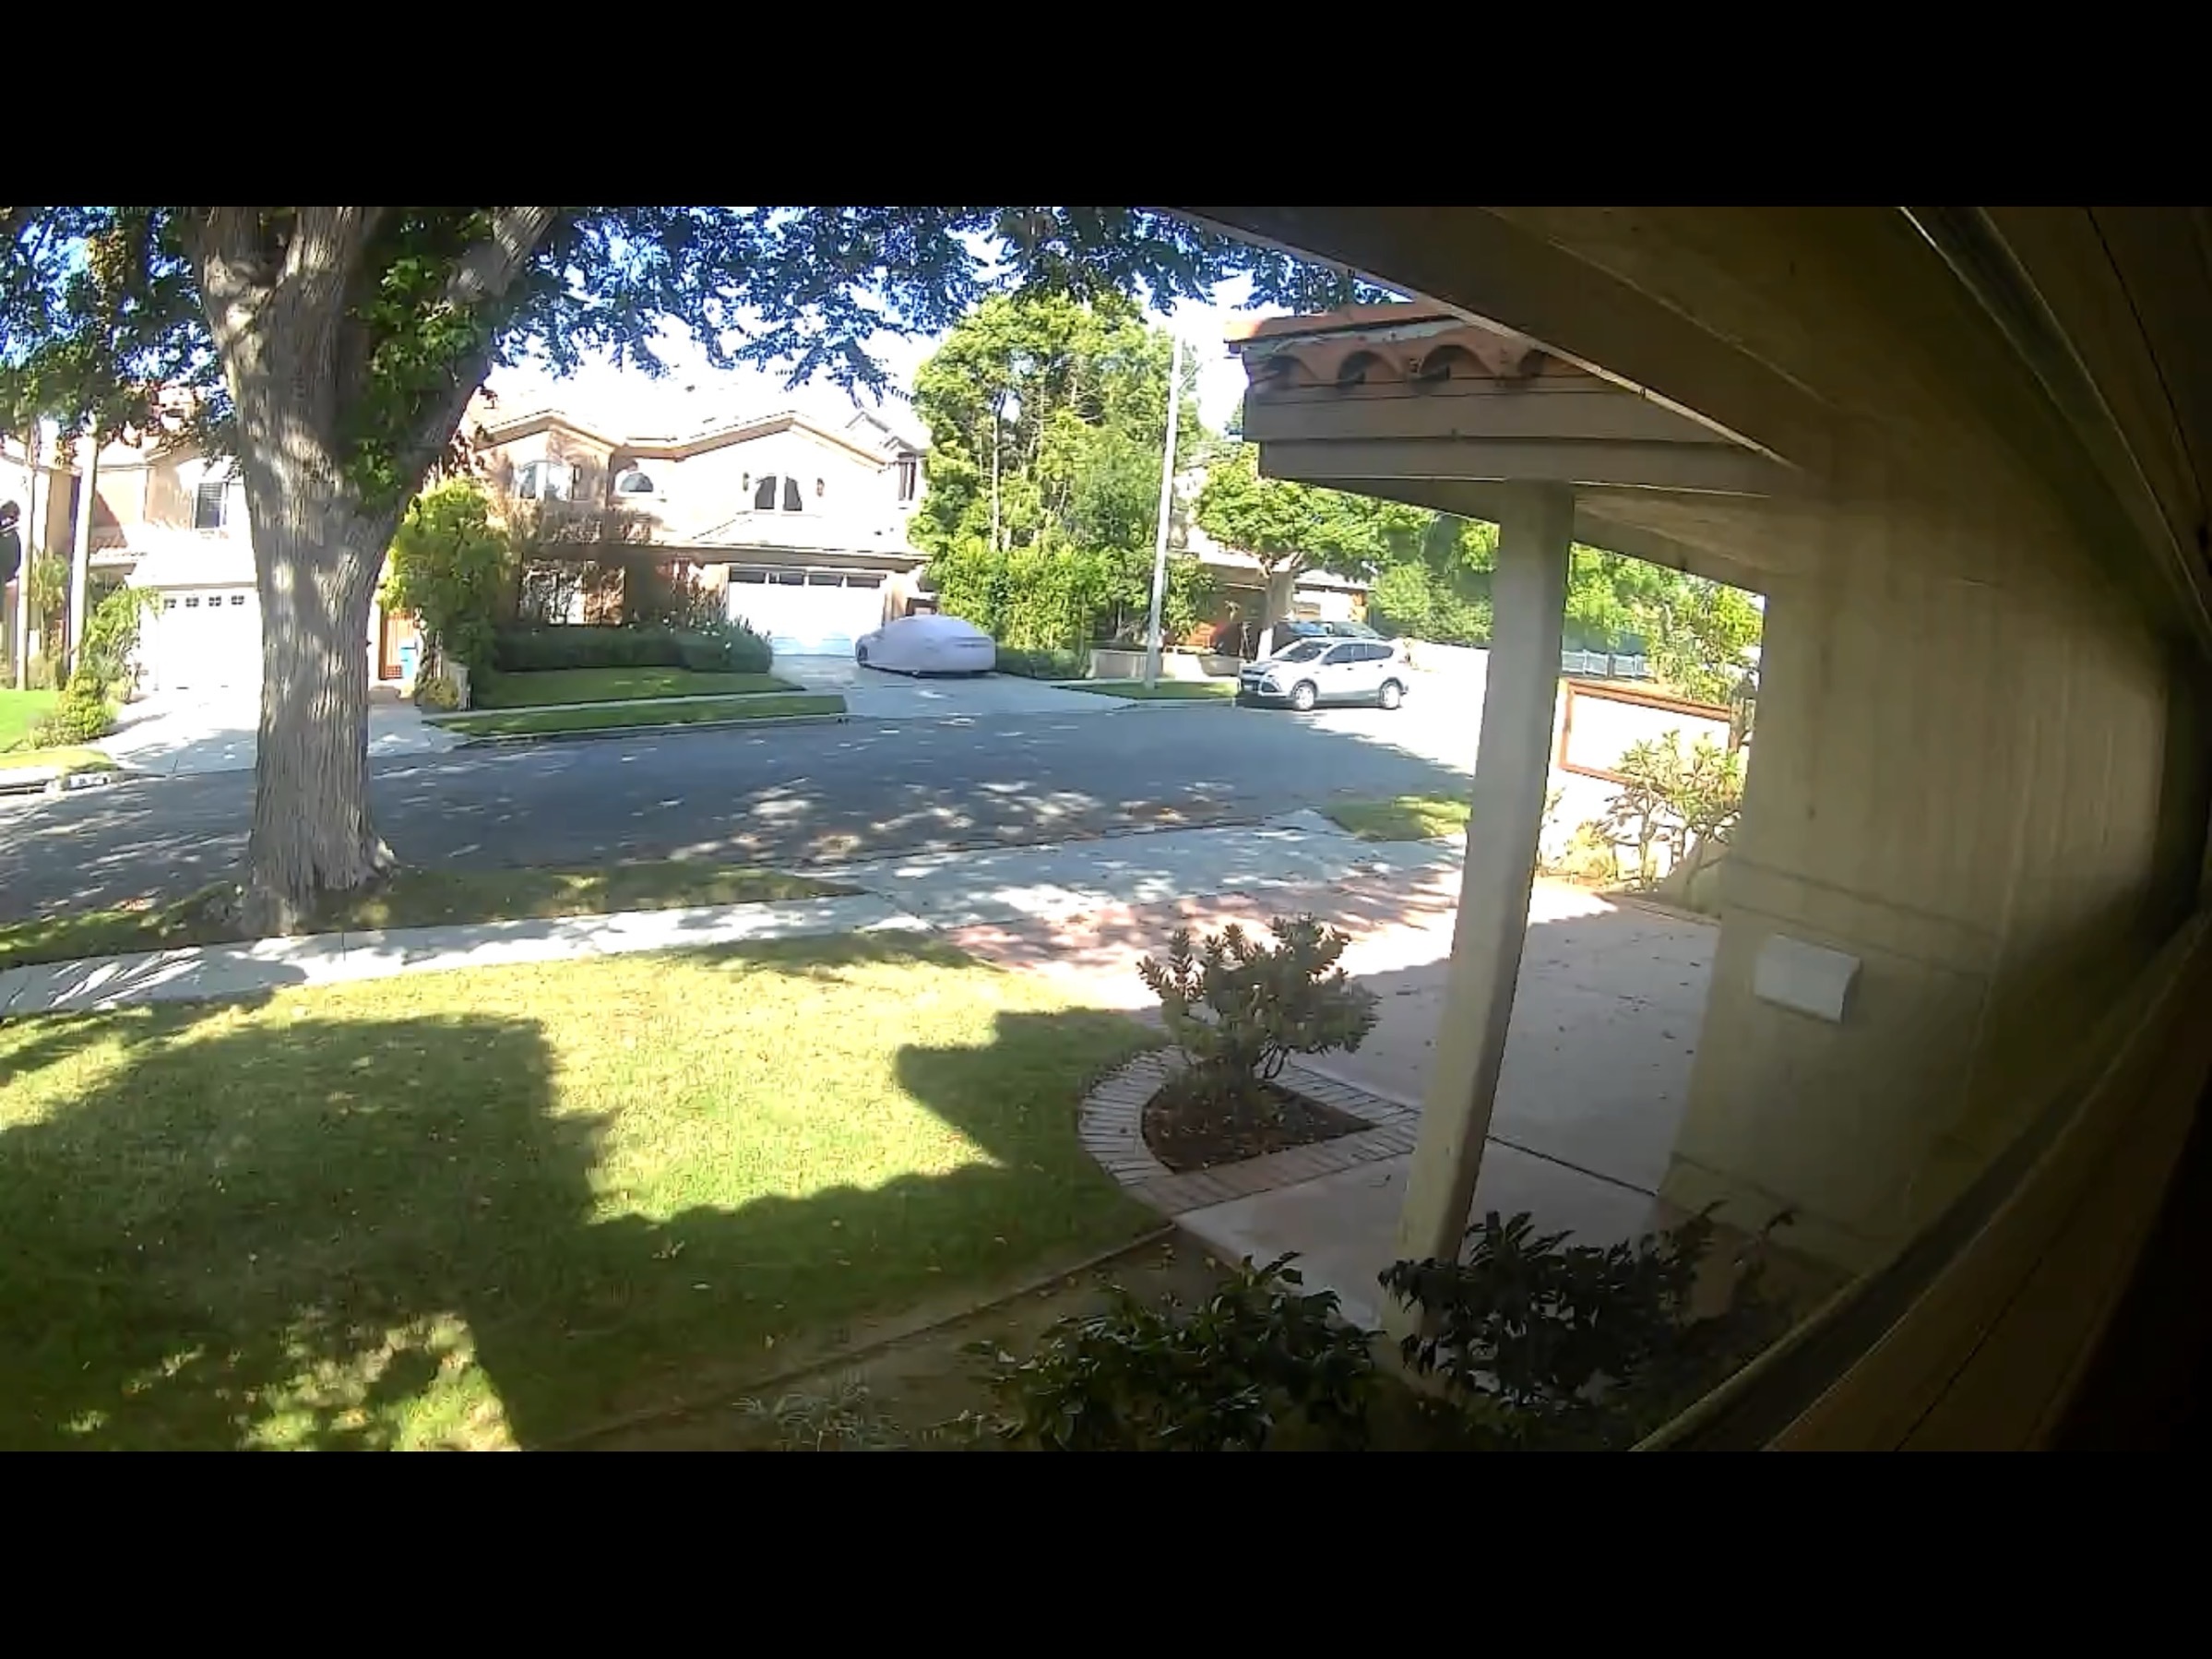
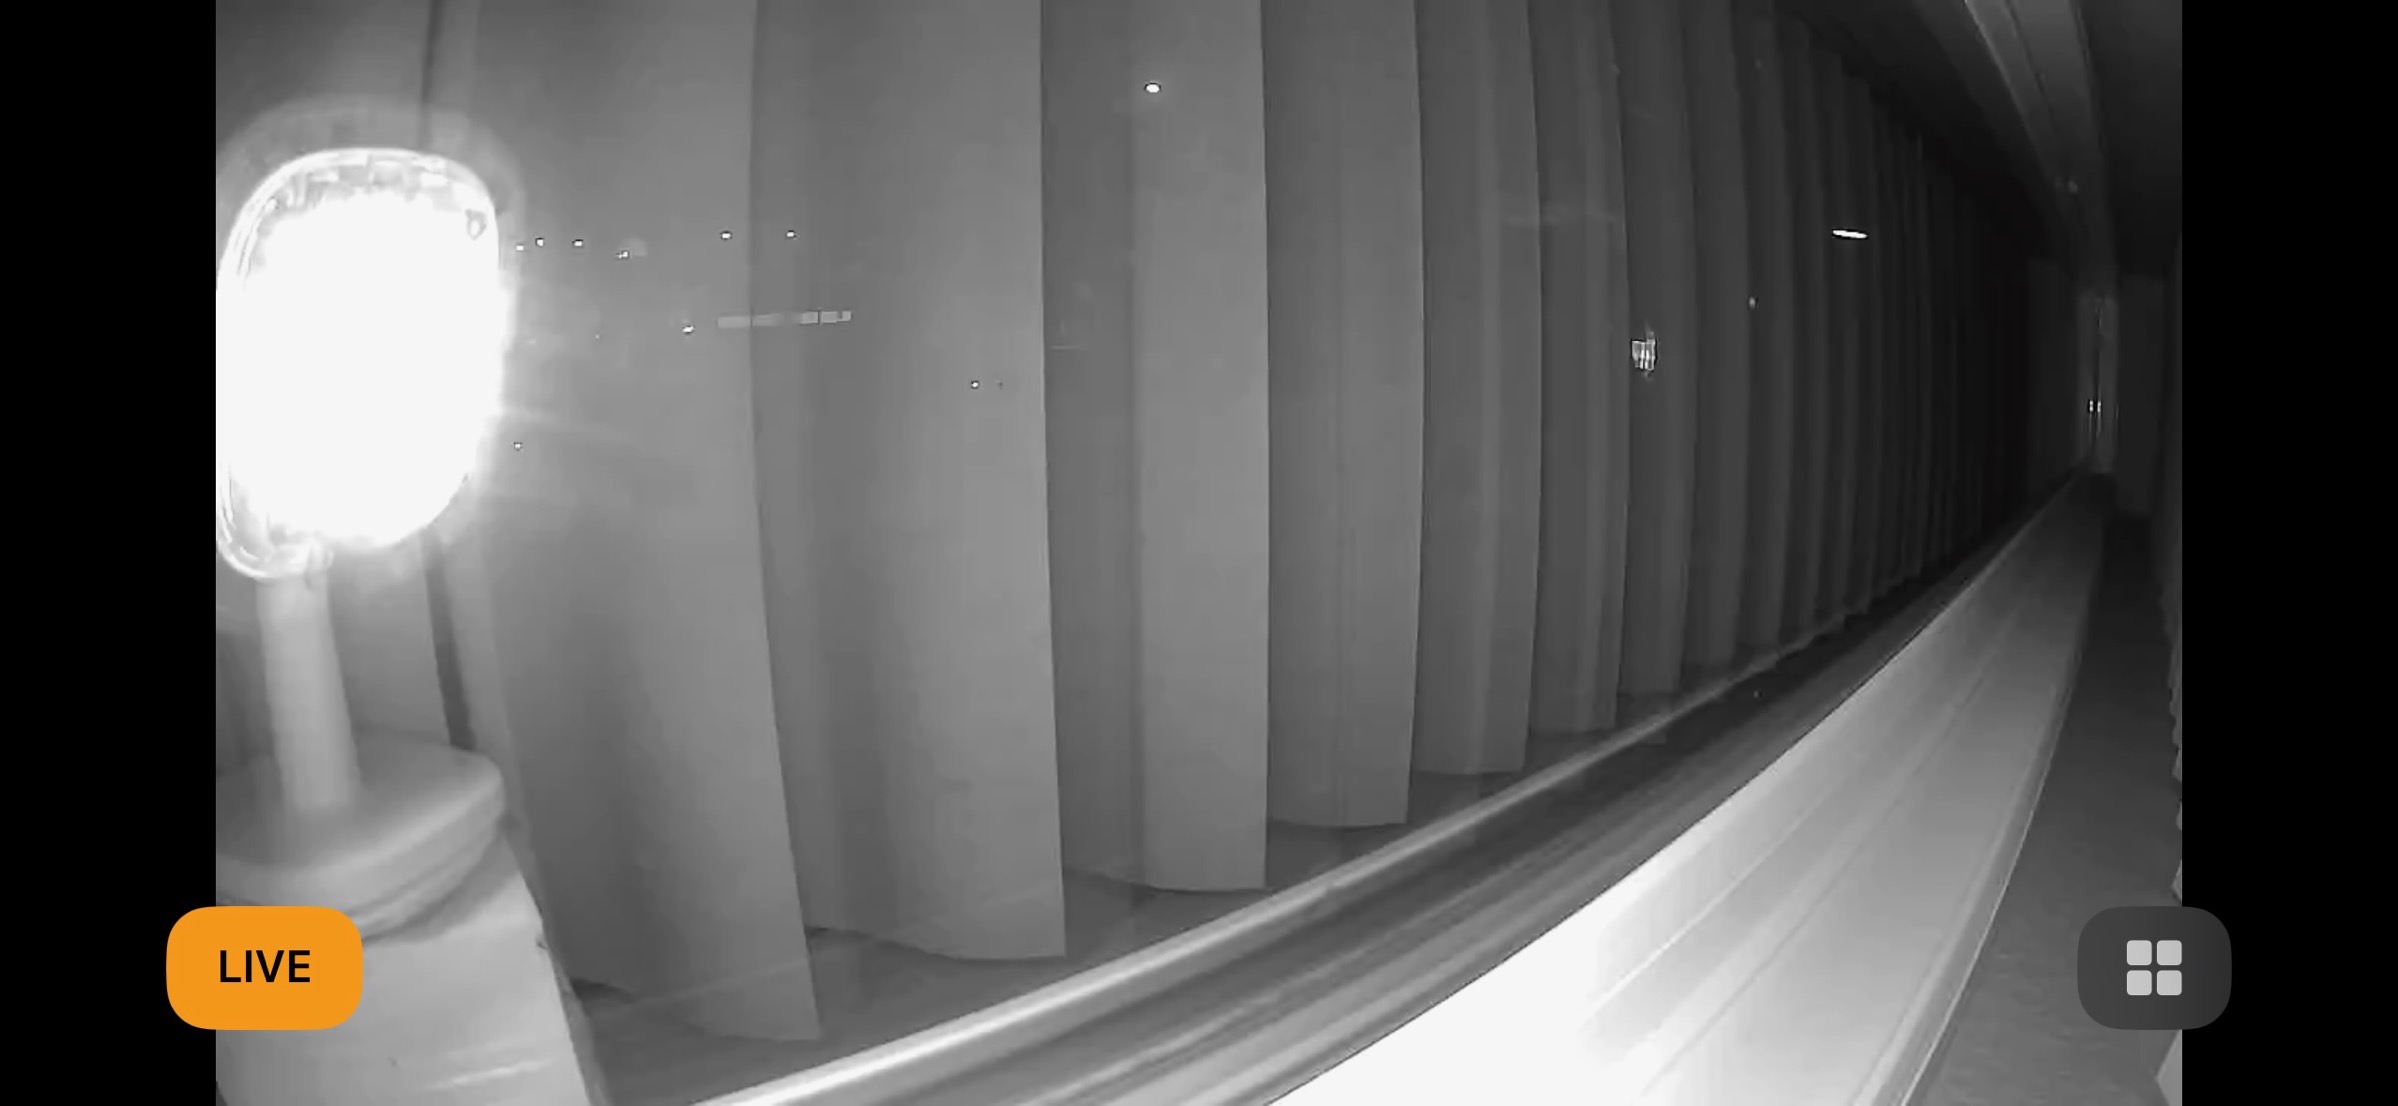
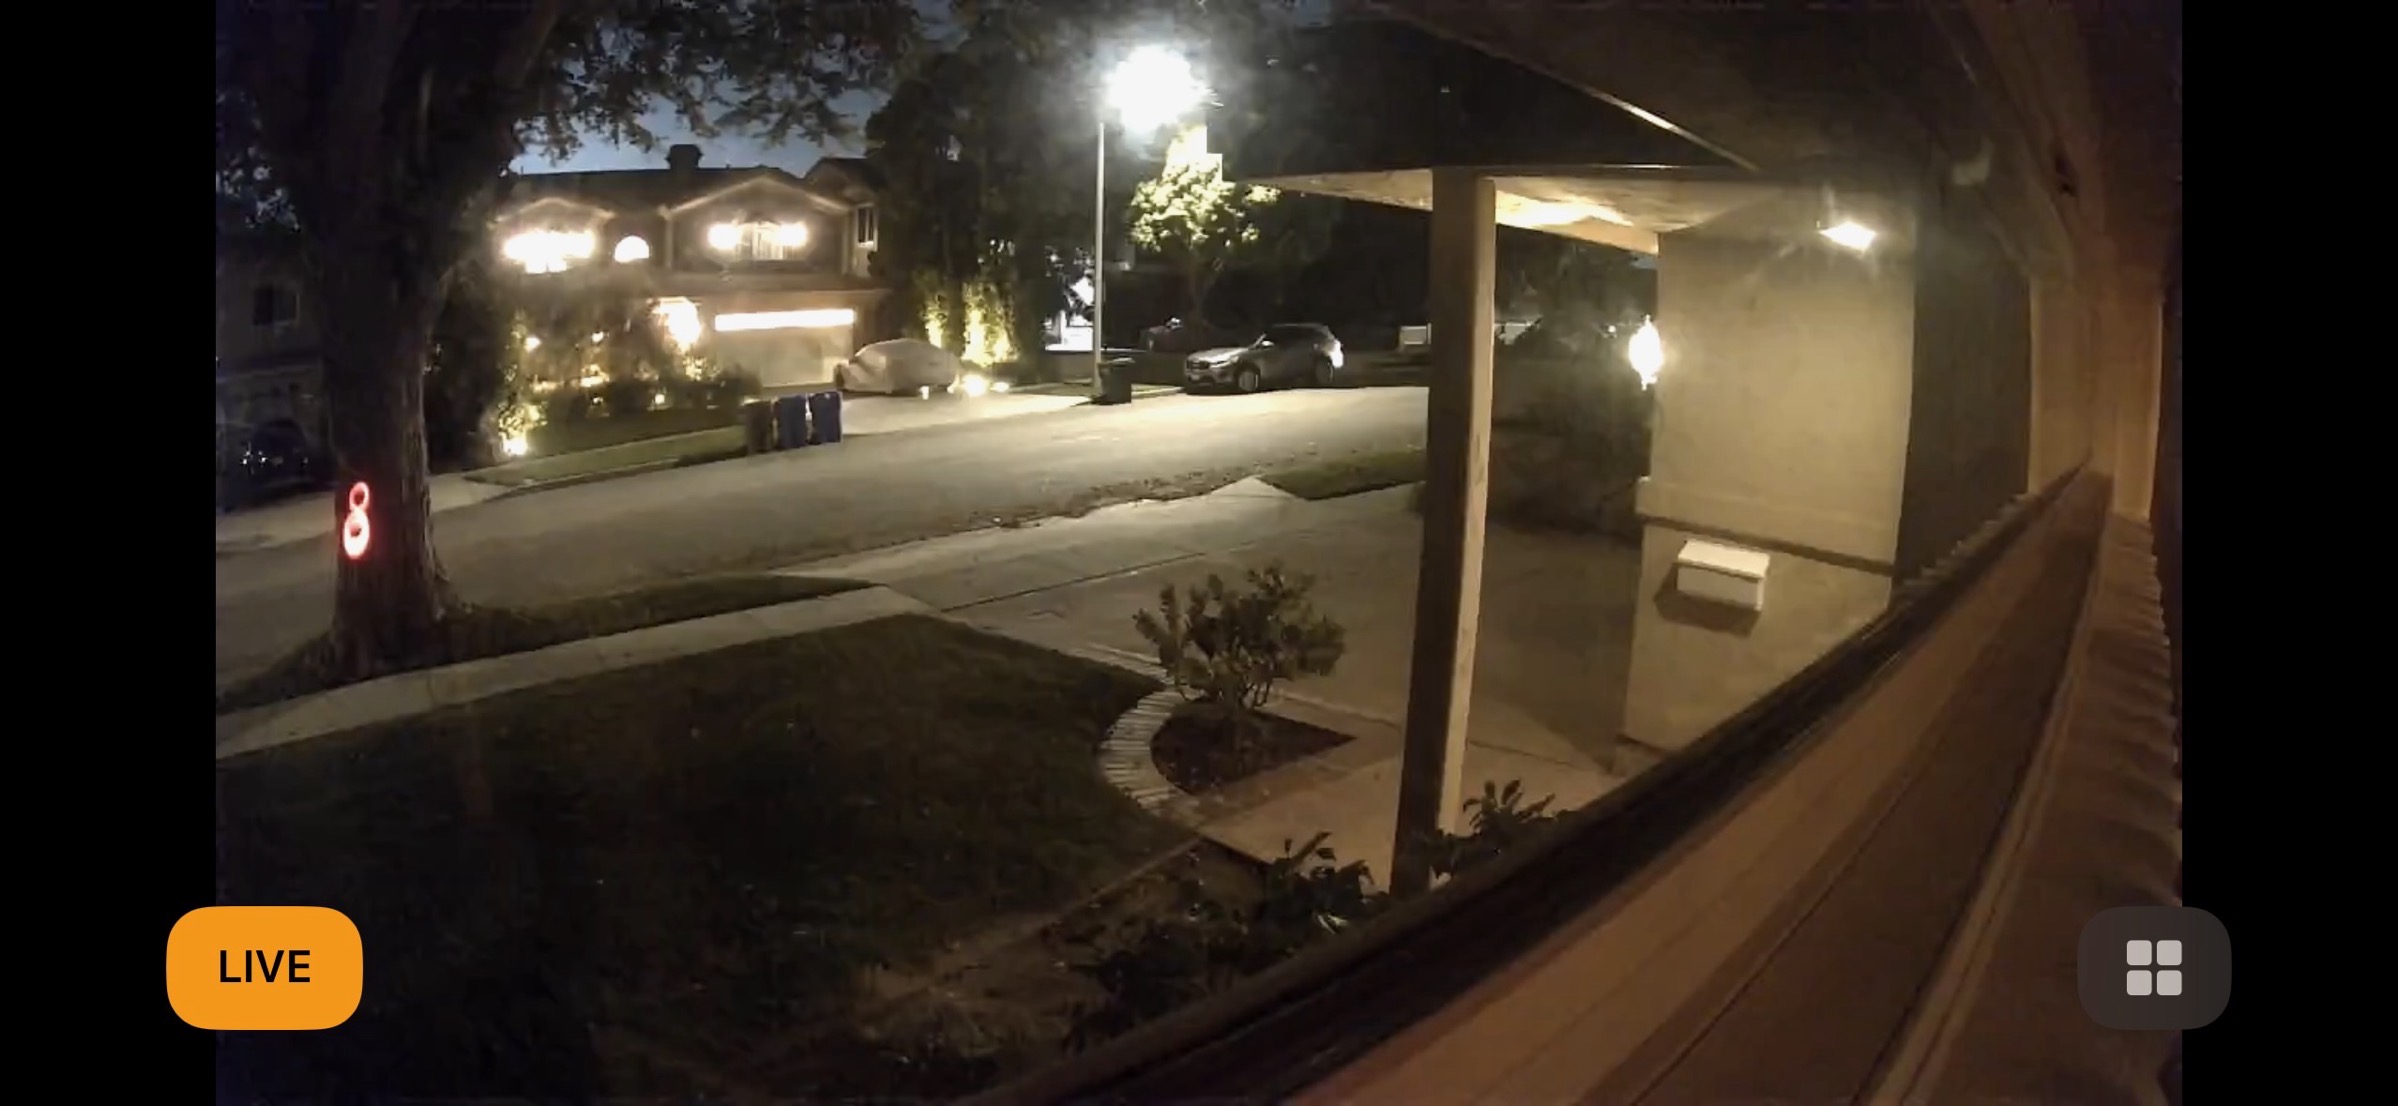
I’m super happy with how good the eufy cam video looks. The other screenshot I took was the eufy cam at night. Remember I mentioned that if you’re going to point out a window, make sure to turn off the night vision mode? With the Wyzecam, the IR light just blew out the view completely. The effect of the IR light in night vision mode on the eufy was different, and yet still made it impractical to use.
I looked at the camera view at night and accused Steve of mistakenly putting the camera behind the blinds rather than in front of them. In the Home app, I could see the back of the blinds perfectly. When I accused him of placing the camera incorrectly, he laughed and said, “No, that’s the night vision light causing that effect.” I literally did not believe him. He suggested I toggle Night Vision off, and sure enough, the outdoors came into view and the video was fabulous, even at night. This optical illusion caused by night vision mode was fascinating. By lighting up the glass with an infrared light, all the camera could see was its own reflection, which included the curtains behind it.
Bottom Line
I’m really happy that eufy supply a camera that I can wrest from their control and put into HomeKit Secure Video. The video quality is fantastic and they’re very easy to set up. I just set up this 5th eufy today so I’m sure I’ll crack the code on getting the notifications and recording sorted very soon to match the other 4. At $38 apiece in a two-pack, I think they’re a good solution to replace the Wyzecams. I’m looking forward to when we’re actually home for more than 3 days at a stretch so we can set up the $79 eufy Security Outdoor Cam E220 and see how well it performs.
Note — After we left home we got a notification from the new camera showing us that the mail carrier had stopped by the house so it was working after all! I kind of suspected it would work it out on its own.
If you’re a HomeKit user and an iCloud+ subscriber, you might want to look into eufy for your security cameras inside and outside of your house.
Oh, one last thing. You can find eufy cameras on Amazon and Best Buy and if that’s easier for you, go for it. But if you want to help me out, I have a referral link in the article you just read, and the referral link is inside your podcatcher along with all of the others I use. You don’t get a darn thing out of using it, but I get a $40 Amazon gift card if you spend $200.

