One of the greatest sources of content for the NosillaCast is the adventures I go through each time I do a nuke and pave on a Mac. By nuke and pave, I mean a clean install of the operating system and not migrating any apps or settings from my previous installation. The process I follow has evolved over the years, which I find interesting.
The last time I did a nuke and pave was in September of 2022. That nuke was because things had simply gotten fiddly. This year’s nuke and pave is because of the battery problems that continue to plague my 2021 14” MacBook Pro. It’s kind of a nice time to do it since macOS Sonoma has just been released.
The backbone of my nuke and pave process is a massive mind map created and maintained in iThoughts from Toketaware. I started maintaining this mind map of doom (™️ Donald Burr) many years ago. The right side of the mind map is for app installations while the left is all of the configurations I need to do for various tools. Both the apps and the configurations are sorted into Mission Critical, High Priority, and Low Priority. I’ve become more rigorous about keeping the mind map up to date during the year when I add particularly complex applications, which makes the paving part of the process much easier.
When it’s time to do the migration, I do another pass through the mind map to remove apps I no longer use, and to compare the list to the new apps I have installed. I certainly do not add every new app from my Mac. One of the joys of a nuke and pave is having a system with only the apps I actually use, not every app I’ve evaluated.
One of the great enhancements I added to the mind map in 2022 is a section called “Prep”. This is a list of the apps that require a little bit of tender loving care before the migration. Often it’s because they don’t sync settings through iCloud or they don’t have an obvious migration path. Some require the export of settings and import on the other side, for example. In iThoughts you can create links between nodes. This allows me to have a prep section of nodes that are simply the name of each app that needs special handling, and then each of those link to the complex configuration instructions on the left side.
Backup of Backup
One of the more annoying steps in the prep section says “2 days before nuking, start a Carbon Copy Cloner clone of backup drive to Synology”. The problem to be solved is that a backup isn’t a backup unless there are 2 copies, so as soon as the drive is wiped, it will no longer be a backup.
I ran into this “2 days before” nonsense the day I wanted to start the nuke and pave. I started trying to remember how to do that, and then I bugged Steven Goetz asking him for advice. Then while waiting for him to respond I read the 2022 Edition of my nuke and pave post only to discover that every single year I do the same thing – try to do it, then bug Steven Goetz.
I started following the steps from the 2022 edition. The process is to create a sparse bundle image on the Synology using Disk Utility, and then running Carbon Copy Cloner to clone from my external SSD to the Synology. The problem I ran into (and I run into every year) is that it takes forever. I ran Carbon Copy Cloner over night and it had only moved 250GB so far out of 1.76TB! Worse yet it was transferring data over gigabit Ethernet from my Mac to the Synology at about 200KB/sec. Not megabytes, kilobytes!
New Process of Backing up Backup
I figured out a way around this problem of how long it was taking to back up my backup to the Synology. I dusted off an older 1TB Samsung T3 SSD, connected it over USB-C to my Mac, and created a 900GB sparse bundle on it. I then told Carbon Copy Cloner to clone from the 2TB Samsung T5 real backup to the smaller SSD. The brilliant part was I told it not to clone my original Photos library, or Dropbox or Google Drive, so the sparse bundle only ended up being 745GB and fit easily on the disk.
The best part was I had two fast SSDs, both direct-connected to the MacBook Pro, so the clone took well under an hour. Now I had two copies of the backup, but I wanted to make sure I still got that copy for cold storage onto the Synology. I tried connecting it over USB-C to USB-A to the Synology, but it kept connecting and reconnecting. I changed out the cable, but then the Synology said it couldn’t read the disk. I didn’t reformat the drive to ExFAT before doing the clone, so that made sense.
No problem, I plugged the drive into my Mac mini and let it do the copy over to the Synology while I slept.
Ok, now I have three copies of my data not including my Backblaze offsite backup. Oh, and my Synology backs up to another Synology at my buddy Ron’s house, so that’s 3 local, 1 a mile away, and one online. That should be enough backups! Time to start the process of erasing and installing macOS Sonoma from scratch.
macOS Sonoma Installation
I found some instructions on MacRumors about how to do a clean install of macOS Sonoma on an Apple Silicon Mac or earlier models with a T2 chip. The instructions were very tempting because they said to first do the upgrade to macOS Sonoma, and then to use the new “Erase all contents and settings” option to start fresh migrating your data and installing apps. Sounded like more fun than downloading the installer and making a bootable drive.
I also found instructions on MacPaw for a clean install of macOS Sonoma and they recommended had the tried-and-true create a thumbdrive installer method. It still said to use the handy-dandy erase all contents and settings method and I felt a bit more comfortable that this was really a clean install.
I probably could have gone with update first and then erase all contents and settings path but I’d hate to have Margo from Apple tell me that engineering said I had to do it again because I did it wrong. When I created the installer on the thumb drive, I felt more confident that I was truly burning it to the ground when it said it was copying the macOS RecoveryOS to the thumb drive.
As an aside, the fun thing about “erase all contents and settings” is that it’s supposed to be very fast. Since your data is encrypted, it’s really just erasing the encryption key. Erasing the encryption key instantly makes all of the data on the disk unreadable.
In reality, for me, erase all contents and settings didn’t run as smoothly as they promised. First, it asked me to sign out and asked for my Apple ID password, which I gave it, and I got a nasty red error that said,
“Unregister HTTP status from token service response.”
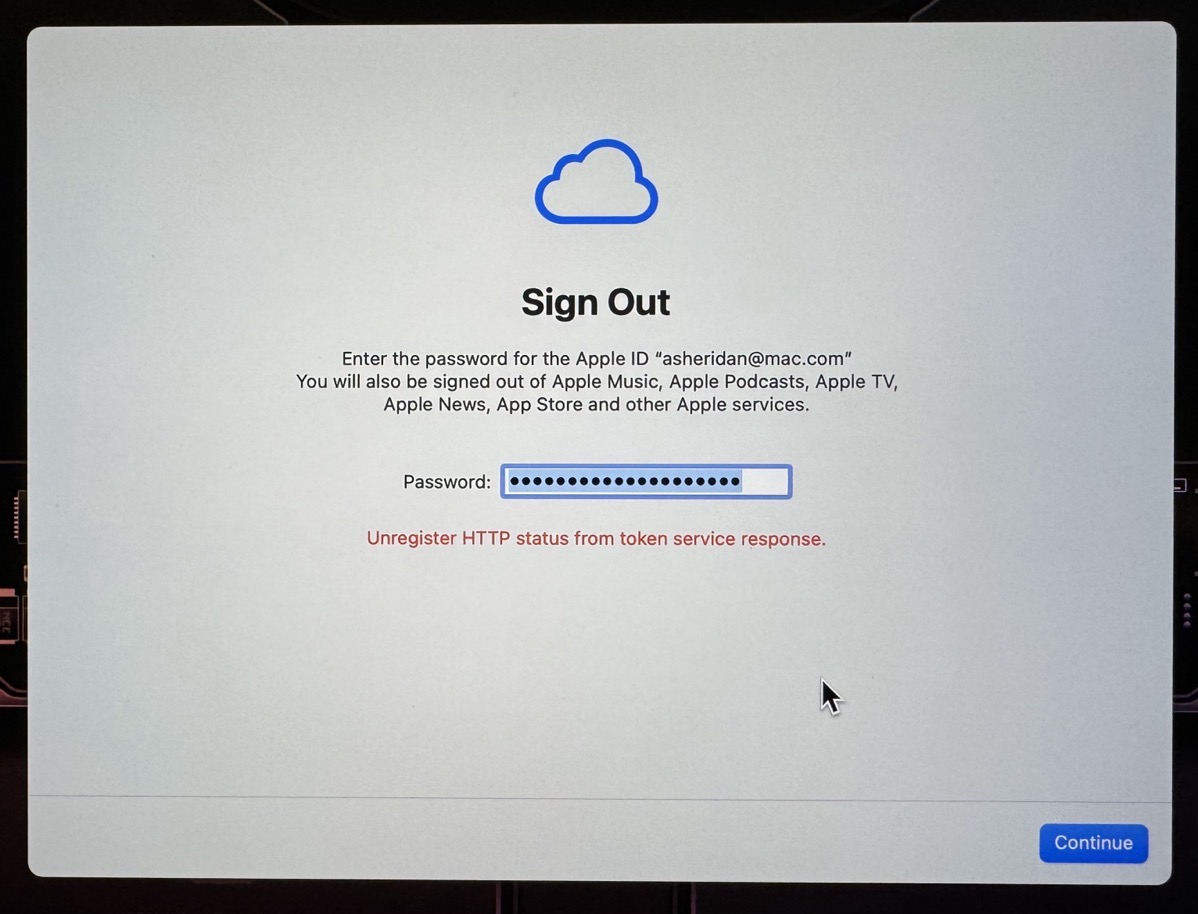
Uh … ok. My only option was to type it again or select Continue. Nothing changed when I entered my password again, so I selected Continue. This time it asked me to “Enter the Apple ID password for “(null)””.
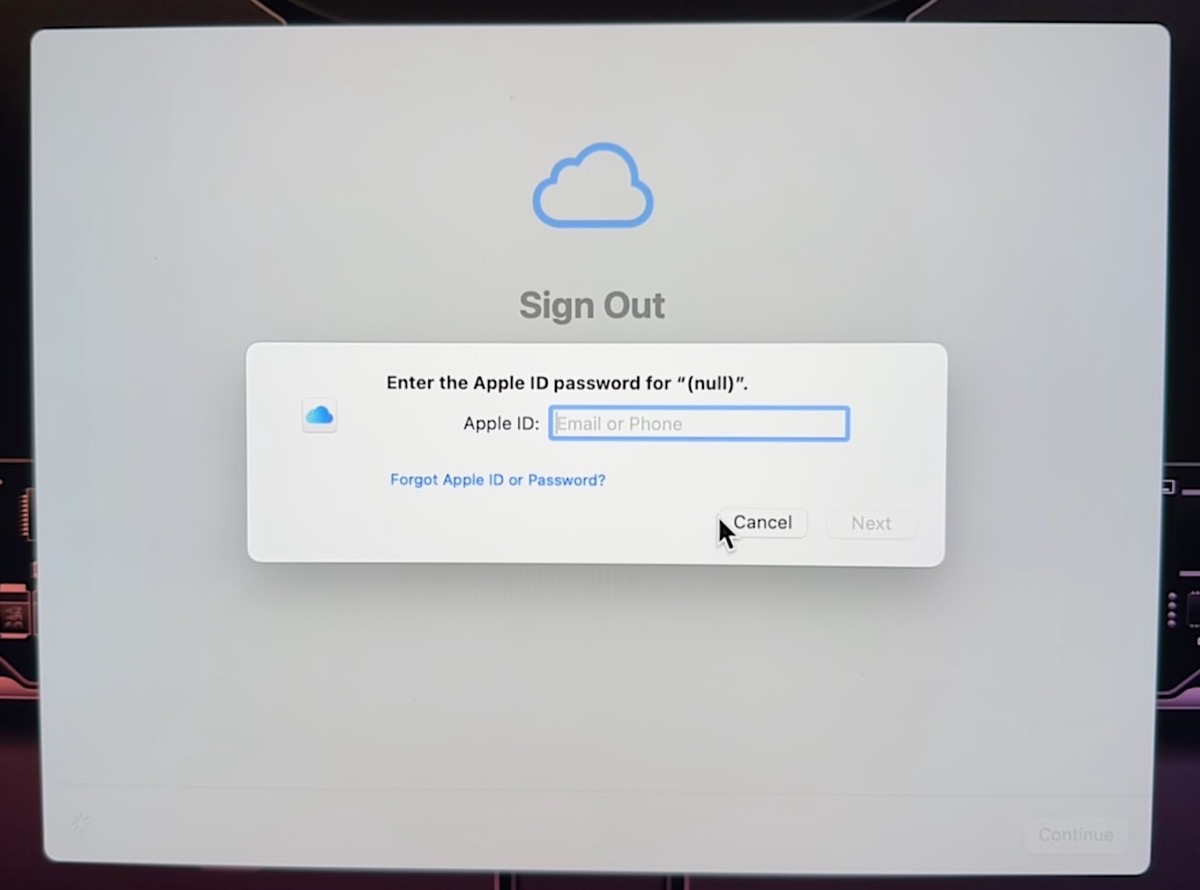
No idea why it said my account was null, but it offered to let me enter an Apple ID and then password, which I did, and this time it gave me a nasty red error that said,
“The operation couldn’t be completed. (AKAuthenticationError error -7003.)”
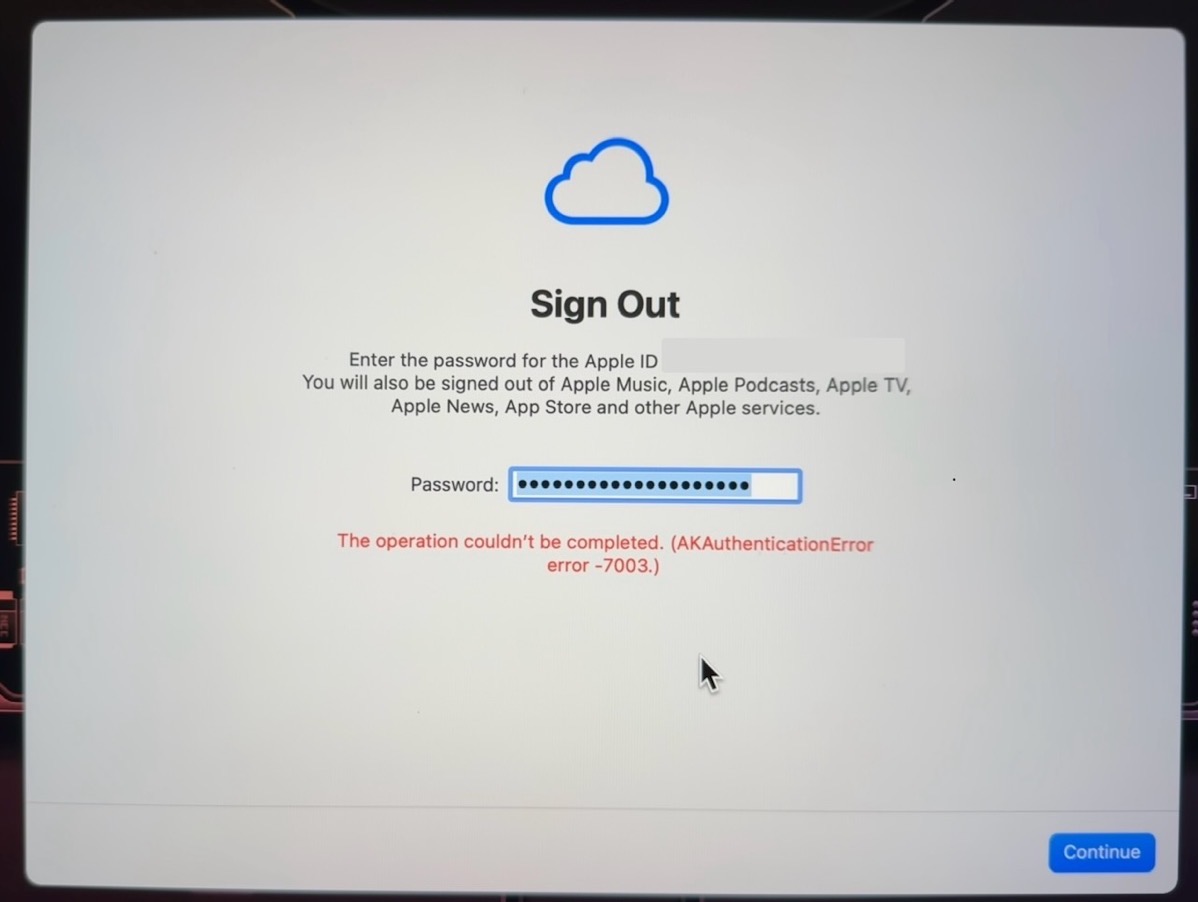
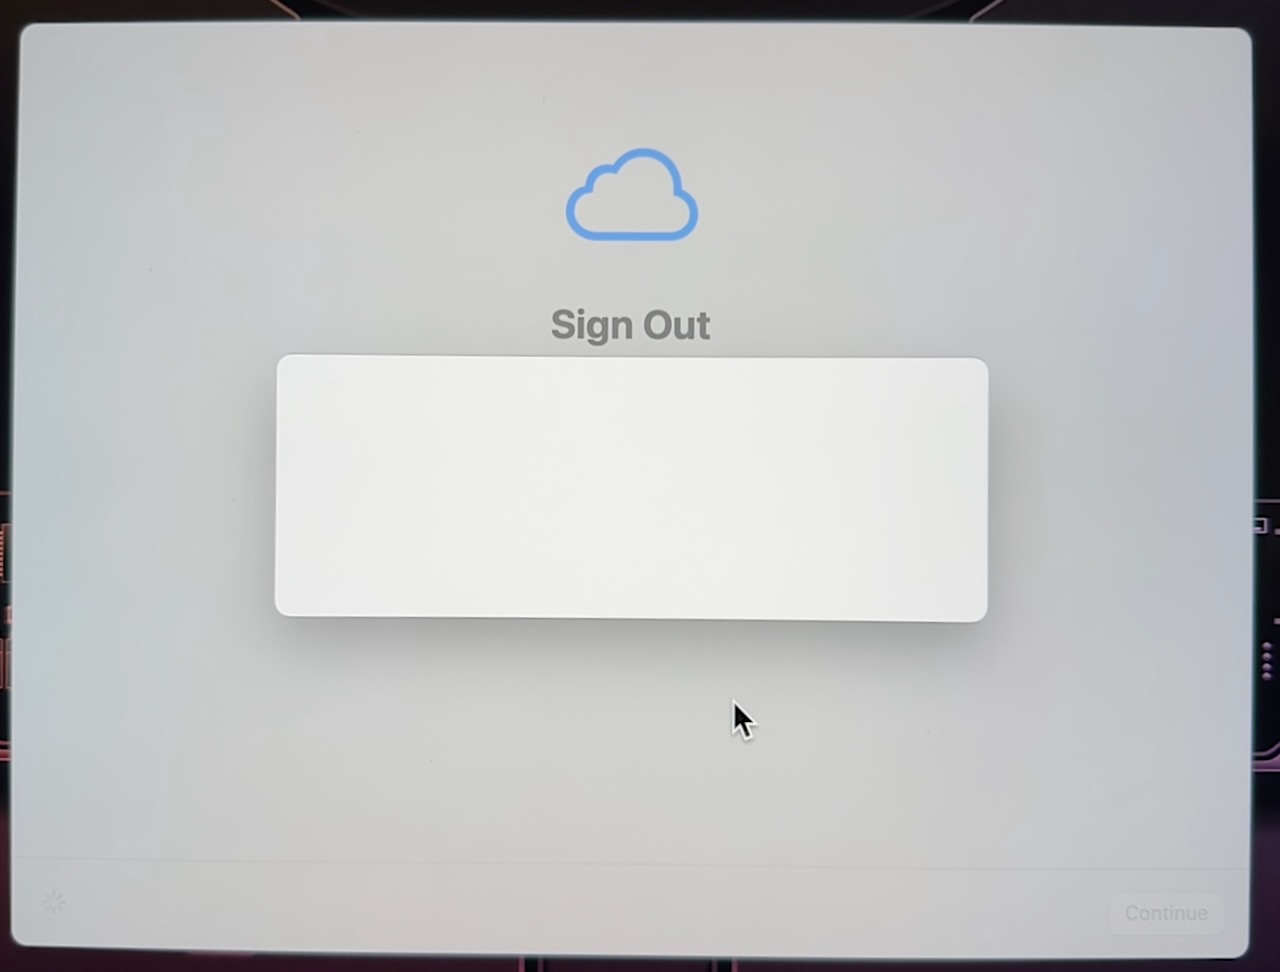
I chose continue again, and this time it had the Sign Out screen with a happy blue iCloud icon on it and a nice blank white box. No continue, no back, no nothing. I gave it 15 minutes and it hadn’t changed so I force quit the process.
I started the whole erase all contents and settings dance again, and this time when I entered my Apple ID password, it said I was locked out of my account. So that was fun…
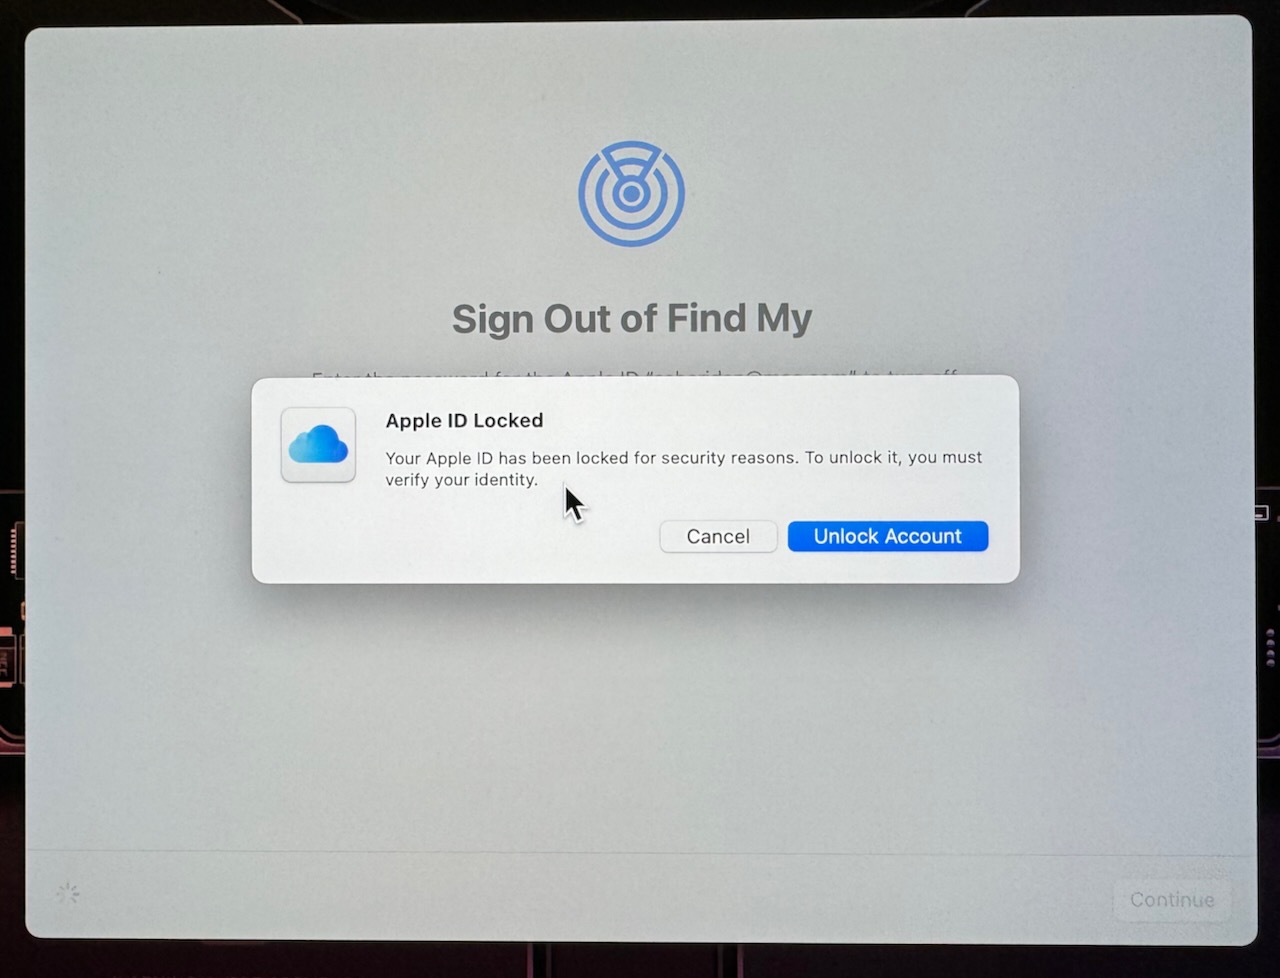
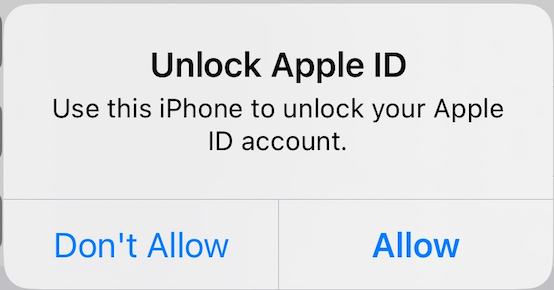
It asked me for the phone number associated with my Apple ID, and gave me a hint of the number by showing me the last two digits. This triggered an alert to every one of my devices asking for authorization to unlock. I tried on my MacBook Air and it failed, which made me nervous. I triggered it again and my iPhone was able to unlock my Apple ID. Whew!
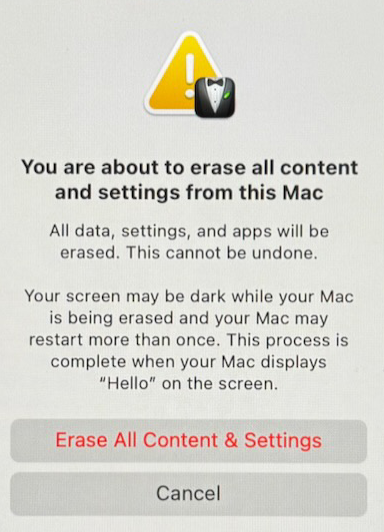
After that I was rewarded with the final warning telling me I was about to erase all content and settings from this Mac, and did I really truly want to do that? Yes already!
The Mac did some of the usual stuff, showing an Apple logo and a progress bar for a bit, and then it restarted with a screen I’d never seen before. It was all black, and in the upper left it said Recovery Assistant. In the middle it said, “Activate Mac”, and below that it said:
Select a WI-Fi network from the menu or attach a network cable to proceed.
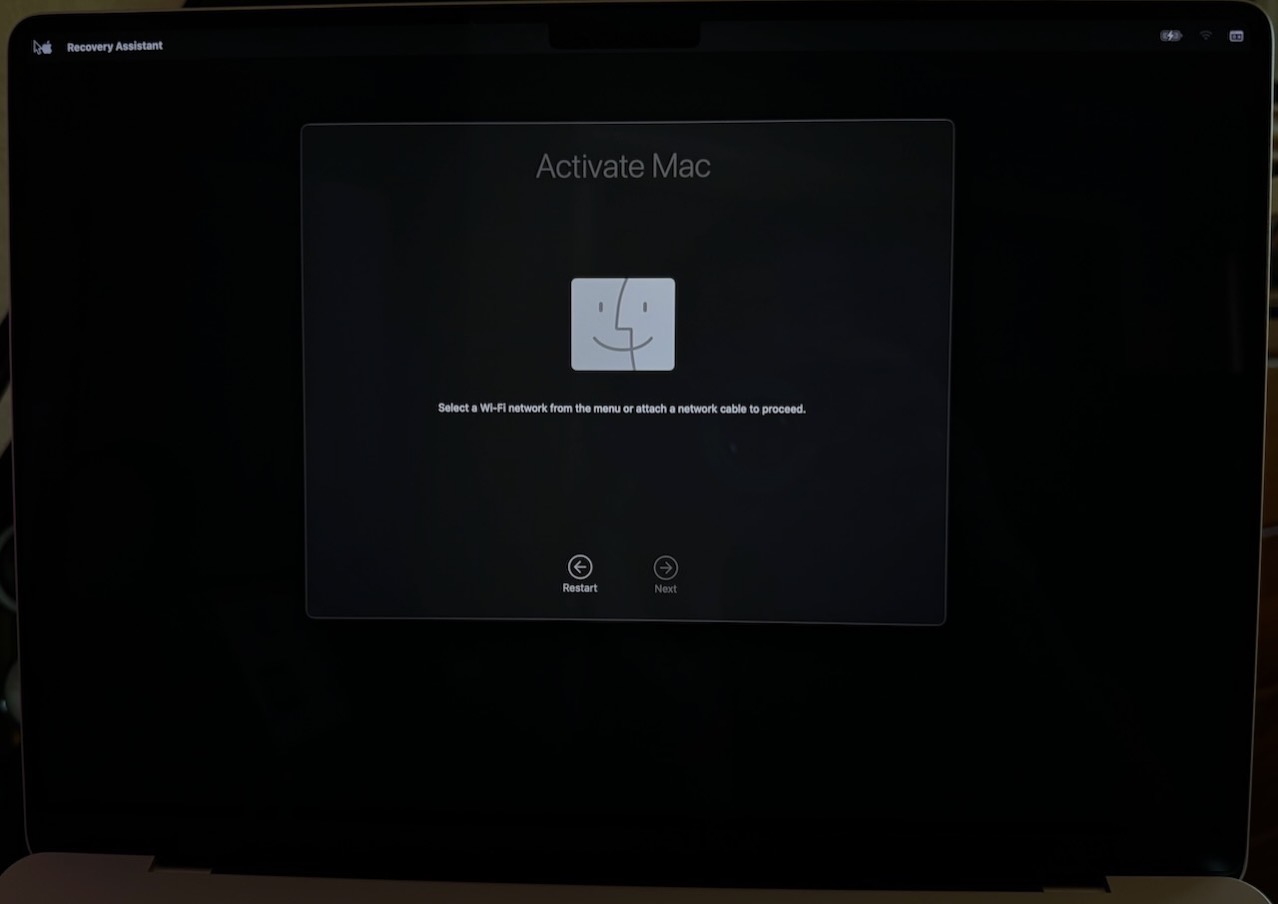
This was curious. I connected an Ethernet cable, and within a few seconds, it said,
Your Mac is activated. It will restart in 22 seconds.
This Activate Mac screen was curious because it seemed to be related to Activation Lock, but it wasn’t asking to UNlock Activation Lock, it was asking to activate the Mac. I did some searching online and I found what I think is the right explanation for this screen. On Reddit a user was asking about it and one person responded with:
Activate Mac checks the iCloud status with Apple servers. It will only let you activate instantly if it is not connected to any account – as it should be when you buy a used Mac. If it were connected to an iCloud account it would show parts of the e-mail address and ask for the iCloud account password, yes.
This makes sense, because after it checked the activation status by connecting to the ‘net, it was satisfied that it wasn’t activation locked, activated it, which let me set up the Mac like it was new. I think what made this non-obvious to me was that I thought I was still in the erase everything phase, but I had evidently crossed over into the “set up a new Mac” phase without realizing it.
So How’s That Battery?
As you may recall from my article last week entitled, How’s that MacBook Pro Battery Problem Going?, the purpose of this year’s nuke and pave is to try to definitively discern whether it’s one (or more) of my third-party apps that are causing my MacBook Pro to have poor battery life. If a clean install with no third-party apps installed still has battery problems, then it’s back to Apple Engineering to figure out what’s wrong. If the Mac doesn’t have problems without the third-party apps, then Engineering wants me to test them one-by-one to figure out which one is causing the problem.
I’d like to thank everyone who weighed in on the problem after I published that article. Jill of Kent wrote me an email suggesting it might be faster to install half of my apps, run the battery test, and if it doesn’t drain, install another half, until I find the pile that includes the app that causes the problem. This is a great way to diagnose problems, and I use this method often, but it’s still not very practical in this case. If I installed half the apps and the problem occurred, I’d have to do another wipe of the machine, reinstall macOS Sonoma from scratch and then add in half of the first half of apps. Very time consuming and tedious.
Several people, including Dan Wieder, Sandy, David Price, and Ray Robertson were all in my camp thinking Apple should give me a new MacBook Pro. It was nice to have friends back me up like that. Peter McGregor felt I could push for a lemon law on this one and explained that it would unquestionably qualify if I was in the European Union. While I love having these champions on my side, I am still not convinced that it’s a hardware problem.
Steve Davidson gave me lots of cool ideas on ways to watch for battery hogs using UNIX under the hood, which was really fun, and we went back and forth quite a bit on what could be causing the problem. George from Tulsa chimed in with some interesting ideas including asking me whether I was running any Catalyst apps, e.g. apps written for iOS but run on Apple Silicon Macs. I do run some of those but …
Let’s pick up the story after the reinstall.
Battery Test #1 – No WiFi, No Third Party-Apps
As soon as I had macOS Sonoma installed, I created a clean admin account. I didn’t give it access to any network. I simply put it to sleep for two hours. In my previous tests, sleeping with WiFi off always had zero battery drain, and this test revealed the same results.
Battery Test #2 – WiFi but No iCloud, No Third-Party Apps
Next I gave it access to WiFi and put it to sleep for another 2 hours. Without being logged into iCloud and with no third-party apps, but with WiFi access, it again slept like a baby and lost zero percent.
Battery Test #3 – Log into iCloud, No Third-Party Apps
Finally I logged into iCloud. The only app I opened was Notes and I saw that it started syncing. I didn’t open Photos for fear that would trigger the download of my 100K photos. In 10.5 hours, the Mac lost 14% battery, which is the same loss I was seeing before nuking all of my apps and settings.
The best part of all of this is that if I select the battery in the menu bar, the little dropdown says, “No apps using significant energy”!
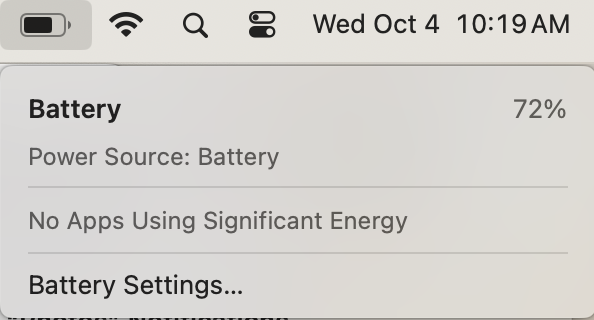
So now we have a clean install of macOS Sonoma, and with iCloud logged in, it loses an 17% in 10 hours, but logged out it does not. That would seem to definitively suggest that it’s iCloud, not hardware.
Battery Test #4 – MacBook Air, Clean Install, Log into iCloud, No Third-party apps
I decided to rerun a previous test, and that was with the MacBook Air, not the MacBook Pro. I installed a new macOS Sonoma Volume on my MacBook Air, logged into iCloud and put it to sleep. Normalized to 10 hours, it lost a grand total of 3%. One could argue it shouldn’t even lose that much while asleep, but 3% is a darn site better than 17%.
On both the MacBook Air and the MacBook Pro when I tested right after logging into iCloud, I did NOT open my Photos Library. From my observations, it appears you have to open Apple apps to initiate syncing to iCloud. For example, opening Notes right after turning on iCloud reveals an empty list, and only after a little while do you see it begin to bring down your notes. So I’m pretty sure that both the MacBook Air and the MacBook Pro were not downloading my 100K image Photos library when I ran the battery test.
Bottom Line
As I wait for word back from Apple Engineering, I can’t help but ponder what we’ve learned.
Since it only happens on one device, does that mean it’s a hardware problem? What hardware problem would only surface when I’m logged into iCloud and wouldn’t surface with WiFi turned on but no iCloud?
So that makes me think it’s got to be something rogue in iCloud that’s awakening the Mac. If that’s the case, why doesn’t that same rogue cause wake up the MacBook Air?
If you have any ideas, please let me know. You know I’ll keep you posted as this never-ending saga continues. I’ll be back soon with thoughts on my paving process this year.

Thank you for sharing your experience. It’s very valuable to know if I have the same issue.