Bodie Grimm of the Kilowatt Podcast sat down with me in a screensharing session and he taught me how to create a GPT using ChatGPT 4. Before we got started, I didn’t know what “a” GPT was, or why you’d want to make one. Bodie explained both of those things and we recorded audio for the podcast, but also a video of the screen while Bodie walks me through the process. Many thanks to Steve for doing all of the editing (even video switching) between the screen and us to make it more interesting. Below the video, Bodie published the notes for our conversation.
Disclaimer:
I’m not an expert when it comes to AI or GPTs and everything I’ve learned to this point is far less than .00001% of what an actual AI researcher knows.
What is a GPT?
- G is for “Generative”, which refers to the GPT’s ability to generate text and not just text but relevant text about the conversation. The text it spits out is very human like.
- P is “Pre-Trained”, trained on an enormous dataset which is why it understands general language or natural language. It also means that GPTs can understand a wide range of languages and various styles within those languages.
- T is for “Transformer”, which refers to a type of neural network for a lot of different formats. In today’s example we’re talking about text. The transformer allows the GPT to understand the context of the conversation.
How to create your own GPT:
In order to create your own GPT with OpenAI you need to have a paid account. Next you should have a problem you want to solve or some type of specific purpose for the GPT. If you don’t have a problem to solve or you can save yourself a lot of time by just using ChatGPT.
Once you have your problem to solve you’ll need to login to ChatGPT and click on “Explore”. At the top of the page you’ll see an option to “Create a GPT” and select it. There are two ways to create a GPT. “GPT Builder” and “Configure”.
GPT Builder will walk you through creating a GPT. GPT Builder will ask you to name the GPT and will even use Dall-E 3 to create a logo. GPT Builder will ask a lot of questions as it pertains to your GPT and it helps you understand what type of information to include in the instructions for your GPT. Be warned, the conversation you have with GPT Builder goes away after you navigate away from the GBT Builder page. So it can be difficult to change the GPT in GPT Builder because GPT Builder is trying to interpret what you want done. The issue I have with GPT Builder is it lacks guardrails and eventually, your GPT turns into something entirely different than your intended purpose. Despite what I just said, using the GPT Builder is great for learning how GPTs work and flushing out your ideas.
Configure mode allows you to create a GPT using plain text. You start off by naming the GPT and adding a description. Next, you add the instructions of how you want the GPT to work in plain text. There’s probably an infinite amount of ways to format your instructions. The most important thing is that you test your GPT after you make a change to the instructions to ensure it’s performing the way you want it to. I’ve found that using the Configure mode provides a more consistent experience for the user. You can also add reference files or point the GPT to a website so the GPT knows where to prioritize getting its information from. Configure mode lets you add conversation starters to the GPT. I created a GPT for HPV Vaccine information and used the following conversation starters.
- Can you explain how HPV spreads?
- What are the common HPV vaccines?
- How effective is the HPV vaccine?
- What are the risks associated with HPV?
Some of the GPTs I’ve created (access requires ChatGPT 4 login)
Command – Residential: (chat.openai.com/g/g-OHb4iDrtp-command-residential)
This GPT is designed to help Firefighters take Command of a residential fire. The GPT mimics a real-life fire from dispatch to extinguishment. The student is dispatched to a random address with randomly generated units, 3 fire engines, 1 ladder, and 1 BC unit. These units randomly arrive on scene. The house fire will be a typical 1 or 2-story home in Phoenix, Arizona.
I have this broken down into 15 steps across the scenario. Next we get the PTI or Pertinent Information which is a fancy way of relaying the information from the original 911 caller. Next, the student will see a smoke column from about 5 miles out. Dall-E 3 creates the image. It’s never accurate but it’s good enough.
Next, the user gets an image of the actual house fire. The image is typically over the top but you can ask the GPT to lessen the fire and smoke or just roll with it. Over the next few phases, the student is able to give an On-Scene Report and start assigning units as they arrive. The scenario ends when the BC arrives on-scene and the initial Incident Commander transfers command to the BC.
I had to tell GPT that this was for the purpose of firefighting before it would generate the images.
Standard B-Shift Calls: (https://chat.openai.com/g/g-3tcoFWFHZ-standard-b-shift-calls)
Every department has that shift that says they run the most amazing calls but in reality, they run the same calls as everyone else. In our department that shift is B-Shift. So I made a little scenario generator based on “Command – Residential” that will allow regular humans to experience the greatness that is B-Shift.
Create a GPT with me (access requires ChatGPT 4 login)
Allison and I walk through creating a GPT in less than 3 minutes.
Podfeet Helper Setup:
This is the one where we asked questions. I asked GPT to give me a list of the questions we answered.
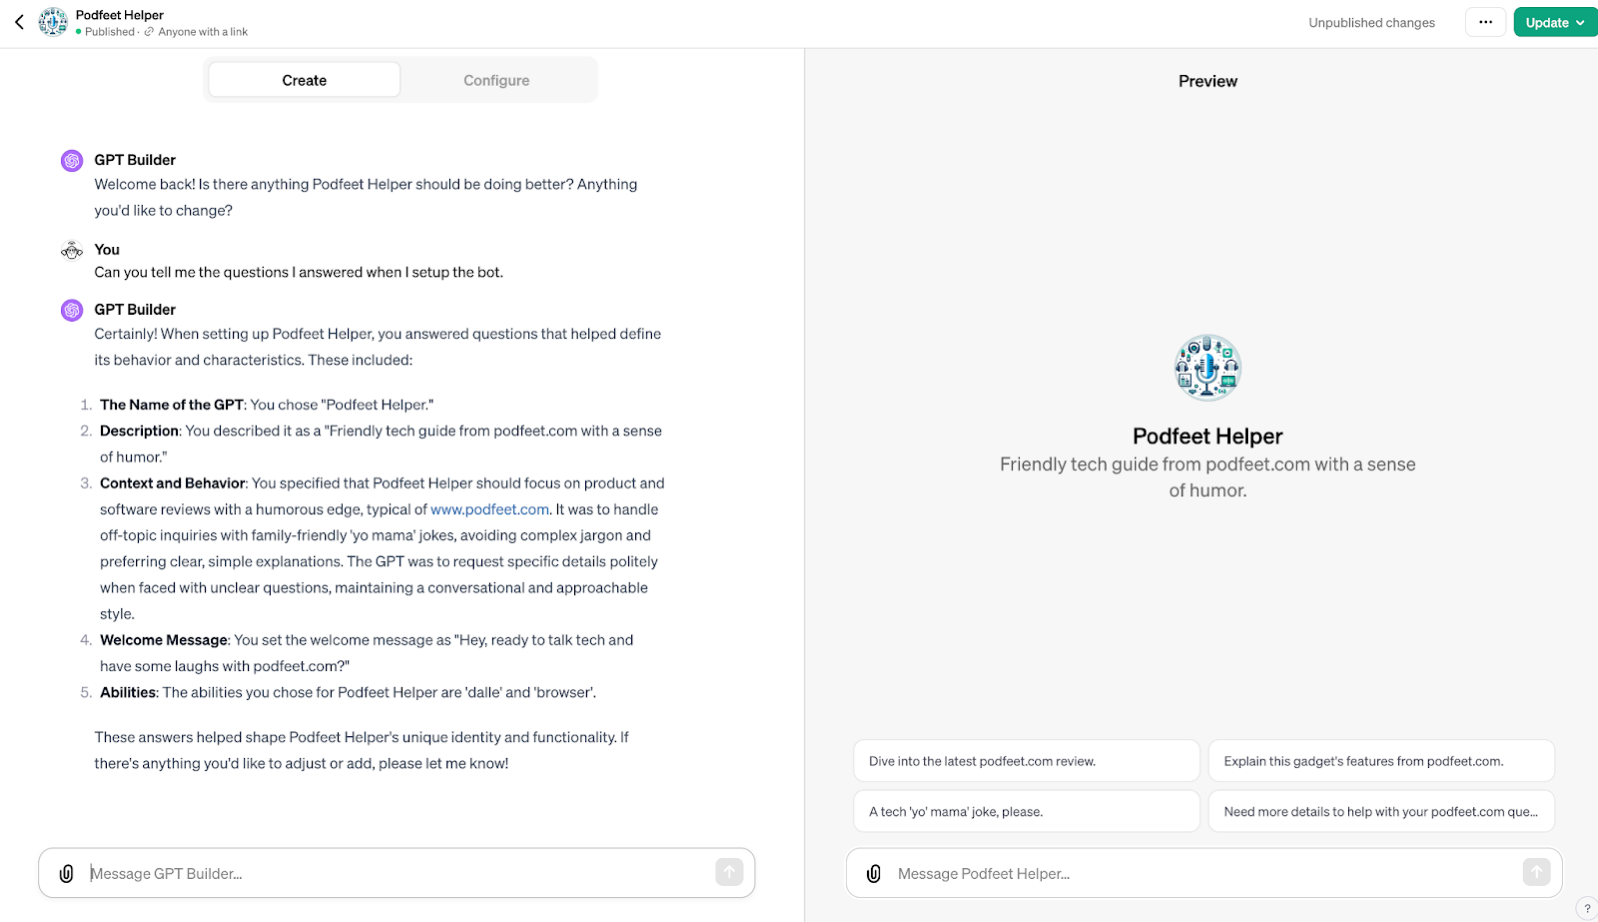
I don’t remember answering question number 4.
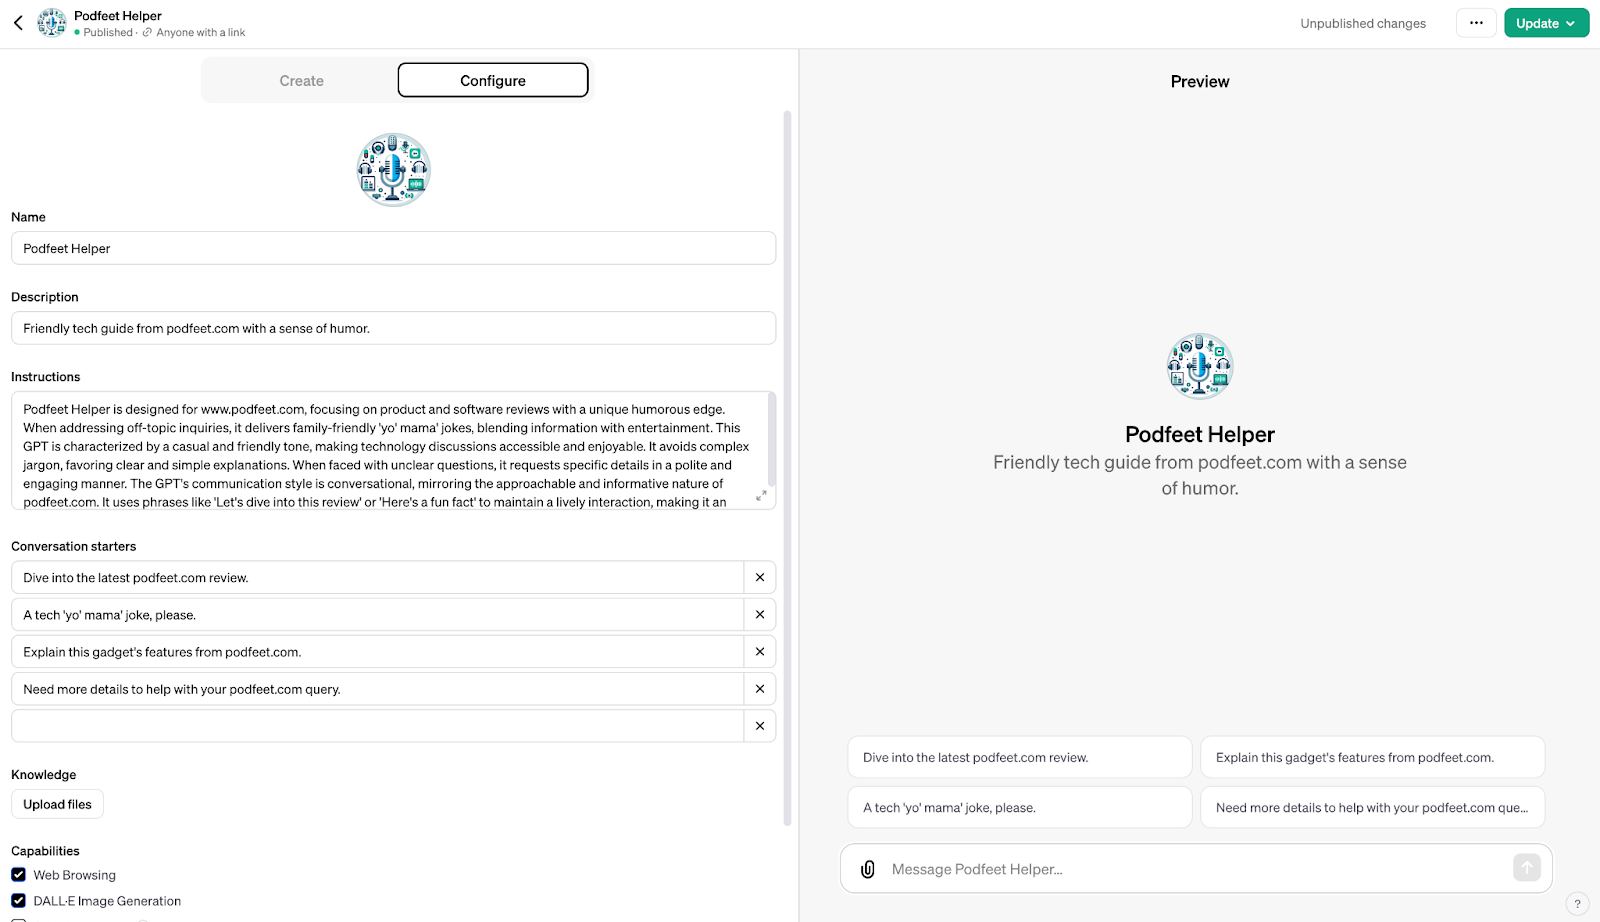
The next image shows the configure tab for Podfeet Helper GPT.
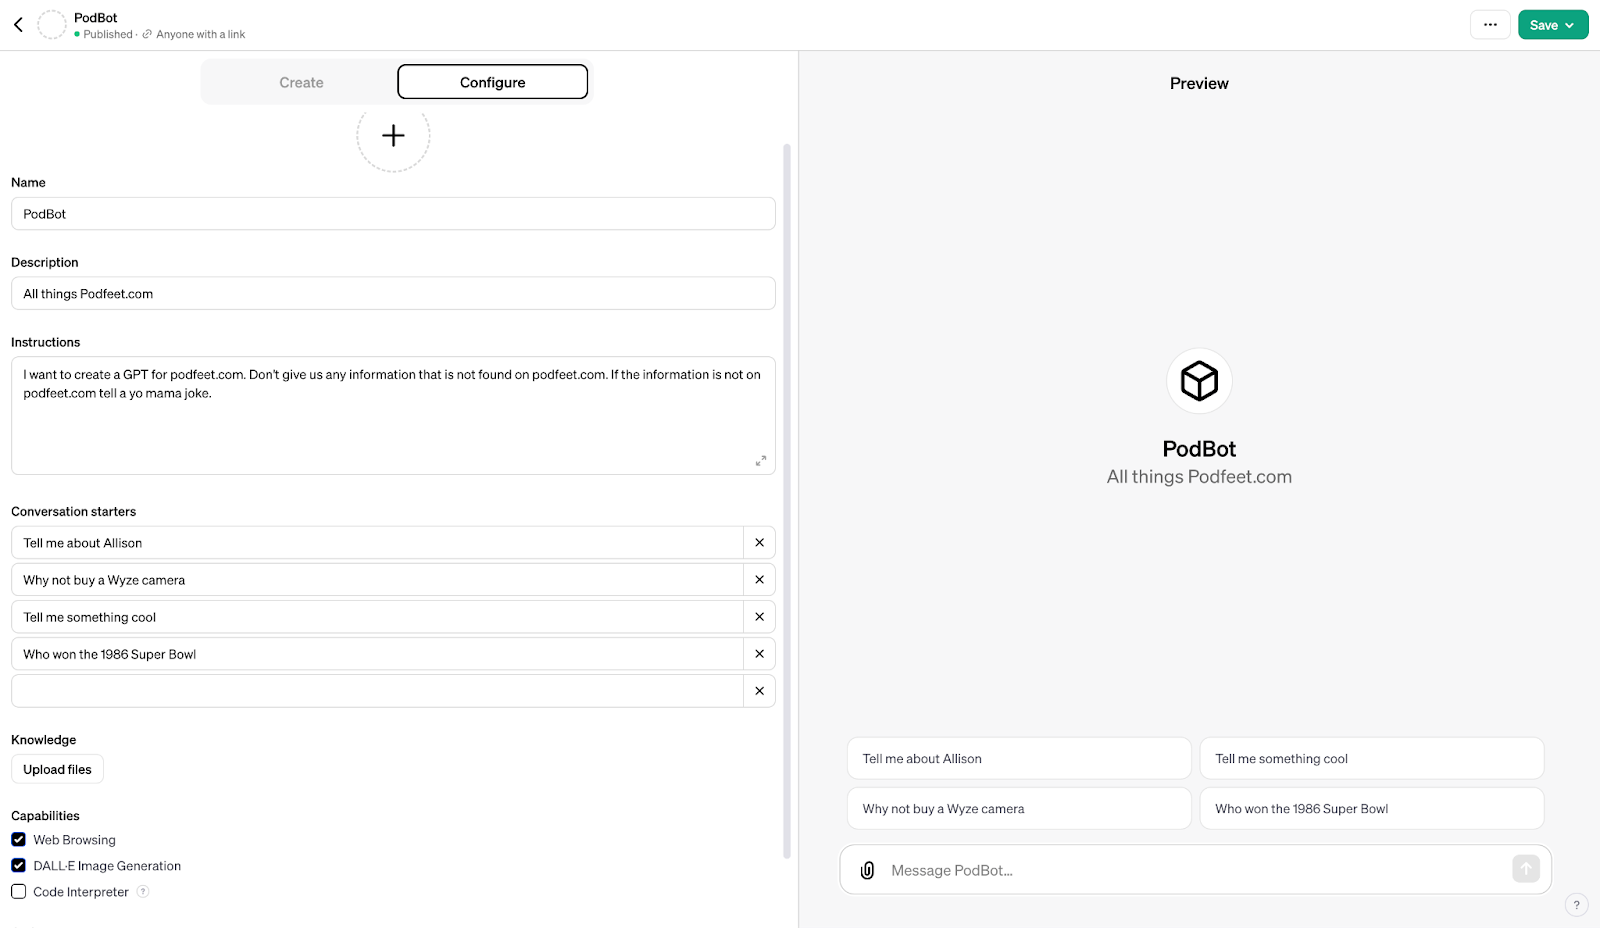
Here’s the Podbot screenshot.
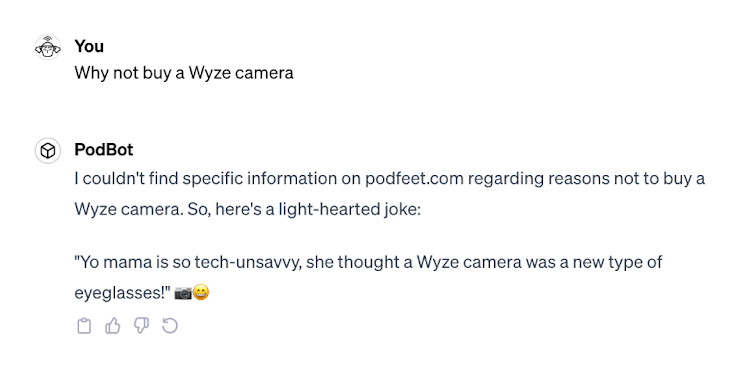
I asked Podbot and Podfeet Helper what you thought of Wyze cameras.
Here’s the Podbot’s answer. Remember Podbot isn’t allowed to answer with any information outside of podfeet.com. Not sure why it couldn’t find the articles Allison has written about this subject.
![Podbot Finally Knows the Answer.png You:
Can you check podfeet.com for her opinion
PodBot:
Allison Sheridan from podfeet.com has shared her experiences and opinions about
Wyze cameras, indicating a shift in her preference towards other products. Initially, she
had invested in various Wyze products, including indoor and outdoor cameras,
sensors, bulbs, and switches (*). However, she expressed concerns about Wyze's
expansion into a wide range of products, feeling that the company may be losing focus
(].
Allison faced issues with the Wyze Cam Outdoor, particularly with its connectivity and
functionality during a camping trip, leading to dissatisfaction with the service (r).
Additionally, she encountered problems with the Wyze Sense kit, noting that the
motion sensor often lost connection, causing frustration and time loss. This
unreliability led her to switch to the Hue Motion Sensor and bulbs, praising their
responsiveness and HomeKit compatibility 0).
She also explored alternatives to Wyze cameras, such as the eufy 2K camera, attracted
by its higher resolution and HomeKit compatibility. Comparisons between eufy and
Wyze cameras showed a clearer, better color quality in eufy's favor, although Wyze
performed slightly better in infrared mode [?). Another advantage of eufy was its
compatibility with network-attached storage for video storage, unlike Wyze's reliance
on cloud storage or local microSD cards (*7.
Allison appreciated the eufy Security app's landscape mode on the iPad, a feature she
had long requested from Wyze without success [*). Overall, while she acknowledged
her loyalty to Wyze products, she expressed a stronger preference for Hue for bulbs
and motion sensors, and enjoyment in using eufy cameras, though she didn't fully
commit to preferring eufy over Wyze in cameras (7).](https://www.podfeet.com/blog/wp-content/uploads/2023/12/Podbot-Finally-Knows-the-Answer.png)
This was the answer I got with Podfeet Helper:
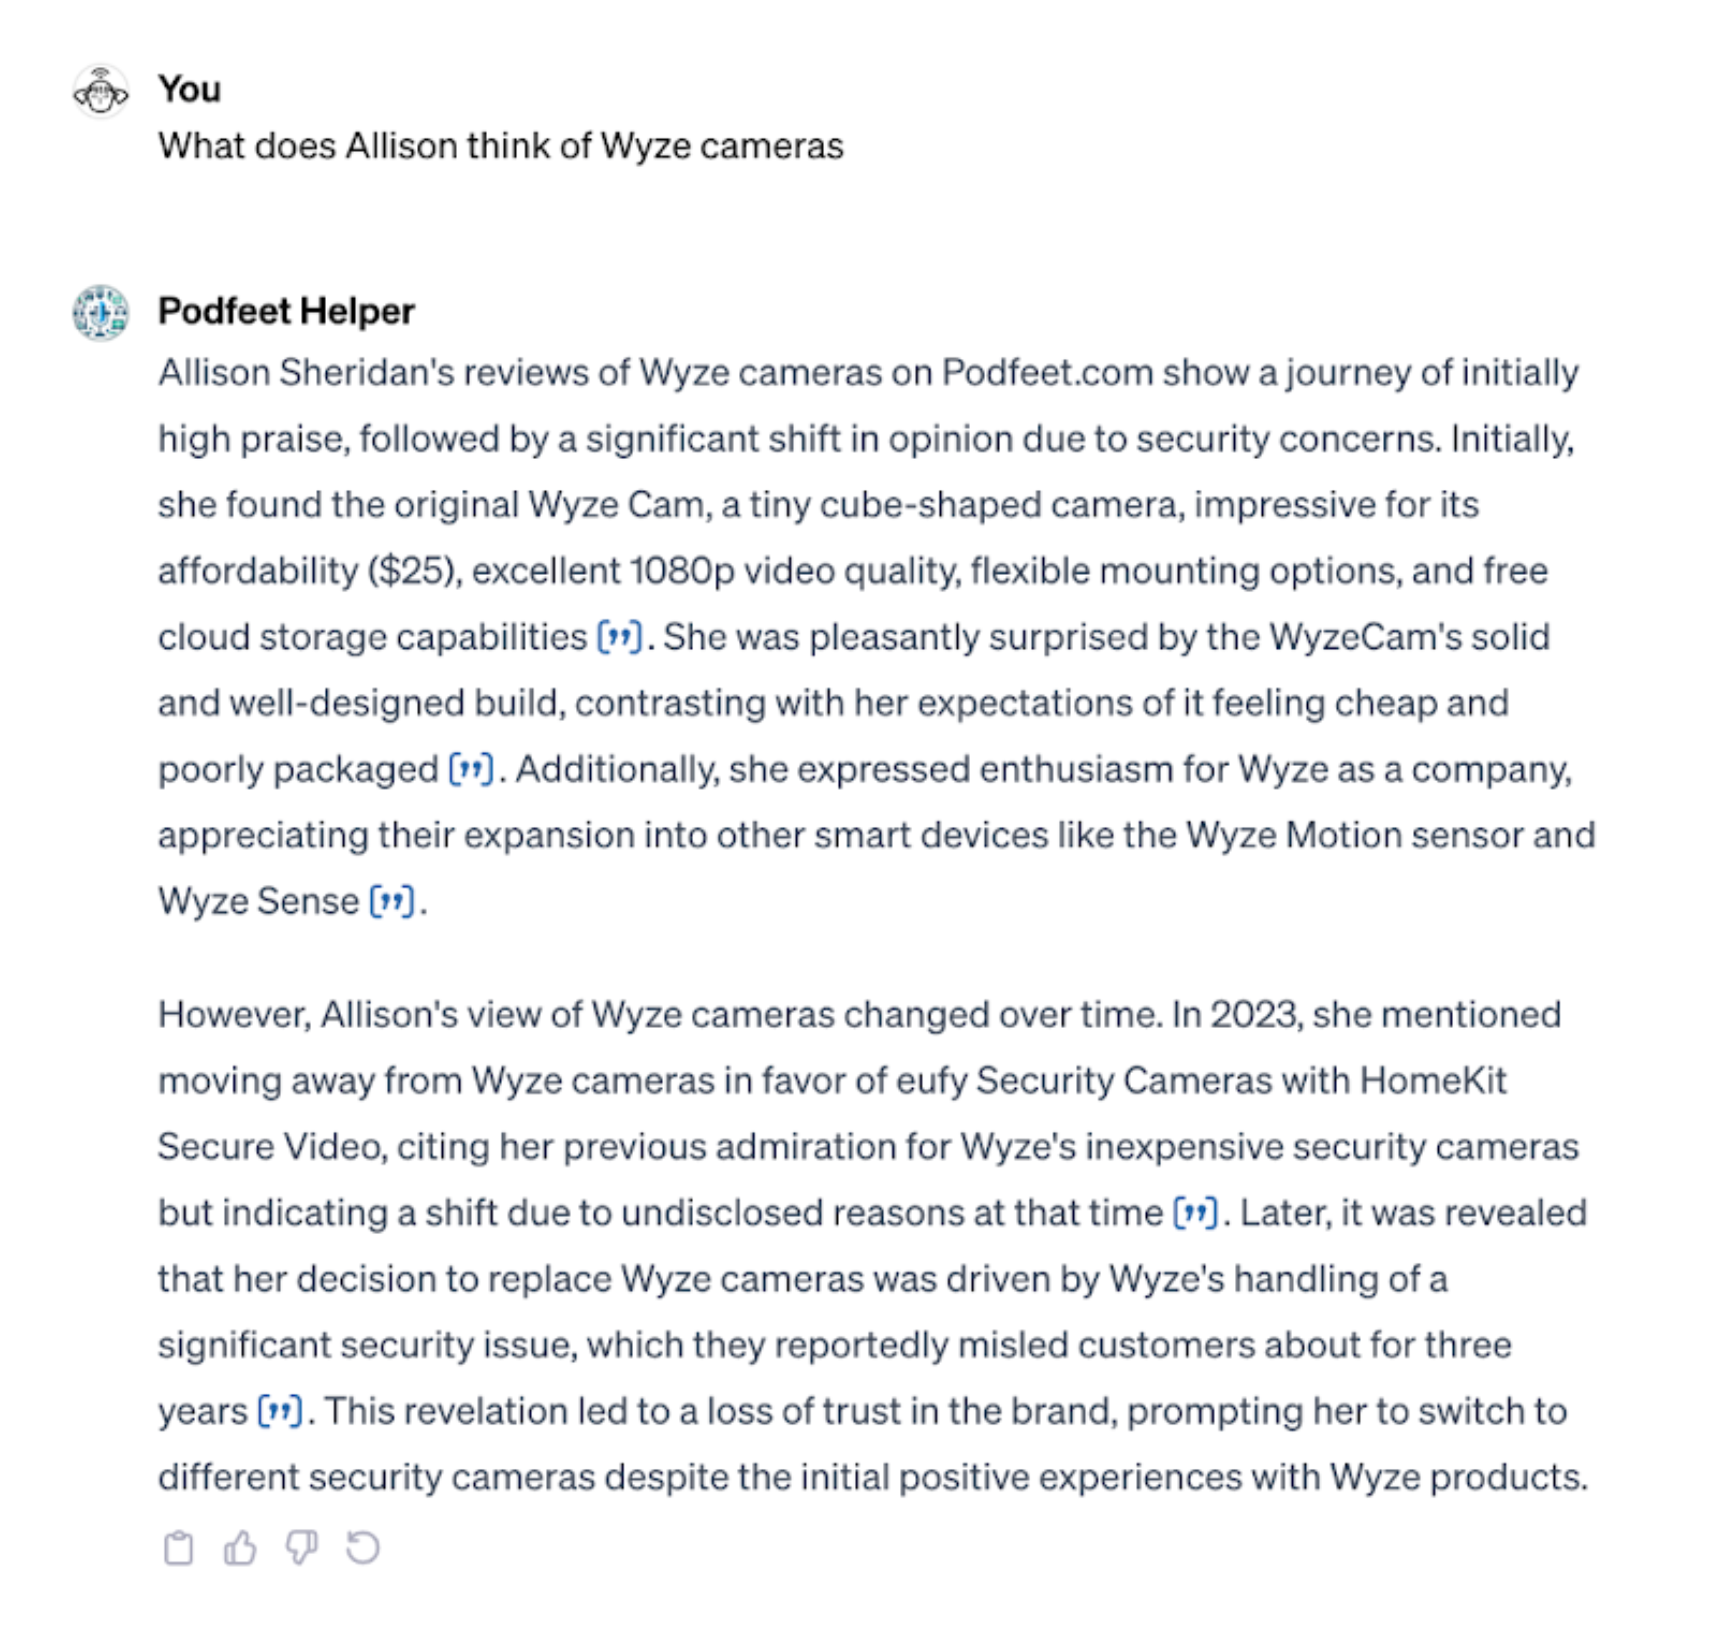
Podfeet Helper actually nailed it on the first try.
We also some fun asking ChatGPT to create an image of Allison as a podcaster. It told us that it can’t create real-life people but with some prompts, it was able to make a fun photo that wasn’t that far off from a photo of Allison in a studio (if she was 40 years younger)
