Last week Physics Nerd Graeme told us how he’ll be doing a mini-series on the tools he uses to make his Physics Shorts videos. This is part two of that mini-series.
I made the decision to write my notes for my Physics Shorts videos using Markdown so that they are in a simple format that has some structure. This will mean I can potentially use AI to put the material in other formats as wanted in future, letting students consume it how they want.
I started with Ghostwriter on PC and it was going well, but I wanted to switch to my Mac and use something beautiful. I asked ChatGPT for some options for Markdown editors that have minimal interfaces and live preview, and one of them was Typora from https://typora.io.
Mininal Design
This is a targeted tool, meaning that I am getting it to do a job: create focused, minimal teaching videos.
It made sense that I would want to create the core content using a minimal interface, removing any clutter and reminding me to keep it simple at every step. Typora has a beautifully minimal design.
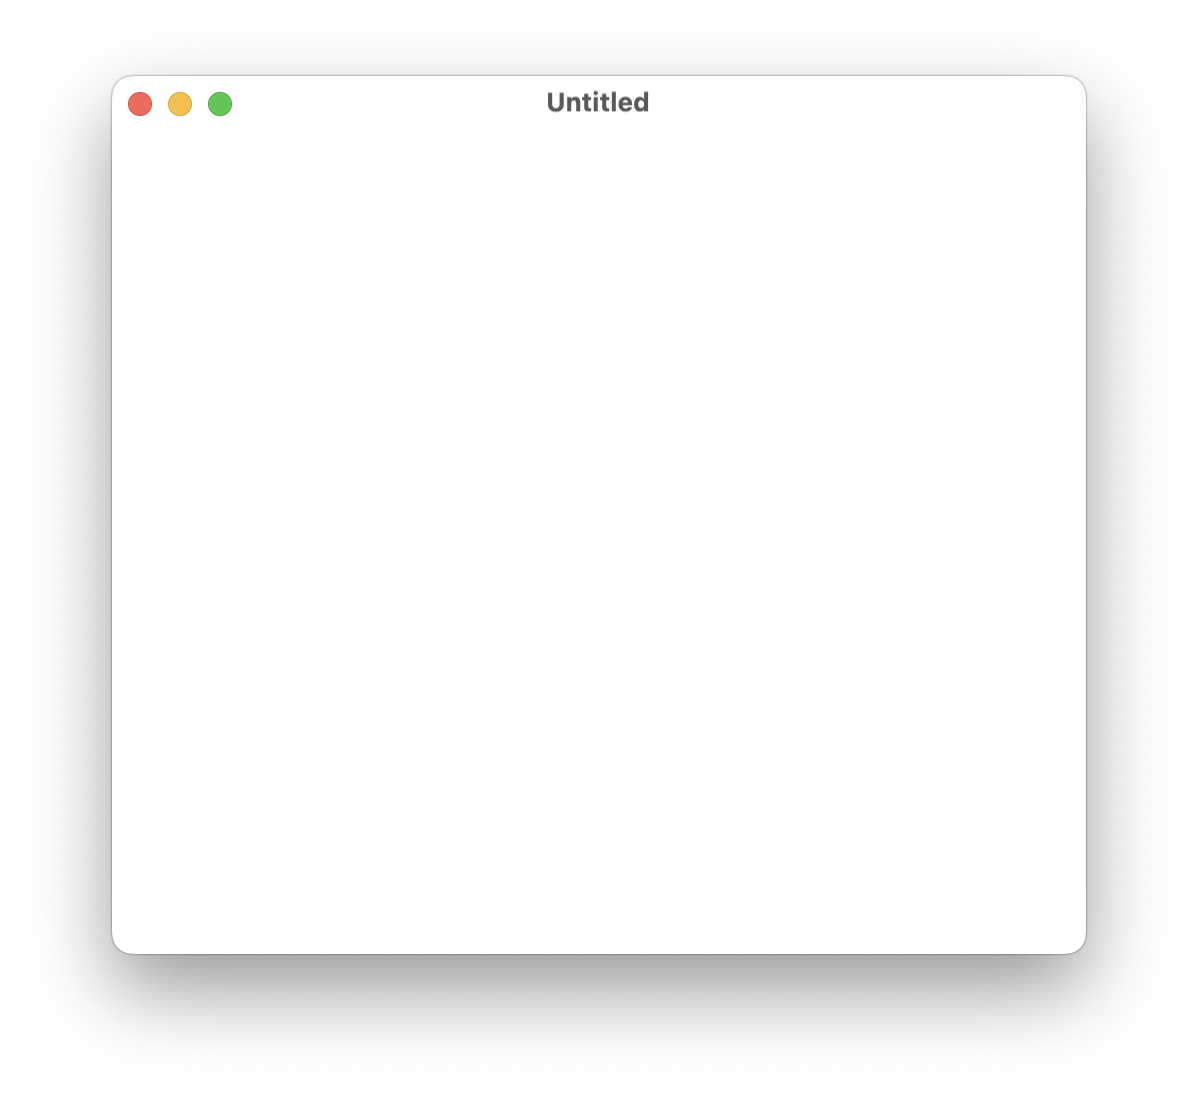
Opening it up gives you a single window that has a blinking cursor, the traffic light buttons at the top left, and the title of the new empty note, “Untitled”.
It was so clean and crisp I went and turned on Stage Manager since my settings for Stage Manager remove icons and widgets from my desktop.
It’s just me and my keyboard, and it’s delightful.

Typing
I know basic Markdown, which means I pretty much know all of standard Markdown, so I could just start typing.
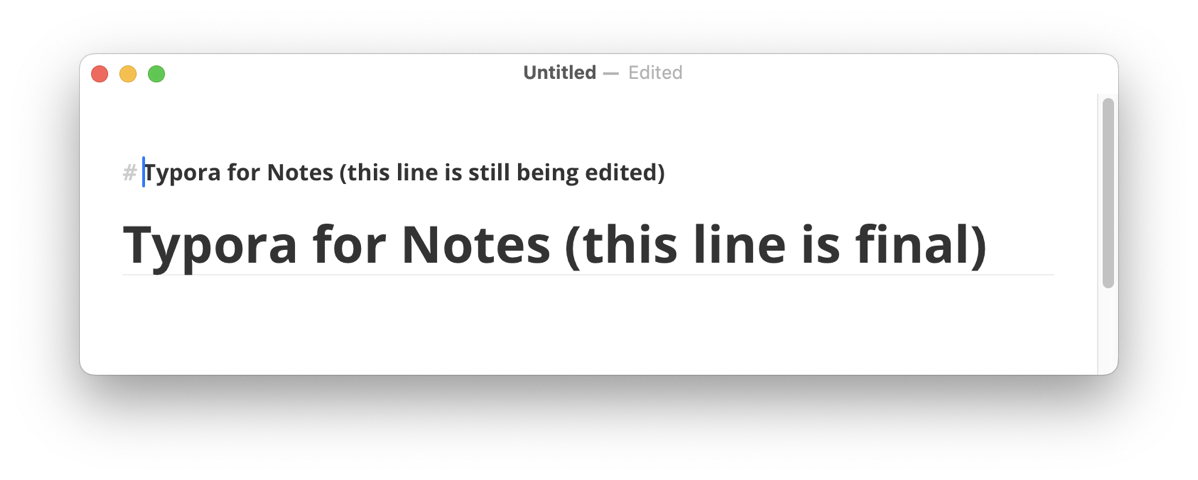
A hashtag and space at the start followed by the title, “Typora for Notes” and tapping return gives me the title. I can then type the short paragraphs, bullets, or sub-headings and not worry about formatting at all. But I was still getting beautiful text, thanks to the Live Preview feature that I demanded, which is implemented really well in Typora.
Live Preview
Some Markdown apps give you two windows, one to type in and one to see the final result, but I find that cluttering.
Other editors don’t give a preview, which is fine but uninteresting.
Live Preview is a feature where the app renders your headings, and bold, and italics, and images on the page as you write, but still lets you focus only on writing. Here’s how it works.
The Markdown syntax for a heading is a single hashtag followed by a space followed by the text of the heading. When I type this in Typora, what I see is a hashtag followed by a space followed by the text of the heading. The magic comes when I press return.
Now, what I see is just the text of the heading, in a big, bold font with a subtle line underneath. Beautifully styled and rendered.
If I want to change something, there’s a handy shortcut, Command-/ that switches to Markdown view, showing all the hashtags etc and and letting me go and edit them. The same shortcut gets me back to the Live Preview.

Images
You can’t actually put an image in a Markdown document as it’s just a text file, but you can add a link. Personally, I simply drag my image into the document. Typora puts in the image and provides me with a pop-up menu asking to make changes.
The first is “Copy image to…”, which will let me choose where to store the file. Typora creates a default folder to store images, but I like to keep them next to the text file for easy portability. If I want to share the document with anyone, Allison for example, I just need to send the Markdown text file and image and it should all work nicely at the other end now that I have gone into options and told Typora to use relative paths if possible. The second option is “Rename or Move image to…” which does what it says on the tin. And the third lets you choose what zoom level to show the image at. Nothing fancy, but all you need.
With Live Preview, normally you just see the picture, but move the insertion point onto it and you get to see the actual Markdown text and make changes directly if you prefer.
Equations
Since I’m doing Physics Shorts, I realised I could do with putting in equations, and thankfully Typora has wonderful support for LaTeX. In case you don’t know, LaTeX is a clever typesetting language that is particularly popular for maths. With something like Typora handling the complexities though, LaTeX resembles Markdown for maths as far as I’m concerned.
In Markdown, we get italics by typing an underscore, the word, then another underscore.
In Typora’s LaTeX implementation, we get xA by typing dollar, x, underscore, A, dollar. It’s so simple and intuitive, that it may as well be Markdown. It can do complex fractions, logs, and even graphs.
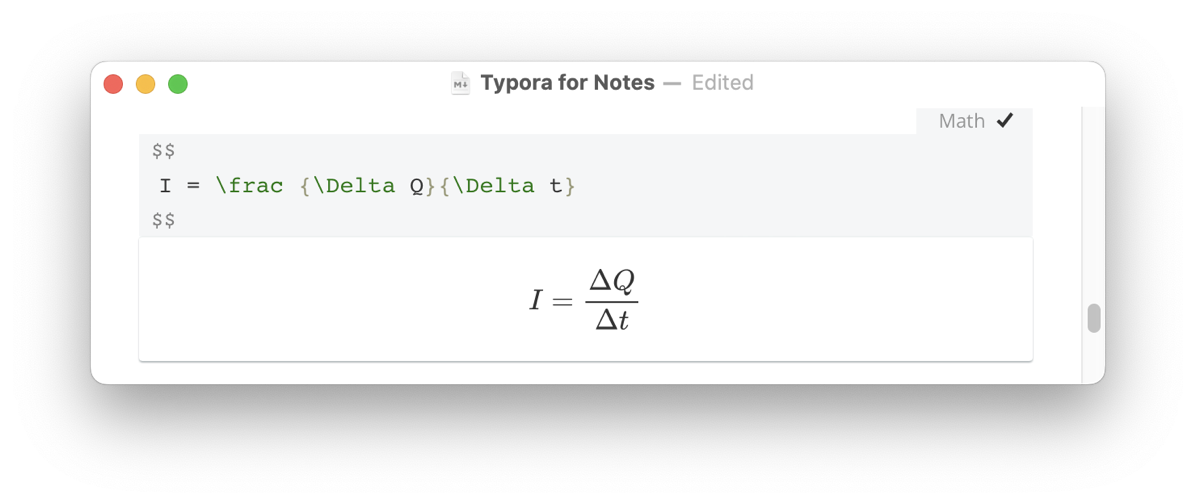
As one more example, let’s look at fractions as I need this a lot. And this time, I’ll get it on it’s own line and centred by using double dollars.
$$
I = \frac {\Delta Q}{\Delta t}
$$
I got this by typing dollar dollar to start doing maths as a block, and Typora adds the final dollar dollar itself for me to add things inside.

So, I typed I equals then the right-hand side. Backslash frac states I want a fraction.
Two pairs of curly brackets are used to house the numerator and the denominator.
Inside the first curly brackets I wrote backslash Delta with a capital D, then Q.
And inside the second curly brackets, I wrote a backslash Delta then t.
Obviously, some things get more complicated such as the graphs, but thankfully ChatGPT is superb with LaTeX and can provide code. Occasionally it didn’t quite work for some reason, but I was even able to tell it I wanted this for Typora, and the updated code worked.
Summary
Plain text and Markdown are often praised as wonderfully future-proof formats, and whilst that’s true there are many cases where I simply want more features.
But for writing simple, focused, text-based documents it is simple, focused, and with tools like Typora, it can be beautiful.
Typora allows the integration of more complex elements such as images and equations, and I’m certain there is much more under the hood. I don’t need that though, I just love the app for its minimal design.
Typora is available for Mac, Windows, and Linux from its website at typora.io with a 15-day free trial, then a license costs $15 for up to 3 devices.


Hi Allison,
In the article, we see the following text
Whatever we’re supposed to see after the phrase “we get…” is not rendered in the article. Instead, we see the plain text that is explained by the text that follows. What is $x_A$ supposed to look like?
Dave Gerlits
Thanks, Dave. In a meta problem we used Typora for the shownotes but WordPress and HTML don’t understand LaTeX. I just rewrote that one bit in HTML so it should look correct now. Appreciate the heads up!