Intro
Physics Nerd Graeme here, continuing my mini-series on my mega project creating A-Level (high school) physics videos for my students called Physics Shorts with Dr Sheppard. Previously I described how I record my audio, this time I’ll describe how I process that audio using Izotope RX11.
This is a professional-grade piece of software that I splurged on a few years ago and just upgraded for a “bargain” $99. Actually, they frequently have sales, so don’t buy this full price.
Quick sidebar: I paid $30 (discounted from \$130) for RX 7 Elements back in 2020. A month later I upgraded to RX 7 Standard for \$99 (discounted from \$399). In 2022 I upgraded to RX 9 Standard for \$99 and in 2024 I upgraded to RX 11 for \$99. So in total, I have paid \$330 + tax so far, and the list price for RX 11 Standard is \$400. So, don’t pay more than you need to!
This mini-review will focus on cleaning up voice recordings and will touch the surface. I’m not an audio engineer and have no desire to be one, but I always aim for the top, hence owning a professional audio repair app. So, the goal here is to produce production-level quality from my bedroom recordings.
Before we start
The first thing with audio and audio clean-up is to start with great audio. It should be good enough to publish without doing anything, then we can perfect it. To that end, I have a condenser microphone plugged into a Scarlett interface that records using Audio Hijack. The microphone is close to my mouth, but not too close. I have a pop shield, and the room is quiet, hence the bedroom.
Starting here, I am playing the original audio adjusted only for volume.
Starting here I am playing the final audio adjusted with RX11 and then volume.
Some might prefer the original, I like the final.
Dialogue Isolate
So, how did I get there?
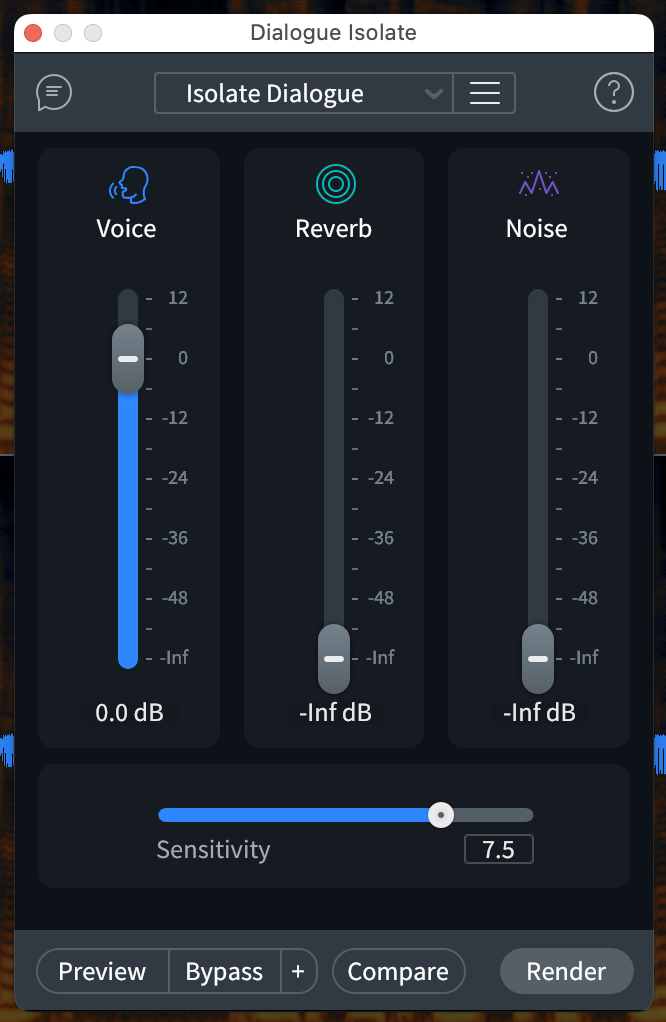
Well, off the bat, RX11 has an amazing Dialogue Isolate function, but I quickly decided that was not for me. What it does is isolate the dialogue from background noises, and it works well but it’s not the best. It has one amazing trick up its sleeve though: it can run in real-time. That means that if I was doing a live show, I could potentially run this module on my audio as I speak. That’s totally bonkers, but I’m recording so I’m heading towards more power.
Repair Assistant
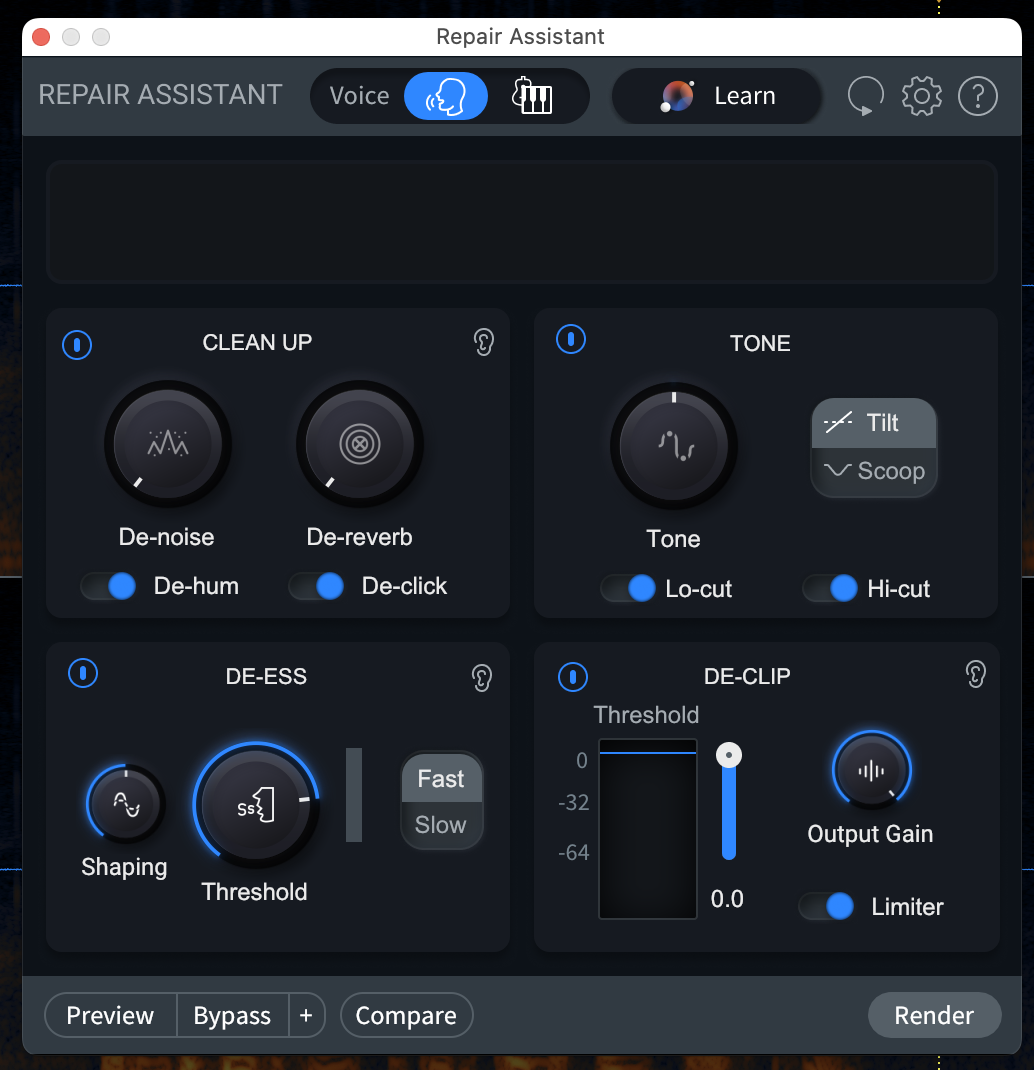
Next up to bat is the Repair Assistant. This has options for Voice or Music focus, so I selected Voice. It then has a nice, obvious “Learn” button so I click that and it uses some machine learning to work out the best settings for my audio. I can then preview it or adjust it, click render and I get a nice, clear audio file. Incredibly convenient, but not the best. It only uses a subset of the total number of modules and I feel like it leaves my voice a bit muddy and, well, I just didn’t like it.
However, it is a superb tool and I will use it for other projects if I just want to get things done. My Physics Shorts are going public though and I want the best I can get.
Manual
Last at the bat is doing it all manually, which sounds like a chore, but I can do chores.
I knew roughly what to do, but to be sure I asked ChatGPT for a list of things to do in order. I ended up slightly different, but I now have a Module Chain that I can load up, run on the audio file (a 2-minute audio file takes about 40 seconds to render), and it’s done. Almost. Let’s back up a bit and walk-through.
So, I recorded an MP4 in Audio Hijack, which I can open directly in the Izotope RX11 editor. This gives me access to the full power of the software, rather than relying on the impressive, but occasionally limited plug-ins.
I then trim the start and end and get to work.
De-plosive Module
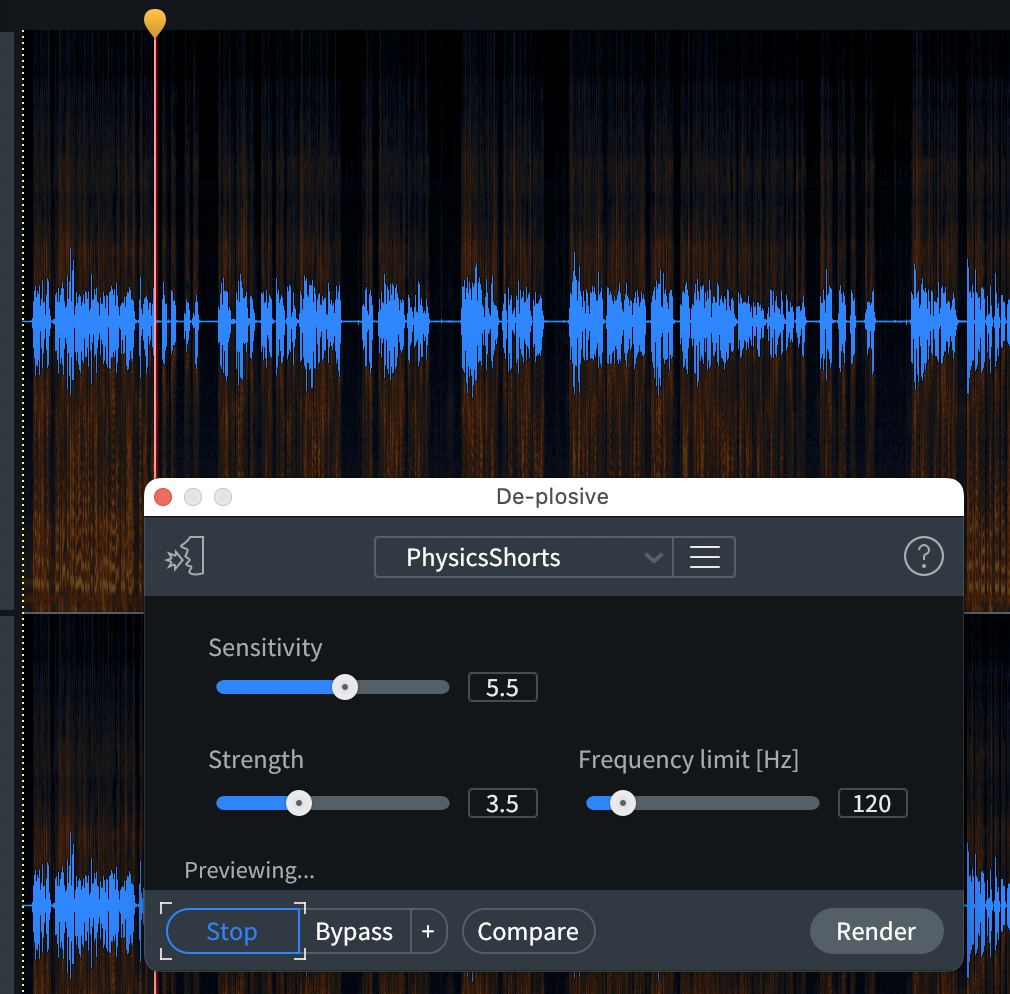
Despite my pop-screen, I still get some popping from the Ps and Bs, possibly because my mouth is a bit close. Opening this up gives options for Sensitivity, Strength, and Frequency. There is also a list of presets, so I pick the one at the top of the list “Gentle Lav Cleanup” and those three settings spring to values to do whatever they do. I don’t understand them, but it doesn’t matter, as I’ll explain.
At the bottom of the little window are buttons for Preview and Bypass, along with Compare which I never use, and Render.
Tapping Preview starts playing the file with the current settings applied. After listening for a few seconds, I stop it, select Bypass, and then Preview again. This time, it plays without applying the De-plosive Module. After a few listens, I move to the next preset. And the next. And after going through them, I get a feel for which one does the best for two equally important aspects:
- cleaning away the plosives
- leaving the rest of the audio unaffected
I could then make adjustments to those sliders because I now have an idea of what I like, even if I still don’t understand what they do. If I make changes I like, I can save my own preset.
When I’m happy, I click Render, which applies the De-plosive Module to the audio file, and I can move on.
Voice De-noise
This Module has 2 ways of working, either Adaptive or not Adaptive. With Adaptive selected, the machine learning will keep analysing the noise as it goes along making the best choices. All I need to do is make sure that the options are selected to optimise for Dialog not Music and for Gentle not Surgical. That Surgical setting is a great name, and just means it will remove more noise, but at the expense of artifacts. I want my audio to stay true to the original, so I choose Gentle.
With no other settings, I click Render and move on.
But, the other option is also good. Turning off Adaptive enables the Learn button. If your audio has a consistent background, this is a superb way to remove the noise. Start by selecting a section of audio that is quiet and click Learn. This lets the app know what silence should sound like. Deselecting the section, you can now click Render and apply this to the file. It’s a great option, but it has that “Learn” step, and so ultimately I went with the Adaptive option.
De-click
Any audio I record has little clicks in it. These are usually electrical noises, but sometimes I pressed a key on the computer and that got picked up. So, De-click clears these out. I repeat the process as before, using the various presets and Preview to find something that works, but there’s a nice twist this time.
In order to remove clicks, the app needs to find clicks and isolate them so there’s an extra option on the bottom of the window, to output clicks only. Selecting this does what you’d expect: when you preview now instead of hearing your voice, you hear the clicks. This is great for letting you know what is being removed, helping you find that sweet spot where you are removing the annoying clicks, but not too aggressively.
Others
Rather than give repetitive detail on every module, just assume that I am doing the same process for each of the Modules I use:
- Process for each preset in each Module
- Listen to the preview
- Listen to the original
- Listen to the ‘output clicks/whatever’
- Repeat
- Adjust settings
- Save my own preset
- Render the file
- Modules
- De-plosive
- Voice De-noise
- De-click
- De-crackle (similar to de-click, but different kind of noise)
- Voice De-noise (this gentle denoising removes one or two remnants of noise)
- Mouth De-click (set to transparent removal to catch a few lip and tongue-smacking sounds)
- De-hum (for fans and air-con)
- Breath control (I tend to skip this now because I am far enough away from the mic, but if needed it helps reduce inhale and exhale sounds)
- EQ (a gentle treatment using the “Reduce harshness” preset that, well, reduces harshness)
- Loudness Optimize (reduces the difference between the quiet and loud section, which can help if my voice dropped off after a confident start)
- Normalize (as the final step, brings the levels up to a consistent maximum loudness without clipping)
The Module Chain
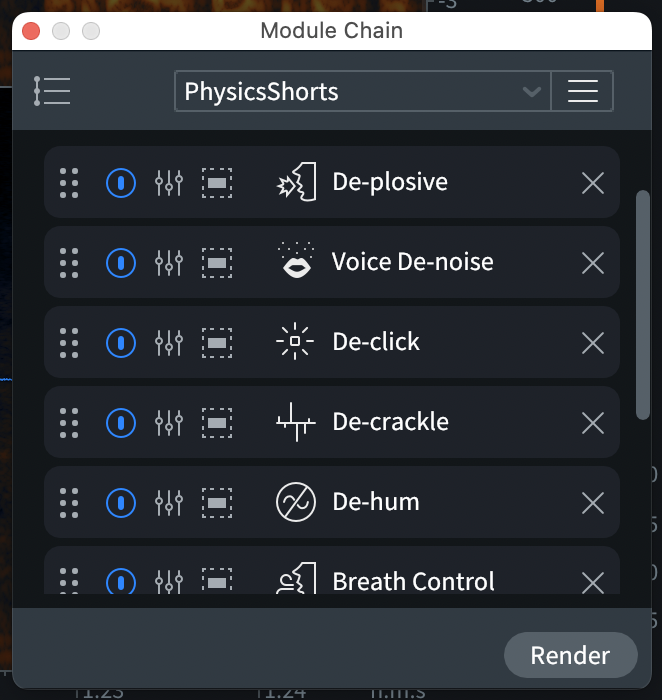
That’s a lot of steps, but now that I have chosen my settings, and assuming I record in a similar way every time, it should all just work without me doing anything, which is where Module Chains come in.
After spending the time going through each Module in the order I want, rendering each time, I have a workflow of 11 Modules. A Module Chain is a saved list of these Modules and the settings they used.
Creating a chain is simple. I click on Module Chain on the top right of the screen and get a new window. In the main area is a big plus button, and clicking on that brings up a list of all the modules available. Select De-plosive as it is the first one in the chain, and it will appear in the window with the settings currently active, which are what I just settled on. Repeat this for each module and click on the hamburger button at the top to save the new Module Chain for posterity.
Now I can open my next audio file and simply click Render in the Module Chain window to apply all of the Modules in order. This may take a few minutes, but I can walk away and make a coffee. And I’m done.
So, I spent about half an hour setting up my chain, but now I can get great quality audio without any work. Except for the scripting, editing, and recording of course.
Final Touches
This is almost good to go, but sometimes it’s not quite right. One thing is the EQ might have made my voice muddy, but in a nice touch the history records each step in the Mocule Chain. That means I can easily undo the last couple of steps, and try different EQ settings.
This is almost great, but I find that de-click misses things between sentences, or maybe I hit the mic or something.
I could go more aggressively with my settings, but then I’d risk losing quality.
Instead, I listen to the file again in Izotope, watching the waveform scroll along.
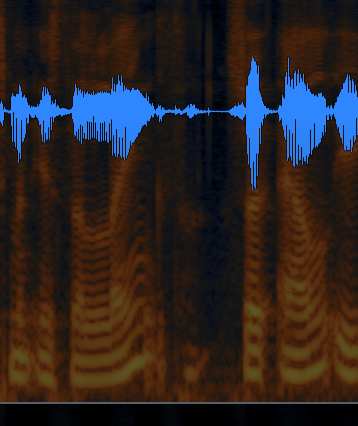
It’s not just a waveform though. The normal waveform is there in bright blue, but behind it is a spectral map of the sound. This makes little sense to me, but I have learned to use it for my final step.
In-between sentences there are two problems, and both are visible:
- clicks: these are shown by little blips on what should be a flat blue line between sentences
- breathing: this is shown by a small squiggly blue line if it’s an inhale, but if it’s just heavy breathing the blue line barely changes; instead, it can be seen in the orange spectral map
Whichever it is, I see it, select it, and then use the Gain Module set at about -28 dB to quieten it down.
With that all done, I can save the final audio as a Wave file, or AIFF, FLAC, OGG, or MP3 if I prefer.
Having eschewed the new fancy Dialogue Isolate and Repair Assitant tools I wonder at this point if I’m getting any benefit from spending $99 on my upgrade from RX9, but hey-ho.
It’s a great tool and I highly recommend it if you can justify the cost. Definitely wait for an offer, though.
In the final segment, I’ll go through how I use Keynote to make beautiful videos for YouTube.

