Have you ever been working with an Apple Pages, Keynote, or even Numbers file and wanted to extract the images? Here’s the process:
- Open the document
- Find the first image you want to extract
- Right-click on the image and choose copy from the contextual menu
- Open Preview
- Choose File → New from Clipboard (or use ⌘-N)
- The image will open full-sized in Preview which is great, and now you can save it
But what if there are a lot of images in the document and you want all of them? Rinse and repeat. Over and over and over again. What if I’ve just emailed you my Africa travelogue as the original Pages file with 696 images in it and you really want to have every baboon, giraffe, hyena, hippo, lion, and warthog photo in a folder of your very own? That would get pretty darn tedious.
Copying All Images in an iWork File
I have to give credit for the solution to this problem to two people, Chris Mackay on Mastodon and Michael Westbay @WestbayStars in the Podfeet Slack.
Between the three of us with quite a bit of experimentation, we figured out a method that will let you see a folder holding all of the images in an iWork document. (I thought the name iWork was deprecated as the handy name for Pages, Numbers, and Keynote but Apple is still using it: www.apple.com/iwork.)
The trick is to open the document as a Package File. Ok, what’s a Package file? According to Apple, “A package is a collection of files that your Mac reads as one file.” Not very descriptive but it might become more obvious as we work through this.
Rather than being like one of those recipe sites that spends 1200 words describing their grandmother’s pantry before telling you how to make the best blueberry pancakes, I’ll give you the solution to the problem to be solved, and then later circle around and explain why Apple even has this concept of a package file for iWork documents.
Here’s the easy peasy but arcane instructions to get direct access to the folder containing all of the images in an iWork document.
- Open the document
- From the menu, choose File → Advanced → Change File Type and change it from Single File to Package File
- Save the document
- In Finder, right-click on the file and choose Show Package Contents
- This will reveal several items, one of which is a folder called Data which contains the images
- Copy out all of the images (don’t mess with them inside the package) to a new folder
Like I said, arcane, but easy, right?
If the images had names before being dropped into the iWork document, they’ll be preserved in the package, but more than likely you’ll have a big pile of “temp” or “unknown” prefixes with numbers as the names. The other thing you might find is that there are small and regular versions of the same image in the Data folder.

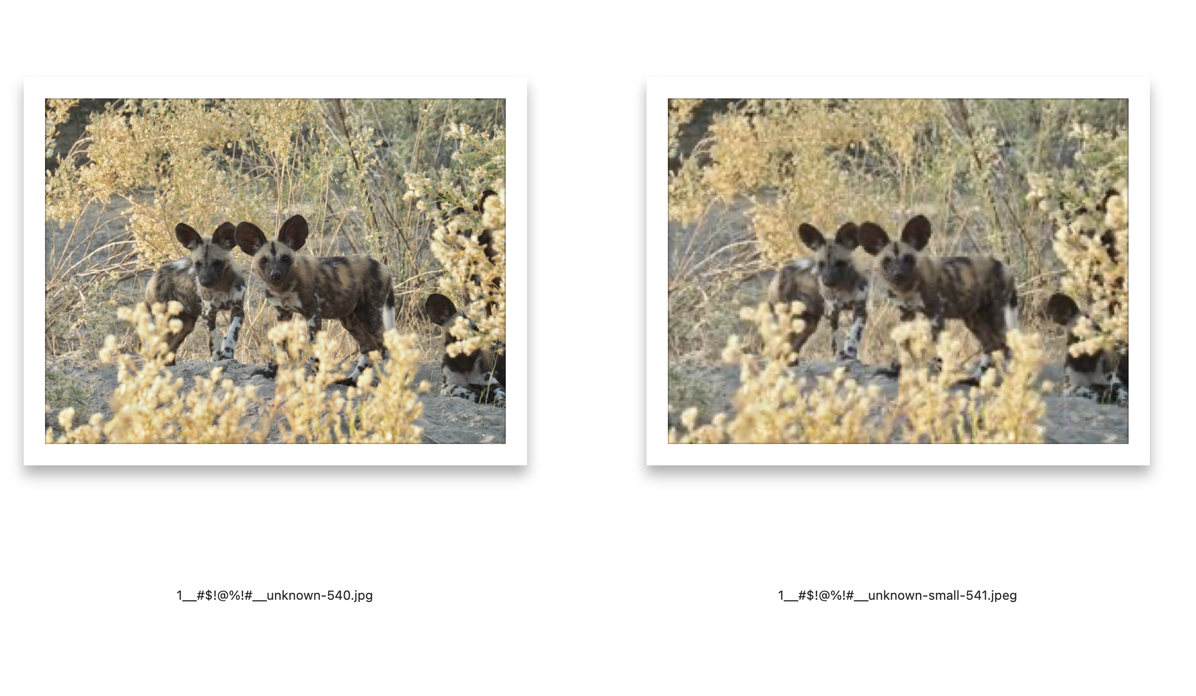
But here’s where it gets SUPER fun. The small and large versions don’t have the same image number. I was perusing the 696 images in the package file for my Africa travelogue and I found an image of the incredibly adorable wild dog puppies we saw on safari. I found two versions of the same image, where one of them had “small” in the file name.

One was 640×480 and the other was 256×192. Now 640×480 isn’t much to write home about but that second image can only be described as a thumbnail. The two file names had identical glop up front that looked like a cat walked across a keyboard only on the special characters row. They both said unknown next, but one was -540 and the other was -small-541. The “small” is helpful to tell them apart but why aren’t the numbers the same?
1__\#$!@%!\#__unknown-540.jpg

1__\#$!@%!\#__unknown-small-541.jpg
If you’re looking for the “real” images, after you copy them out of the package file, be sure to ignore or delete any images with “small” in their title. Or take your time and really look through them to figure out which ones are the good ones you want. Editorial note: I said there were 696 images in my Africa Travelogue. If I eliminate the 347 images with “small” in their titles, there were really only 349 images in the travelogue. I’m sure you appreciate my clarification.)
But What About Images in Tables?
The instructions for peering inside Package files are handy for mass export of images from iWork documents, but with Numbers files, if you have images in cells you want to extract, this is the only way you can do it.
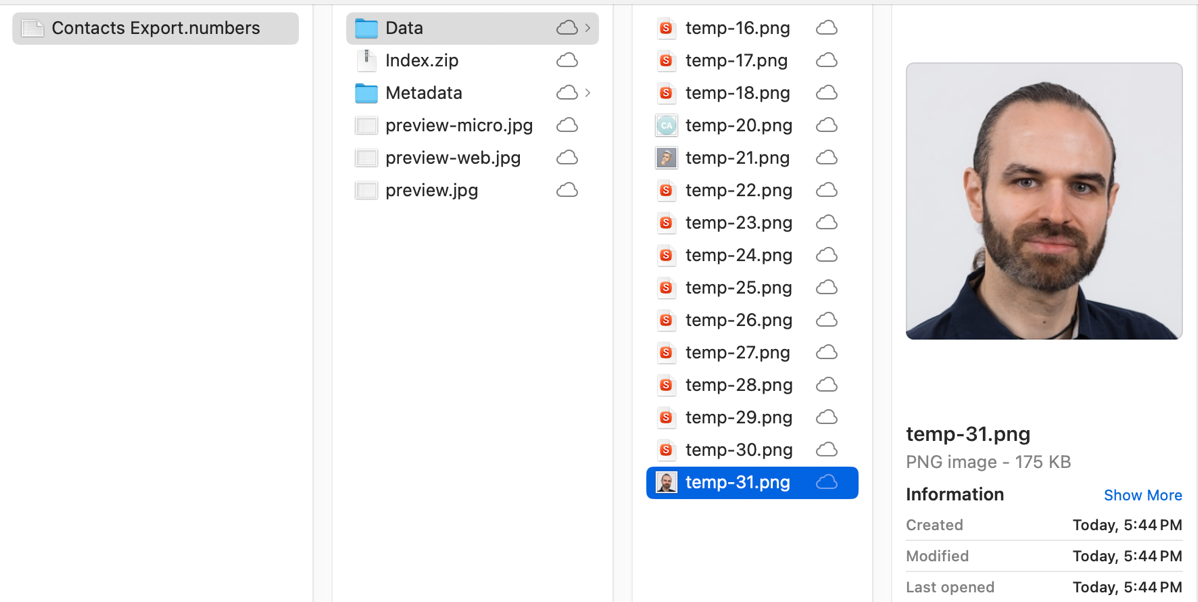
Back in July, you may remember I was trying to help listener Bob clean up his Contacts. Bob was very interested in maintaining his current set of contacts as maybe an archive, and he really wanted to be able to maintain all of the little images for people that he’d added. In the process of figuring out a path for him, I followed Apple’s instructions on how you can drag people from your Contacts application into Apple’s Numbers.
This process worked, and it created a column called “Images” that contained all of the little photos of the individual contacts. But what I couldn’t figure out for Bob was how he could extract those images from Numbers. You can’t even copy images one by one. Having a backup that you can’t actually use seemed rather silly.
My only solution at the time was to embiggen the image as much as you can by increasing the size of the cell, and then take a screenshot of the image and save it.
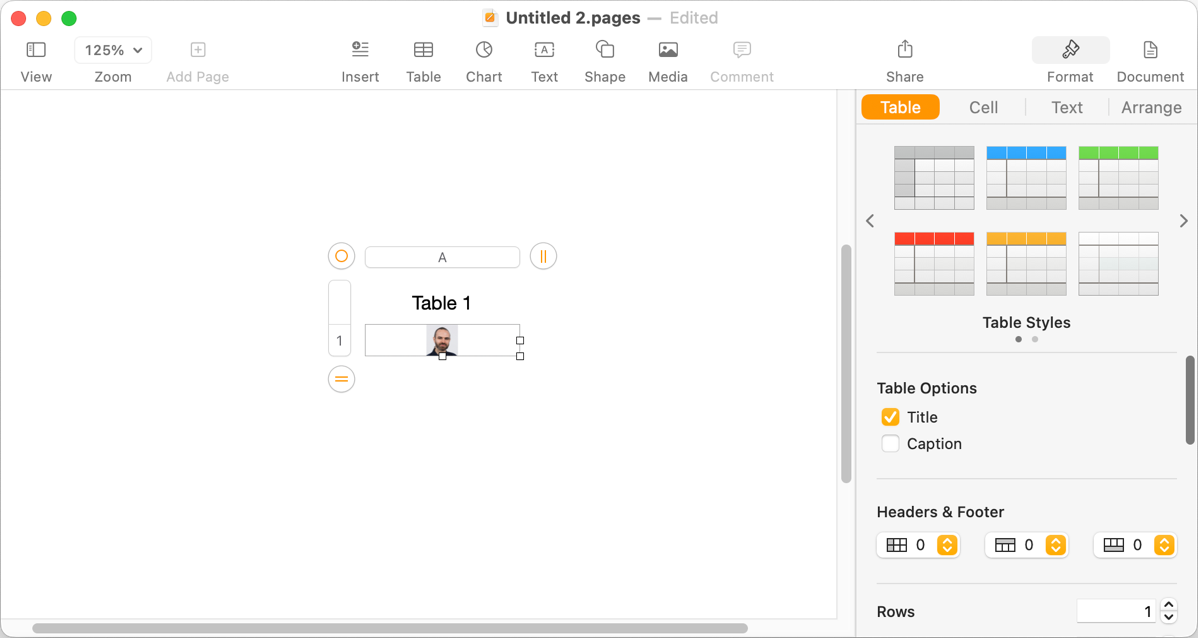
Now that we’re deep inside this very obscure problem you may never run into, here’s another curiosity. If you paste an image into a Numbers document, not inside a cell, you can copy the image and open it from the clipboard in Preview just like in Pages and Keynote. Also, if you have an image in a cell in Numbers, you can copy it and paste it into Pages or Keynote, but it doesn’t paste the image, it creates a 1×1 table in the receiving application with that image in the only cell.

I tried the same thing going the other way too. In a new Pages document, I dropped in a blank table and then pasted an image into a cell. I right-clicked on the image, selected copy, and then pasted it into Keynote and I got a 1×1 table in Keynote with the image in that one cell.
It feels as though iWork is like the seagulls in Finding Nemo yelling “Mine! Mine! Mine!” and never letting those images out!
This very problem was why Chris and Michael jumped in with the solution of peering inside the document’s package contents to extract the images from the cells. Bob will have no clue which image goes to which contact but at least he can get the full-sized images out of Numbers.
Why Do Package Files Exist?
Now that we’ve figured out how to extract images from the Data folder inside a Package file of an iWork document, you might be asking yourself why Apple even has this option to change the file type to a package file. I did some digging and found an Apple support document that explains why.
Apple says:
If your document is larger than 500 MB and you aren’t using Apple File System (APFS) or you’re using an older version of Pages, Numbers, or Keynote, the app might prompt you to save the document as a package.
They go on a bit in the article to say:
If you’re saving your document to your hard drive, you’re experiencing wait cursors or slow performance when editing your document, or you’re saving your document in iCloud Drive, choose Use Package.
They caution that:
If you plan to upload your document to a third-party cloud sharing service like Box or Dropbox using a web browser, choose Keep Single File.
Reading Apple’s reasoning for letting us change our file type to Package files suggests to me that I got this article out just in the nick of time. As soon as nobody is using a spinning drive, and no one is using an older version of iWork, and APFS is the standard file system for everyone, Apple might remove this capability.

