Earlier this year I suddenly became very interested in the humidity of the rooms I spend a lot of time in — namely my bedroom, my kitchen, my home office, and my work office. Why? Because I discovered that if you are prone to nose bleeds, dry air is really not your friend.
In the immediate term, I was pleased to discover that a pair of cheap dumb digital thermometers I bought on Amazon for about €10 some years ago and show humidity as well as temperature. I bought the first one when our office was having some climate control issues and I needed to quantify just how badly our ‘smart’ building was failing to deliver on its promises (12ºC some days!) Since they were cheap and since they gave a nice clear temperature reading I bought a second one for the home office.
I just checked in my Buy it Again section, and the devices are still on sale for just €7.33 — ThermoPro TP49 on Amazon
If you don’t need or want smart home integration, I still recommend these little sensors because they work well and have an amazing battery life (years!) I couldn’t bring myself to throw mine out because they have a magnet on the back as well as a kickstand. One has been stuck to the magnetic whiteboard in the kitchen, and because personal smart devices and corporate networks shouldn’t be mixed, the other one still sits under my monitor at work.
I think one reason I may like them so much is that they give a summary of how you should interpret the combined temperature and humidity using a smiley face, which can be happy, sad, or neutral.
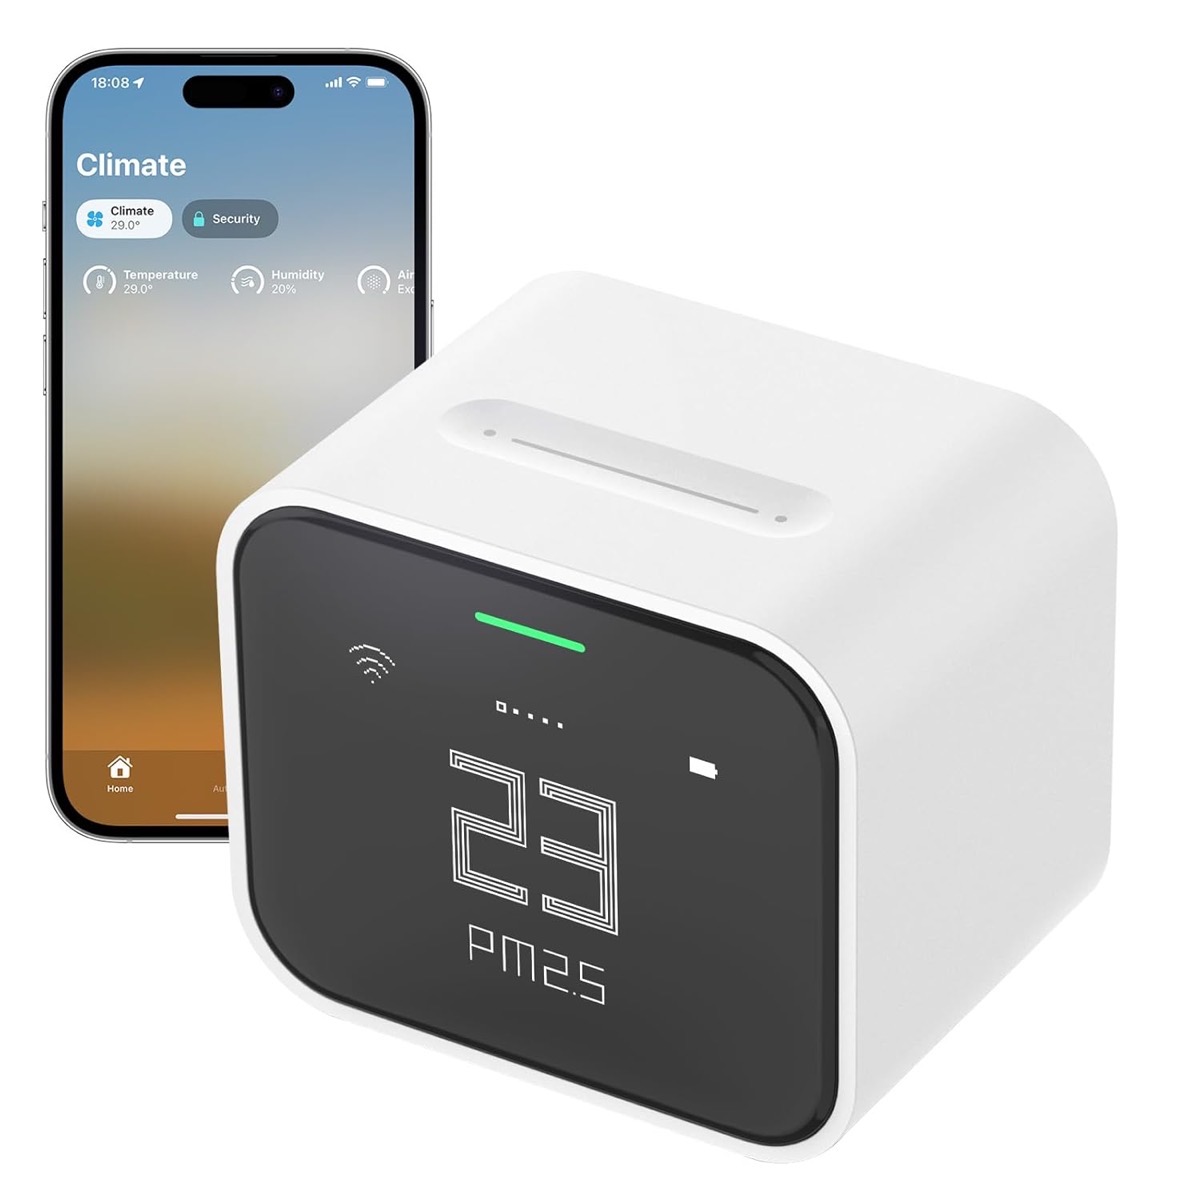
But, I wanted a smarter solution for home than my dumb little device, so I spent some time searching for HomeKit-enabled air quality sensors that were highly recommended by a source I trust. I can’t remember which of the long-running Mac blogs I found the recommendation on, but I decided to try the Qingping Air Monitor Lite. It’s small, can be powered over USB-C, has a gently back-lit display, and has a nice array of sensors that are made available through HomeKit.
At a little under €100, it’s not cheap, but I really like that its display dimming works well, so it’s easy to read 24×7 and doesn’t cast too much light at night.
The user interface on the physical device is quite cool. There are some buttons for pairing and stuff, but in day-to-day use, the entire interface is a touch-sensitive strip at the top of the device that you tap or slide your finger across from right to left or left to right. It’s a very intuitive way to swipe between screens on a device without a touch screen.
In terms of sensors, the screen lets you swipe between temperature, humidity, PM 2.5 particulates, PM 10 particulates, and CO2. In HomeKit you see the two particulate readings combined into a simple Air Quality rating like ‘excellent’, ‘good’, ‘poor’, etc., which is probably actually more useful than the raw numbers displayed on the device itself.
A nice feature the device itself does have is a little LED above the number that tells you how you should interpret the number — orange is too dry or poor, green is good, and blue is too humid.
The device also has a battery, so while you can keep it plugged in all the time and have the screen be always-on, you can use it in battery mode and take it with you from room to room. In this mode the screen goes to sleep after a few minutes so you have to tap the top of the device to wake it up when you want a reading. I keep mine plugged in all the time, one on the shelf above my monitor in the home office, and one next to the bed.
You can pick one of these devices up on Amazon today for €93 — Qingping Air Monitor Lite (or $76 from the US Amazon store)

OK, that’s great, but knowing the air is too dry is worse than useless if you can’t do anything about it! What’s the point in adding worry and stress to your life if you have no way to react?
So, once I had a good idea of what the air in Ireland tended to be like, I went on the hunt for a HomeKit-enabled humidifier. Note I said humidifier, not dehumidifier. What I needed was the ability to make unhealthily dry air wet. Others often need de-humidifiers to tackle damp old buildings, but that’s not the problem I was trying to solve.
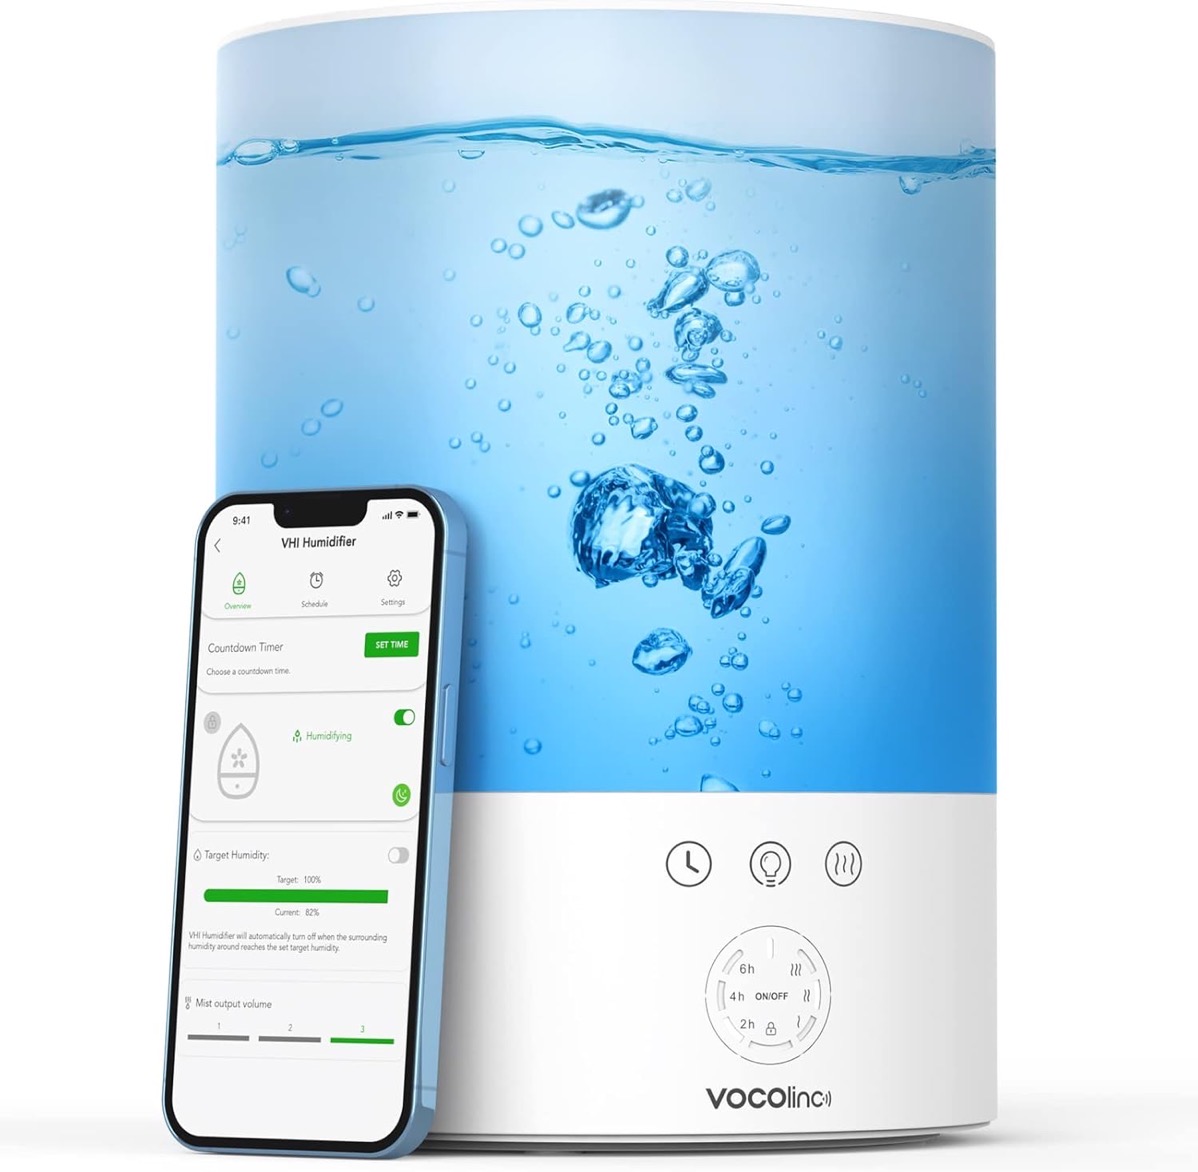
Again, I searched for recommendations from trusted sources, and I settled on the VOCOlinc Smart Humidifier for Bedroom 2.5L.

Some devices can both add and remove humidity. This one can only add humidity, but it does it without heating the water, so it doesn’t make steam, it sprays a very fine mist of cold water instead. This was important to me, because when I did some reading on trustworthy medical sites about what to look for in a humidifier, there was broad agreement that this was better.
The other reason this device caught my attention was that it was specifically designed for use in a bedroom, hence it has:
- A big tank that can last the five days you can use it between cleanings
- A sensor-activated mode where it only injects water into the air when the humidity falls below a configured threshold
- A timer so you can turn it on for a set number of hours
- An integrated night light with adjustable colour and brightness
The physical buttons let you turn the night light and the humidifier on or off, and set a timer for the humidifier, but you need to pair the device with the company’s own app, HomeKit, or Google Home to adjust the settings. Specifically to:
- Set the target humidity
- Set the brightness of the night light
- Set the colour of the night light
The physical design is utilitarian and boring rather than ugly or elegant, but one cool touch is that the nightlight shines up into the frosted water tank, which both defuses the light really well, and looks cool!
In terms of configurations, I have mine set to 2% brightness, the same shade of green as the Apple Watch night mode screen, and a target humidity of 60%. Why 60%? Because even when you stick to well-trusted medical sources, there is no agreement on a single right answer in terms of ideal humidity for sleeping. All the sources give broad ranges rather than recommending any specific number, but when you graph them all out, 60% is universally agreed to be within the recommended range. I also asked my specialist for a recommendation and he too didn’t want to give me a specific recommended number, but when I asked the question the other way around — is 60% a reasonable setting? — he enthusiastically endorsed it.
You can pick one of these up on Amazon today for just €44.47 — VOCOlinc Smart Humidifier for Bedroom 2.5L
Thanks to the magic of HomeKit and Shortcuts I now have a one-click action to:
- Enabled my humidifier scene which:
- Turns on the humidifier’s night light at 2% green
- Sets the target humidity to 60%
- Turns on the humidifier
- Uses a shortcut action from the vendor’s app enable the timer feature on the humidifier device with a timeout of 8 hours
- Turn off my bedside lamp (a nice Meross Smart Lamp Bedside(€40.49) smart light I also recommend!)
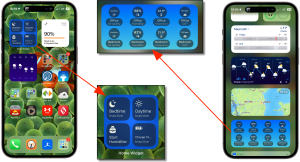
As a bonus tip, I also want to recommend Home Widget for HomeKit for creating HomeKit widgets. I expected Apple’s default set of widgets would let me easily create a nice widget showing the current state of the sensors in my rooms, and to see and change the state of my most important devices, but I soon discovered I was giving Apple too much credit — of course they have not put that much effort into HomeKit!
Apple’s HomeKit APIs are quite good, so that made it possible for the developer community to fill in the gaps, and I’m happy to pay €4.99 per year (or you can pay €9.99 for a lifetime license) to unlock all the Home Widget pro features to build myself a pair of nice widgets:
- A 2×4 grid of icons on my widget screen showing the air quality in detail for the bedroom and the office
- A 2×2 home screen widget letting me activate my humidifier shortcut, toggle my bed side lamp’s daytime and nighttime scenes, and activate charging on my electric toothbrush


