A few weeks ago I told you that I’d made the decision to buy a second Synology. My plan was to back up the new Synology DS1522+ to the only slightly older DS1019+ and decommission my Drobo 5N2. Drobo appear to be frozen in time after going into Chapter 11 restructuring. They haven’t had any products for sale for quite some time. In a rare sign of life, they sent out a notice to their customers telling them that they make no promises that Drobo Dashboard would work under macOS Ventura.
I’ve learned a lot in the last few weeks and I’m certainly not done learning. One interesting tidbit is that Drobo Dashboard does work under macOS Ventura. While I don’t regret my decision, it does mean I can take my time with the Synologys and erase the data on the Drobo at my leisure.
When last we left our hero, she had purchased the new Synology and was waiting for the last of the 12TB drives to arrive. As you may recall, I bought the same drive from three different vendors so I’d have the best chance that they weren’t from the same lot, In theory, they would be less likely to fail all at the same time. Imagine my dismay when two of them from different suppliers were still from the same lot! Oh well, I tried.
Goals
- Migrate all existing data, services, and user accounts from the old Synology to the new Synology
- Make the new Synology the authoritative source of data
- Figure out a way to back up the new Synology to the old Synology
- End goal will be to have the old Synology at our buddy Ron’s house so that will be part of the trade study in deciding on a backup strategy between the two devices
- It seems I should be able to start the backup from scratch since the old Synology should already have all of the files that are on the new Synology
- Test using rsync to do the backup between the machines
- Trade off rsync vs. Synology Hyper Backup software. Hyper Backup creates an encrypted backup which is swell but harder to navigate the files
- If both rsync and Hyper Backup have unresolvable problems, I’ll have to go back to using Carbon Copy Cloner on our Mac mini which I think constrains me to keeping both Synologys under the same roof
My first step was to procrastinate getting started. That’s not at all like me. I normally can’t wait to open new toys and play with them. But this particular task was terrifying. I was about to migrate a massive amount of data. I shouldn’t have been terrified since it also exists on my Drobo but I was still nervous. I also had a short vacation coming up and I didn’t want to get caught halfway done doing the migration before I left.
Fixing to Make a Plan
After we returned from our trip, I finally opened the new Synology and populated it with drives. And that’s when I realized that two Synologys are wider than a Synology and a Drobo, so they wouldn’t fit side-by-side in my cabinet. That gave me an excuse to procrastinate a little longer.
I did some research on whether it’s a problem to stack Synologys, including posting to the Mac Geek Gab’s Discord where they have a dedicated Synology channel. The consensus was that it wouldn’t be a problem as long as things didn’t get hot.
I’ve mentioned it before, but I rely a lot on Steven Goetz when I’m working with Synology and he’s really earned his pay in the last two weeks. He convinced me to finally hit the button to start Migration Assistant.
But first I watched a video made by Synology on how to prepare for and run Migration Assistant. I watched it twice. The second time while I took notes.
And then I read the tutorial on Migration Assistant on the Synology website and took more notes.
Initial Setup
I finally fired up the new Synology and then remembered that you have to install the operating system on a new Synology before you can do anything. It’s not obvious how you install an operating system on a device that doesn’t already have one.
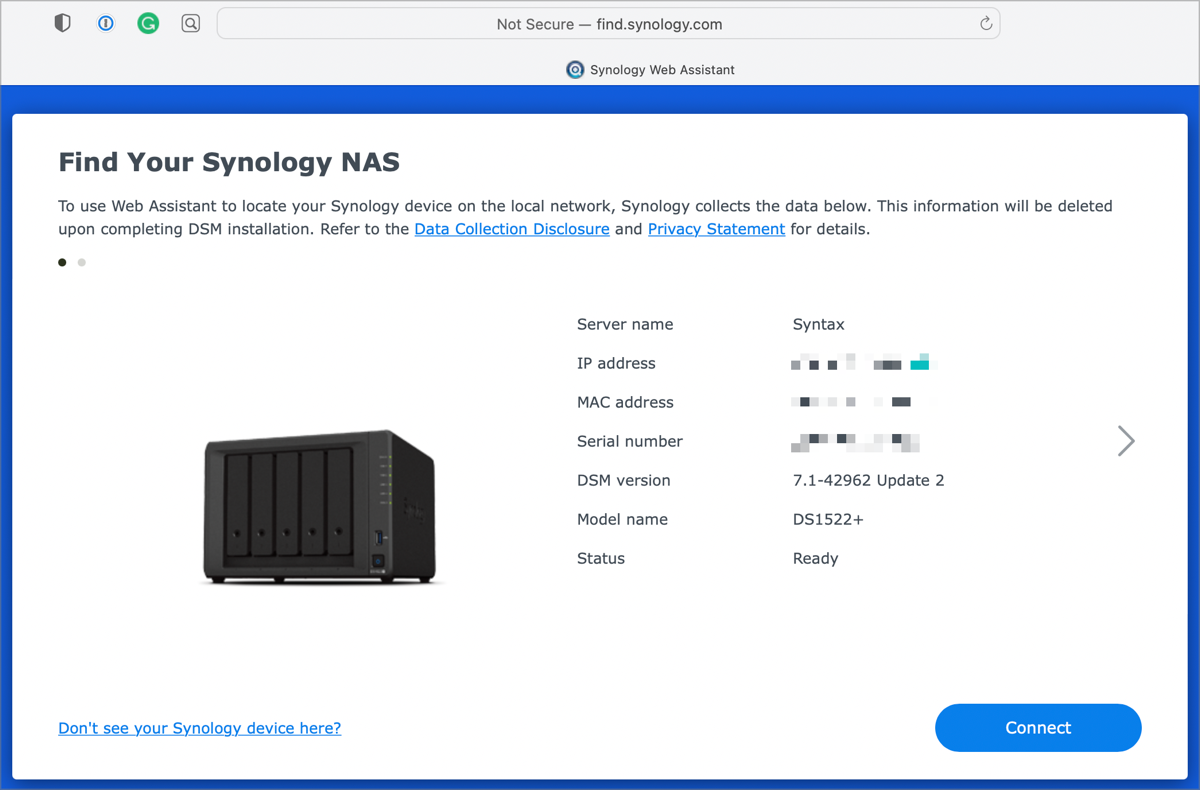
If you go to find.synology.com in the web browser of a network that contains any Synologys, it launches the Synology Web Assistant and displays the details about them. You can see the server name, IP address, model, and more. I’m not entirely sure how it does this, but the bare-metal Synology must have some sort of web server or something that serves up this information.
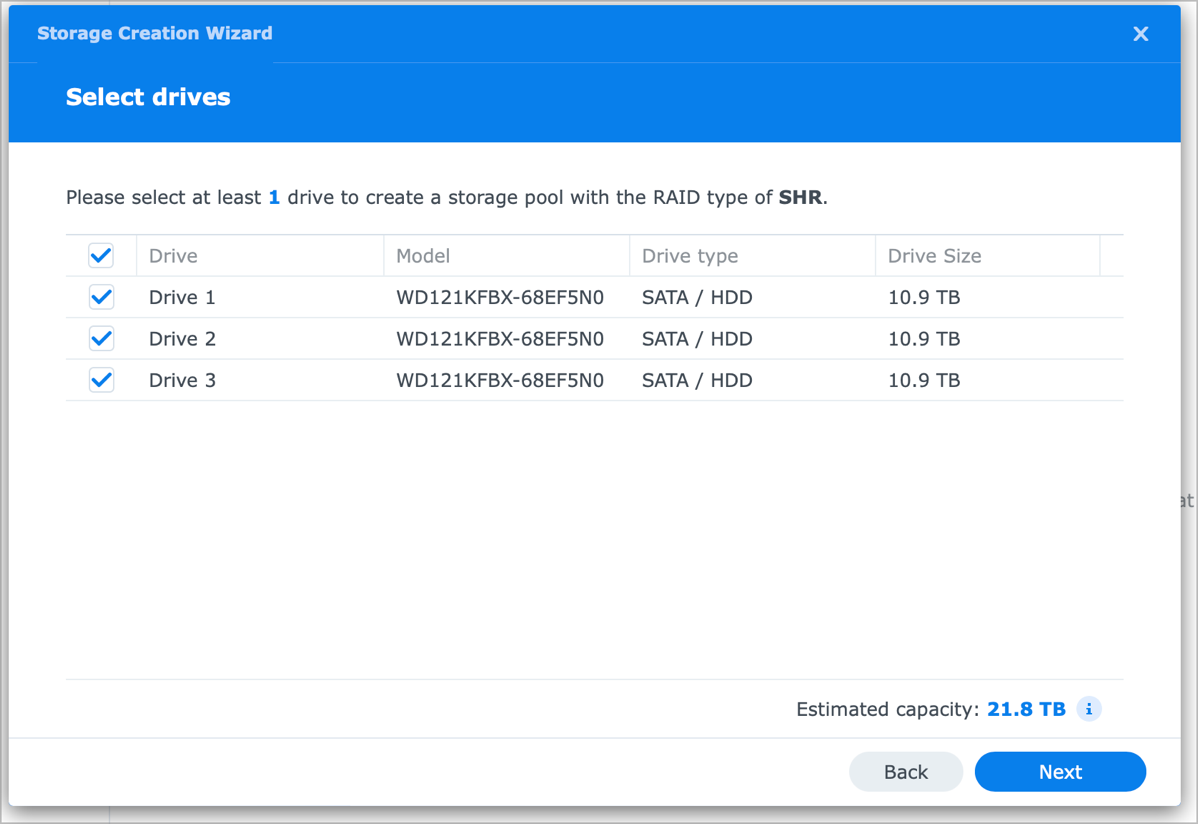
The web interface walks you through how to install the operating system and how to configure the storage pool for the drives you’ve installed. I’m not sure why you’d want to create different storage pools, but following Steven Goetz’s advice I created one giant 21.8TB storage pool using the three 12TB drives I’d installed.
Once the storage pool is set up, you’re prompted to create an admin user account on the new Synology, but keep in mind that Migration Assistant will be blowing it away later.
Migration Assistant
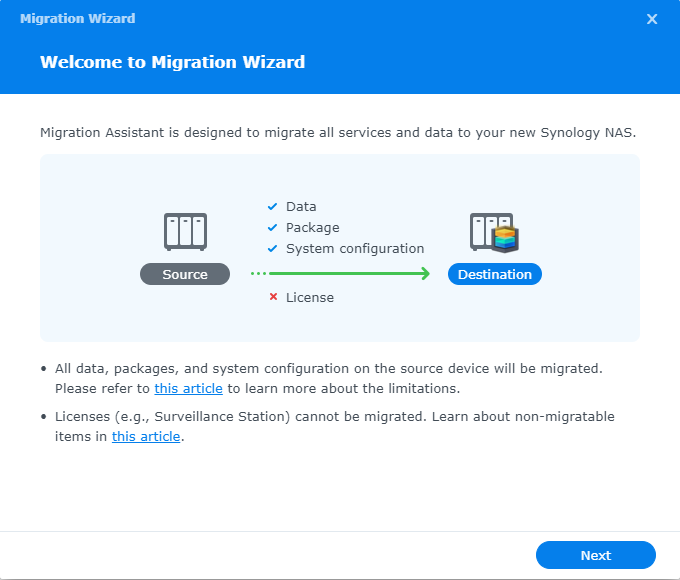
On the Mac, when you run Migration Assistant, you pull the data into the destination machine from the source machine. But with Synology’s Migration Assistant, it’s the other way around. You push the data from the source machine to the destination machine. This doesn’t cause any issues but it did surprise me.
After much hand-wringing, I finally started up Migration Assistant on the old Synology. I’m delighted to report that it works exactly as advertised. Even though I had 13TB of data to transfer over my network which took 2 days 7 hours and 31 minutes, my old Synology was fully usable throughout that time.
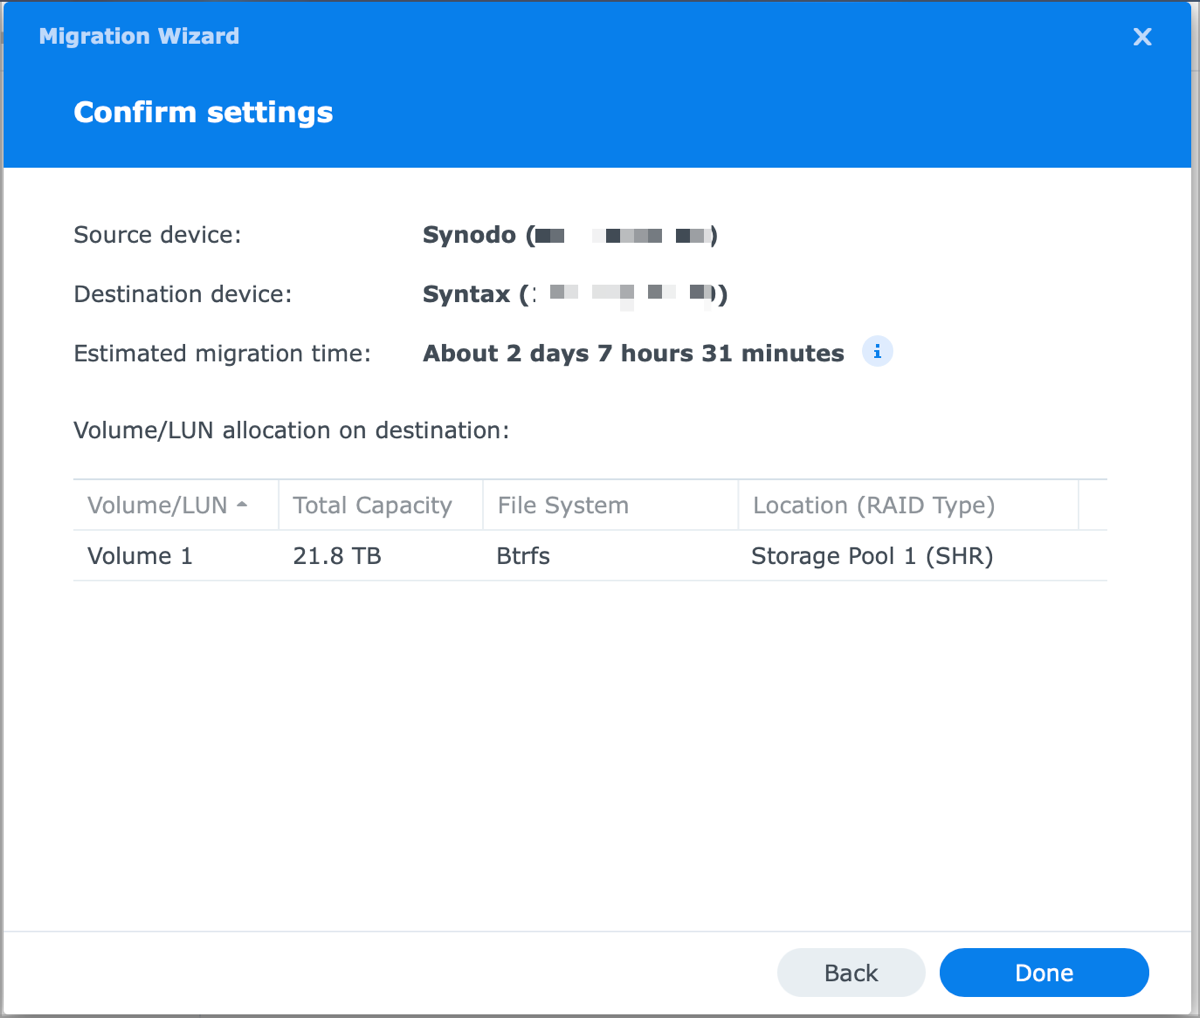
When the process was complete, the old Synology asked to be rebooted. As soon as it was back up, the two Synologys switched roles. The old Synology was in a sort of dormant state, not advertising any services. The new Synology was running most of the services that had been running on the old one. Our user accounts were migrated to the new Synology, and in all ways, it felt just like the old one.
One of the first things I did was change the background image and the log-in image of the new Synology to something new and space-age looking so that I could tell them apart in the web interface. It would be so easy to bork things up by confusion over which one was which.
Setting Up rsync Between the Two Synologys
It was kind of anti-climactic to have the migration work so well, but anti-climactic in the best possible way. It was time to take a swing at learning how to use the time-honored library rysnc to back up files from the new to the old Synology.
But first, I needed to choose a unique name for my new Synology.
When I got my first Synology, we were rewatching Star Trek Deep Space 9. One of my favorite characters is the recalcitrant shape-shifter Odo. I cleverly combined Synology with Odo and named my first machine Synodo.
To choose a name for the new Synology, I looked up “words that start with syn” and found the Free Dictionary which lists them in piles by how many letters are in the words. I clearly did not want to type a 15-letter word, even though I would use TextExpander most of the time to type it. I started with the shorter words. I wanted something easy to type, easy to say out loud, and felt fun. I settled on the name Syntax for the new Synology.
On network attached storage devices, you create shares which are essentially like volumes that are shared with various users. In Synology lingo, they call them Shared Folders.
In my previous backup strategy where I backed up my Synology Shared Folders to the Drobo, Carbon Copy Cloner saw them as Volumes. I wanted to always be sure which machine I was looking at, so I prefixed every shared folder on the Synology with “synodo-“. On the Drobo 5N2, the Shares were prefixed with “5N2-“. It made it very clear when setting up or modifying the backups that I didn’t accidentally push old data onto new data. If a Shared Folders was mounted, you were certain which NAS contained it.
After Migration Assistant did its job to move all the data to the new Synology, I have two servers on the network, both with Shared Folders prefixed with “synodo-“. Ideally, I’d have the Shared Folders on Syntax prefixed with “syntax-“.
I started changing the names of my Shared Folders, starting with the obvious choice, my deleteme folder. I now had syntax-deleteme and synodo-deleteme as volumes on the same network. This was the perfect Shared Folder for learning to use rsync.
My preferred choice for backing up from one Synology to another was rsync. This is a protocol that’s been around for a zillion years (its initial release was in 1996) so I figure after more than 25 years of use in the UNIX/Linux world it’s probably pretty solid.
Just like with Migration Assistant, you start by enabling the rsync service on the destination machine. I expected I’d be getting down and dirty with the command line to run rsync, but Synology has it built right into its File Services Control Panel. Once enabled, you add a user account to be allowed to perform the service.

Over on the source machine, in the same File Services Control Panel, you also enable the rsync service. From the source machine you choose the sync destination from a dropdown list of local machines with the rsync service enabled.
Like any good syncing service you have options on how often to sync. Remember that this isn’t a traditional backup with versioning, it’s a real sync operation that will sync all changes and deletions. I was going to have it run once an hour but Steven Goetz suggested maybe once a day was more logical because I could potentially save myself from some disastrous human error if I was quick enough.
While enabling rsync services on the two machines was obvious, telling rsync what Shared Folders to sync and how often were not on the rsync tab of File Services. Instead, they are buried it in the Advanced tab under the unintuitive title “Server Status: Task List”.
Once I sleuthed that out, I enabled syncing of my syntax-deleteme folder and ran a manual sync.
And Then Things Went Horribly Wrong
And that’s when I realized that there was a big side effect of changing the name of my Shared Folder. You’ve probably guessed what happened. On the old Synology, I now had two Shared Folders, one called synodo-deleteme and one called syntax-deleteme! Unlike running Carbon Copy Cloner where I can copy to a share with a different name, it appears both Shared Folders have to have the same name before I start.
I deleted the synodo-deleteme Shared Folder on the old Synology, put a new file in syntax-deleteme, and ran rsync again. The new file showed up on the old Synology in the blink of an eye.
If I had been smarter, I would have chosen my next-smallest Shared Folder for the second test. But I did not. Without checking the size of the Shared Folders first, I chose the one where I back up all of the podcast data, and it turned out to be over 6TB. I changed its name on both machines to the new prefix and told rsync to run a manual sync.
The manual sync, instead of syncing between the two shares, created a second Shared Folder on the old Synology and tried to sync all 6+TB of data to it. The old Synology ran out of disk space and was 100% full when 4 of the 6TB had copied over. My Synology was wedged.
I’m still not sure how I ended up with duplicate Shared Folders on the old Synology. User error is the most obvious answer. I wondered whether I didn’t really change the name to match my new naming structure. I looked back and I had detailed notes and screenshots on how I changed the names of the Shared Folders first so I know I did what I think I did.
Looks Like I’ll Be Erasing the Old Synology
My task now was to figure out how to un-wedge the old Synology. I deleted that Shared Folder with a 4TB partial duplicate of my files. Oddly, no space was reclaimed. It was still 100% full.
I rebooted the old Synology, and still, it was 100% full. Steven suggested I use Storage Manager to run Data Scrubbing. It took about 12 hours and it didn’t fix the problem. My Synology was still wedged.
The only solution I had left was to delete the perfectly-good 6TB Shared Folder too. Remember I have a copy of it on the new Synology (and I still have the files on the Drobo), but I was hoping to have a process where I didn’t have to start over replicating all of the data onto the old Synology.
Here’s where things got super weird. Remember that after I deleted the 4TB partial duplicate, I hadn’t regained any space. When I deleted the 6TB original, I only regained 5TB of space. At this point, I should have harvested 9TB of free space.
I went back to the Synology fanatics on the Discord server for Mac Geek Gab where Brian Monroe had a great suggestion. He thought maybe I had enabled snapshots at some point and that’s what was chewing up the space. Dave chimed in as well to agree with Brian that snapshots were the culprit.
I would have been delighted to hunt down and delete any snapshots I could find, but all of the instructions in Synology’s help files on the topic start with, “Select the Shared Folder and…”. Well, I can’t very well select a Shared Folder that I’ve already deleted, now can I?
I spent about 3 days on and off working on the problem and decided that the only logical recourse at this point is to wipe the old Synology clean and start running rsync from scratch to replicate my 18TB of data across my network yet again.
Factory Reset and Erase All Data
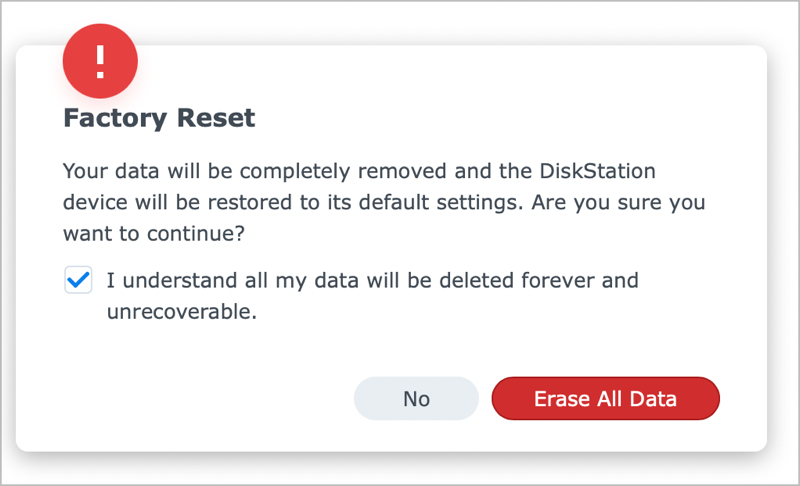
It took me a day or so to my nerve up, but I finally pushed the button on the old Synology to do a “Factory Reset and Erase All Data”. The button was red and very scary but I pushed it.
I’ve always said that you learn a lot more when things go wrong than when everything works as you expected. Going through setting up the old Synology from scratch just a week after setting up the new one really helped cement the process. I was so confident in how to do it that I actually installed the Synology operating system from my iPad while watching TV. The OS is called Disk Station Manager, or DSM for short, and I installed DSM7.
I knew how to create accounts, turned on two-factor authentication again, and got ready to rsync my little heart out. I started by creating my syntax-deleteme folder on the old Synology and started rsync from the old to the new. And guess what happened? I ended up with TWO versions of syntax-deleteme, one of which with “_1” appended to the name.
I couldn’t believe it. Remember that I said the obvious answer had to be operator trouble but I couldn’t see how? I went back through the process to start up rsync on a specific Shared Folder, and more carefully read the checkbox when selecting the source(s) to sync. In my defense, I did read it the first time I did an rsync but I clearly didn’t understand what it was trying to tell me. The checkbox asks you to agree to this sentence:
“I understand if the selected destination contains folders with identical names as source folders, the folders at destination will be renamed. If they don’t exist at the destination, they will be created.”
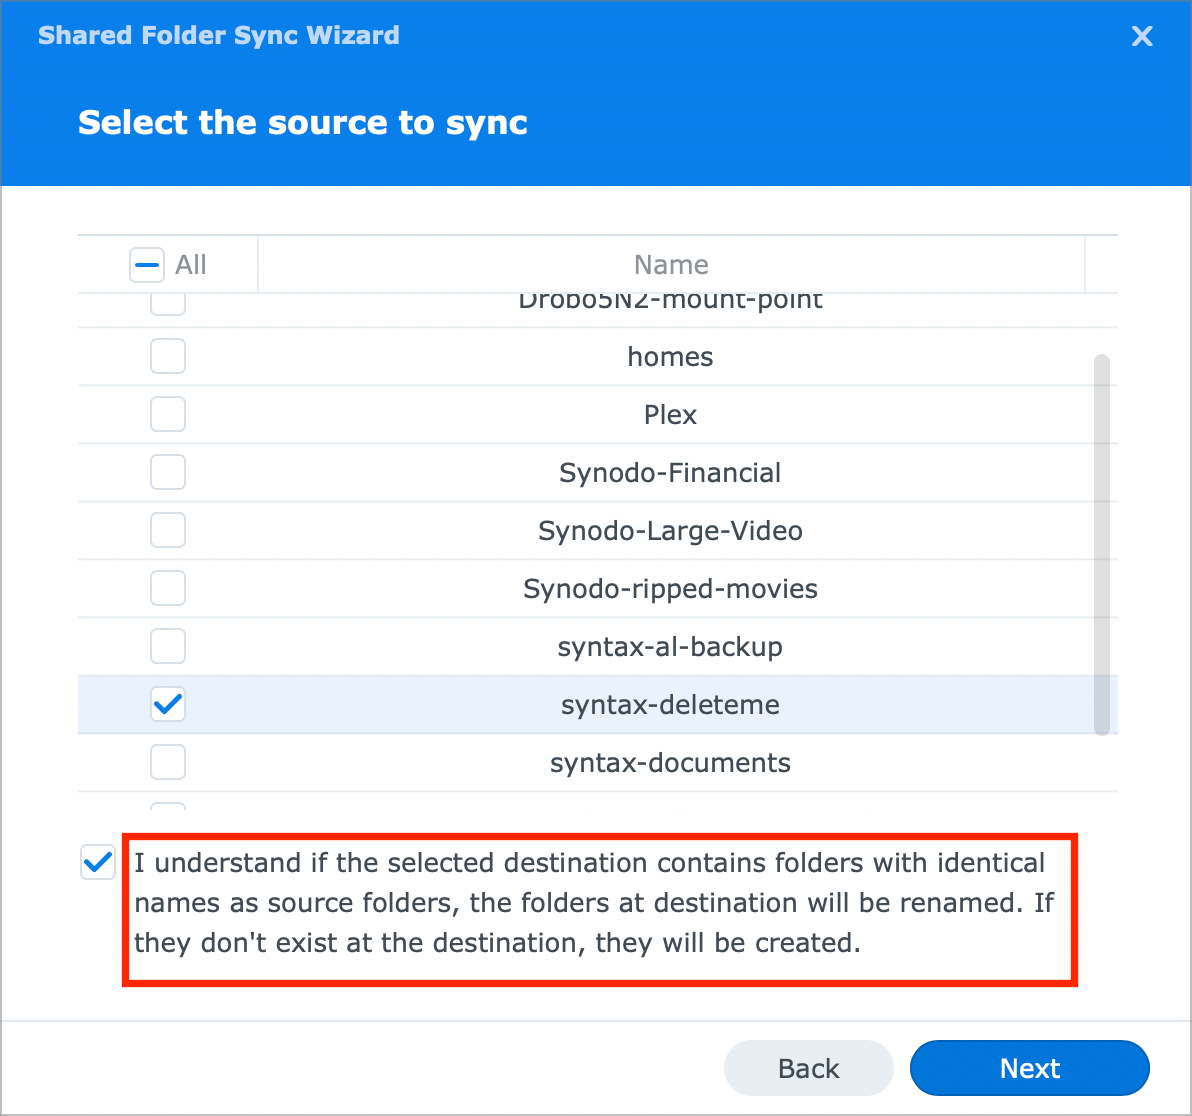
To say I felt a bit silly is an understatement. I also understand that there are probably quite a few folks listening or reading along who have been shouting into their devices this whole time and now they can finally relax. I’m just glad it wasn’t my fault for changing the name. While changing the name to match gave me two identically-named folders, I still would have had a duplicate folder that wedged my machine.
Armed with a real understanding of how this works, I deleted all Shared Folders on the old Synology, deleted all rsync tasks on the new Synology, and started creating new ones. Syntax-deleteme synced over perfectly. One copy on both machines and changes reflected on both.
The next experiment was on a small Shared Folders with taking up only 5.09GB of storage. After the rysnc succeeded, I compared the two Shared Folders side-by-side. Both had the 5.09GB I expected, but the new Synology had 951 files while the old one only had 184. That made no sense! I went through the folders one by one and I could not account for what was missing.
And then I noticed that the new Synology has a recycle bin. I opened it up and it had 767 files in it, which is exactly the difference in the number of files between the two Synologys. I was so happy and I learned something else new – that rsync ignores the recycle bin.
I’m confident that the rest of my rsync process will go smoothly but I also expect it to take several days to complete. By the time you hear this on the podcast if you’re of that persuasion, I’m hoping I’ll have them all done.
Bottom Line
This story isn’t over, but I’m going to cut myself off here. I have a really good idea that I think will let me do rsync to our buddy Ron’s house but it needs some more testing before I tell you about it.
The bottom line for this chapter is that Synology has really thought out this Migration Assistant stuff and as long as you don’t try to be smart and read the relatively clear instructions, it’s not a painful process at all.
