As you probably know, my 14” MacBook Pro has been plagued by battery life well below the advertised numbers pretty much since the day I got it in late 2020. Apple continue to work with me to try to figure out the root cause and we’ve yet to figure out how to fix it. In the process though, Apple Engineering added a very interesting tool for my tool belt for diagnosing problems.
One of the first things that’s always suggested when having issues on your Mac (or I imagine on your PC), is to create a clean user account and see if the problem persists. This is a good diagnostic step because it ensures that none of the preference files that have been created for your main account will be present on the clean account. It’s a good idea to create a clean user account when nothing is wrong so you’ll have it ready for testing when something inevitably goes belly up.
While the clean user account is a great first step, it doesn’t eliminate all of the variables. All the software you have installed is still available with this clean user account. Additionally, if you’ve said “yes” to the request on whether to install particular apps for all users, they will even launch by default. For example, I evidently agreed to have all users be able to run iStat Menus, because it comes up automatically when I log into my clean user account. In any case, “clean” is a matter of interpretation.
Another diagnostic step is to boot into Safe Mode. Apple’s support article about Safe Mode explains that it can help you determine whether an issue is caused by software that loads as your Mac starts up. Safe Mode doesn’t run login items, avoids system extensions not required by macOS, and doesn’t install any fonts not installed by macOS. I’ve always been fascinated by the fact that fonts can bork an operating system, but that’s a discussion for another day.
While Safe Mode can eliminate software factors, it’s virtually impossible to actually use your system in Safe Mode. The graphics are weird, and you don’t have access to the things you need in order to work with your Mac. If you can’t use it, it’s kind of hard to test to see if many kinds of problems have gone away. Safe mode does do a basic check of your startup disk and deletes some system caches so that might actually fix the problem you’ve been having. I have to point out that it clears out those pesky font caches too. However, it’s never fixed a problem for me.
So a clean user account might help you diagnostically, and booting into safe mode might actually fix the problem. But sometimes (as in my case with the battery drain issue), you might need to do a clean install. And I mean the squeaky-clean install that I do where you install every app from scratch.
But obviously, that’s a terribly annoying step and if it doesn’t solve the problem you’ve wasted a huge amount of time. When I got my Mac back from Apple last August after replacing the battery, they had helpfully erased my drive. I reinstalled everything from scratch and the battery drain problem came back with it.
And here’s where Apple Engineering gave me what I think is a brilliant diagnostic idea.
If you have a disk formatted as APFS, you can create separate Volumes on that single disk. They act like separate drives but they’re all on the same physical drive. Unlike the old concept of creating partitions, you don’t have to decide ahead of time how big to make them. APFS Volumes automatically resize as required.

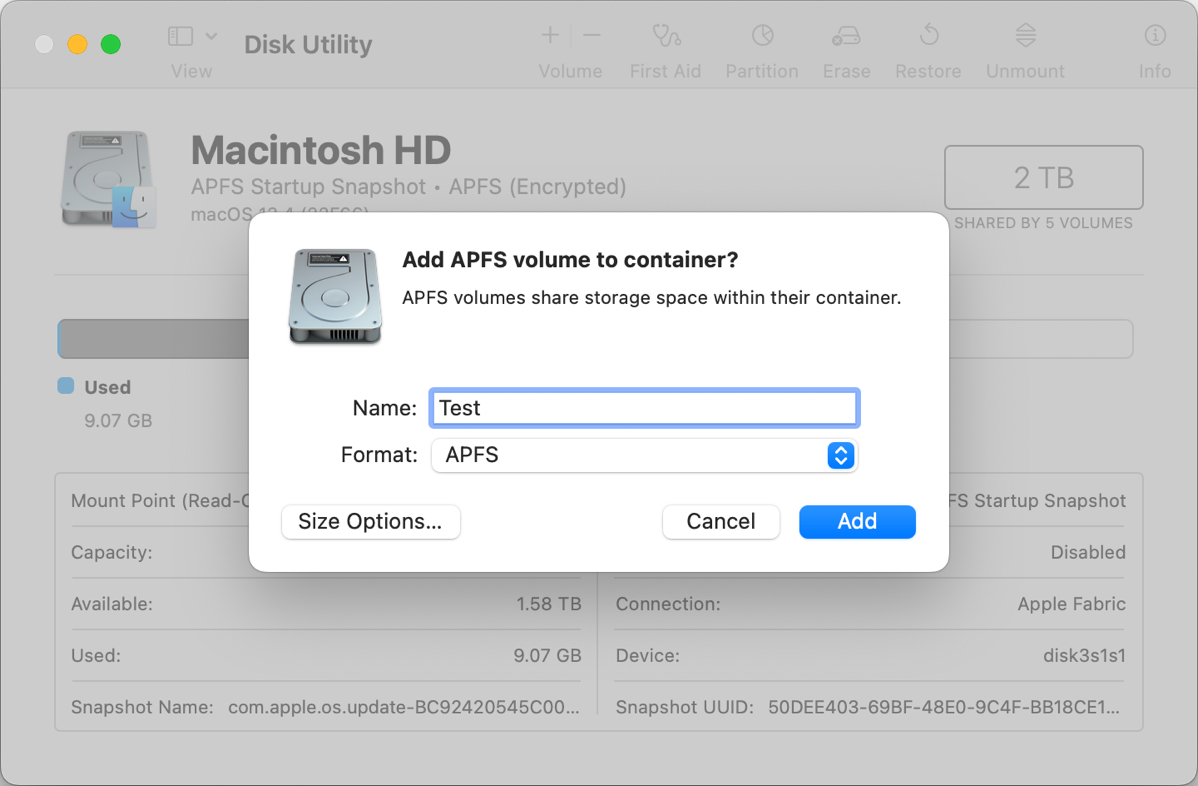
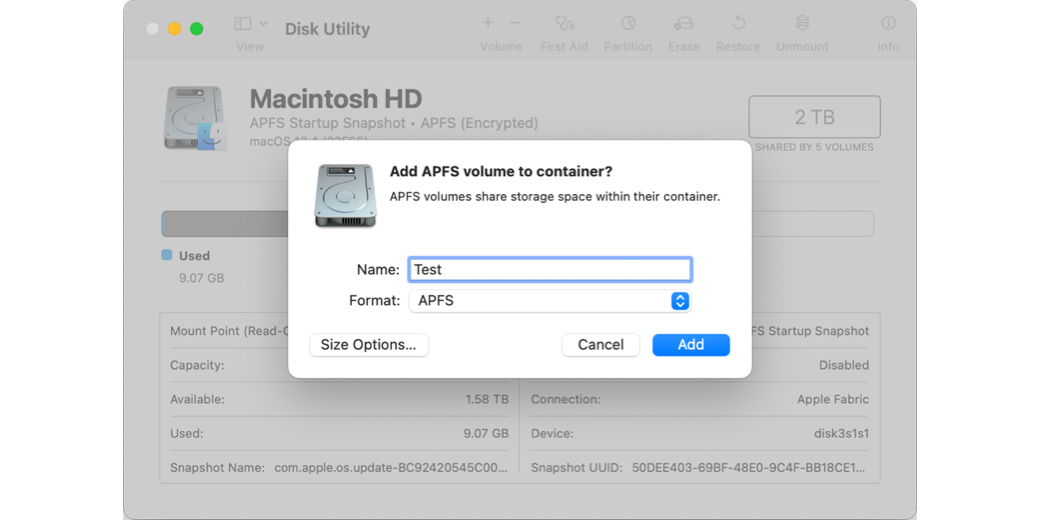
Creating a new Volume is super easy. Open Disk Utility, which is inside the Utilities folder inside your Applications folder. In the toolbar, there’s a + button that says Volume. After selecting to add a new Volume, you’ll be prompted to name the Volume and set the format to APFS. The popup will remind you that APFS Volumes share storage space within the container. Simply hit the Add button and voilà! You have a new Volume.
Apple engineering had me create this new test Volume and then they had me install macOS Ventura onto the Volume. It never occurred to me before that you could do this. It’s a brilliant way to do a clean install on your Mac without disrupting your real working installation with all your apps and settings.
Inside System Settings, General, you’ll see Startup Disk at the bottom. In this setting, you tell your Mac to boot from the test Volume. When you’re done playing in the test Volume, open Startup Disk again and switch to your real Volume. Isn’t that an awesome idea?
How’s that Battery Problem Going?
You might be wondering, did this cool trick help Apple diagnose my battery problem? I’ll give you a recap to date, but the short version is that we still have no idea what’s causing my MacBook Pro’s battery drain. Everyone at Apple agrees it’s not working as designed, so Apple hasn’t given up, but the hardware people are convinced it’s not that and we can’t prove it’s the software either. For three solid months I’ve been meeting with Margo from Apple on a near-weekly basis as we run every test Apple engineering asks us to run. We’ve become quite close – I know she has a 20-something son who’s adorable and her air conditioning went out last week during a heat wave.
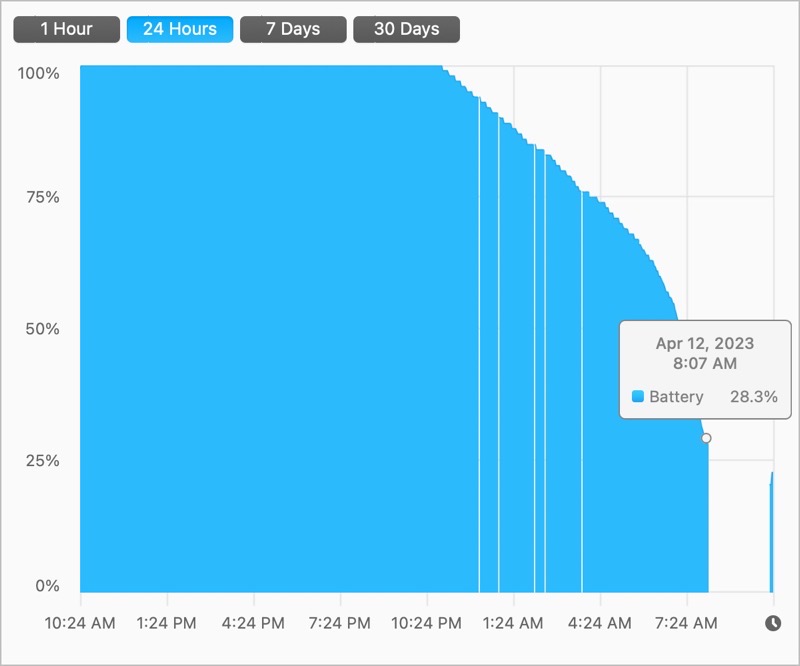
After Apple Engineering had me create the test Volume, they had me run two battery tests where my Mac wasn’t connected to any peripherals, and the lid was closed and asleep for a full night. In the first test, I was logged into iCloud, and in the second I was logged out of iCloud.
On the test account on the new Volume, while logged into iCloud, the battery lost 15% overnight just like it did when logged into my real account with all my data and apps installed. This is definitely not expected behavior. The results suggest that nothing I’ve done in adding third-party apps is the root cause of the problem.
We also thought maybe this proved it was hardware until I ran the second test. I logged out of iCloud and overnight while logged into the clean Volume, my MacBook Pro lost no battery charge at all.
So…that means it’s iCloud, right? Well … maybe.
You may recall that I bought an M2 MacBook Air recently. I was doing so many experiments for Apple that I couldn’t really use my MacBook Pro. The MacBook Air has been indispensable for me and made me a lot more patient dealing with Apple. Also, I love the machine!
It occurred to me that there was a third experiment I could run that could help verify whether it was iCloud chewing up my battery. I created a clean test Volume on the MacBook Air, logged into iCloud, and put the machine to sleep overnight. And … drum roll please … it did not lose any battery charge in 12 hours.
So we’ve determined it’s not the hardware. We’ve determined it’s not the third-party software. We’ve determined it’s not iCloud unless it’s on my MacBook Pro.
Another Fun Use of the Test Volume
While I haven’t figured out why my $4000 laptop gets half the battery life that Apple says I should expect, I found another cool use of the test Volume idea. You can safely run a beta operating system using a new APFS Volume! Volumes don’t talk to each other in any way so it’s like having an external disk on which you run the betas.
I’m happily running the macOS Sonoma developer build on my M2 MacBook Air in its own little volume. I’m having fun with no risks! When the beta is over, I can simply delete the Volume and upgrade my real Volume to macOS Sonoma.
Bottom Line
The bottom line is that creating a test Volume on a Mac using APFS is a great way to diagnose problems without doing a clean install. It’s also a great way to test new operating system versions. In theory, it should have given us a strong indicator of my battery problems, but I wasn’t that lucky.

