Recently I told you about a terrific screenshot and annotation tool called Shottr. One of the really nifty features of Shottr is that you can take scrolling screenshots. This allows you to capture a long piece of content, like a web page.
Recently, I was working on my tutorial on ScreenCastsOnline about Retrobatch, and I needed a scrolling screenshot. In Retrobatch, you can see all possible node types, but some of them are only fully functional if you have Retrobatch Pro. It’s great to have these specialty nodes available because you can see how they work and if you really need one of them you can purchase the upgrade.
Anyway, as I was teaching the tutorial, I wanted to have a cheat sheet at my fingertips so that when I got to each node I’d know whether to point out if it was a pro-only node. Sam, the developer of Retrobatch, has a listing on his website of which tools are pro-only, but I wanted them in the order they are in the menus.
It was trivial to open up all the little chevrons to reveal all of the nodes. I took a scrolling screenshot with Shottr (which even auto-scrolls for you.) Using the Retrobatch website as my guide, I annotated each of the Pro nodes by drawing a box around them.
I wanted to print out this cheat sheet so I’d have it at my fingerprints while recording, and not have to scroll up and down this screenshot and clutter up my computer screen.
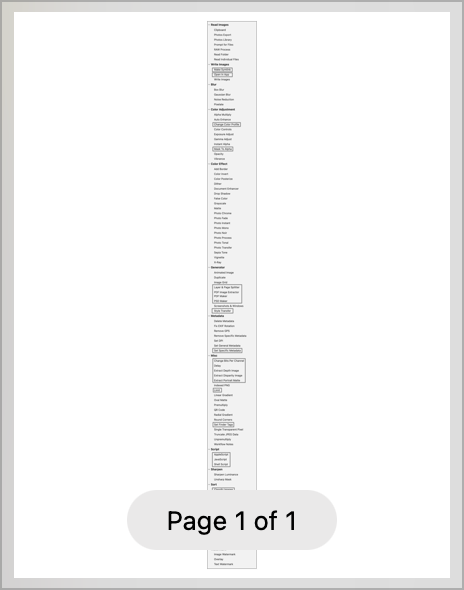
I opened it in Preview and selected Print. In the preview, I could see that it was going to print the PNG file on one page. This was a long list so that one-page printout would have been unreadable.

I messed around with the print settings because I was sure there should be a way to tell it to print across multiple pages. But for the life of me I couldn’t find a way to do it.
Now for the Tiny Tip. Numbers can split a PNG across multiple pages!
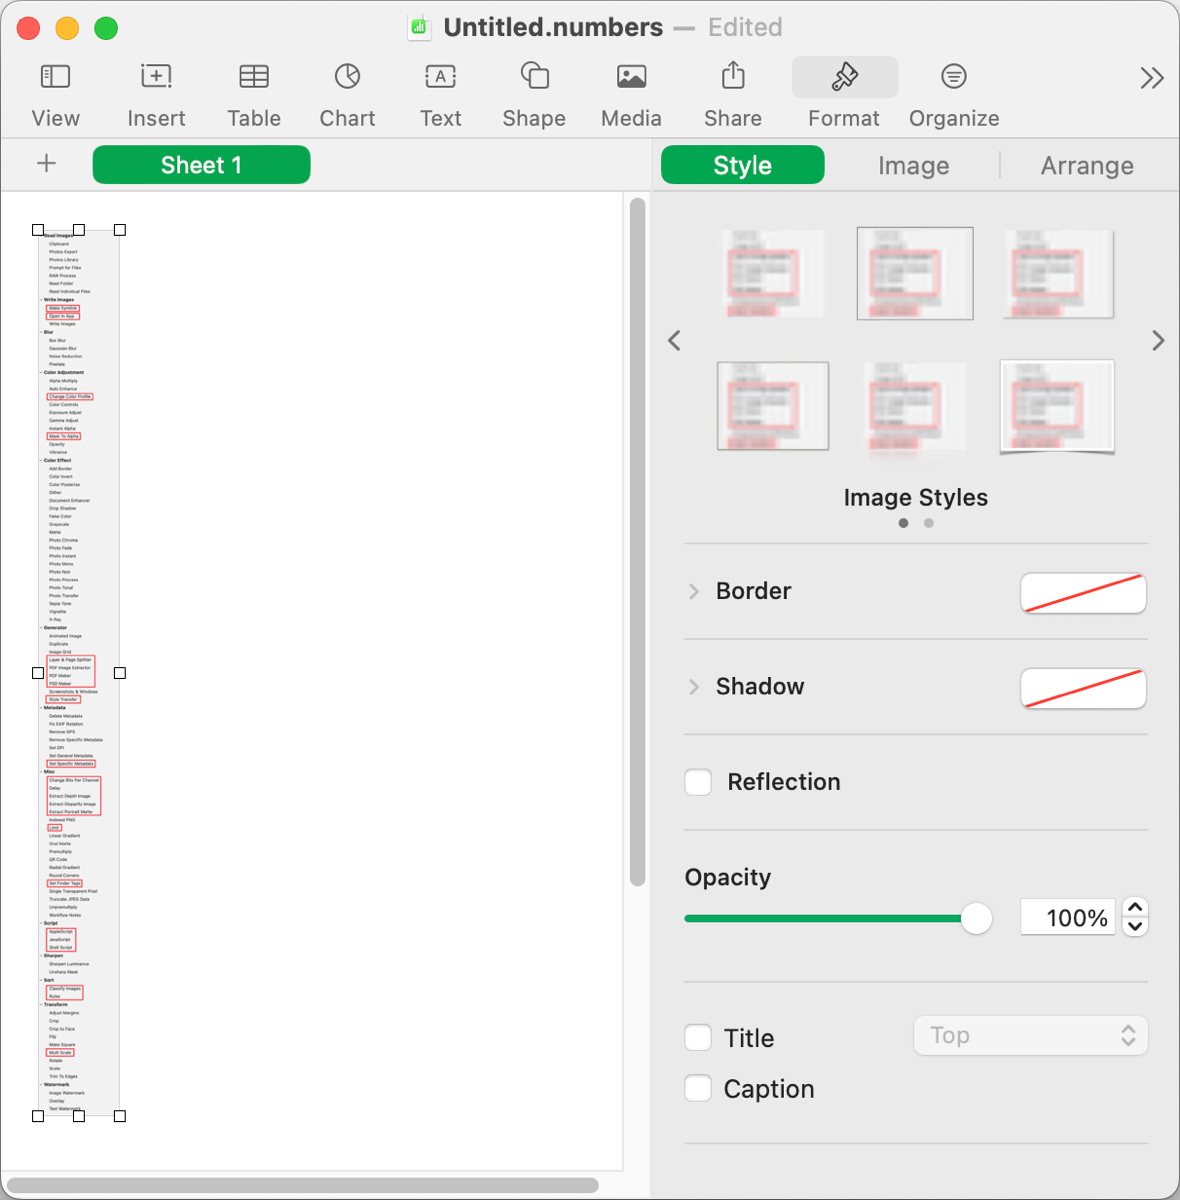
Open up Numbers and create a new document. Select the empty table by clicking the little circular thing in the upper left and then hit delete. Now paste your long PNG onto the page. Slide it over to the left edge. It will be wee teeny on screen and fit on that one page. If you choose to print at this stage, it would be all on one page, which is not what we want.

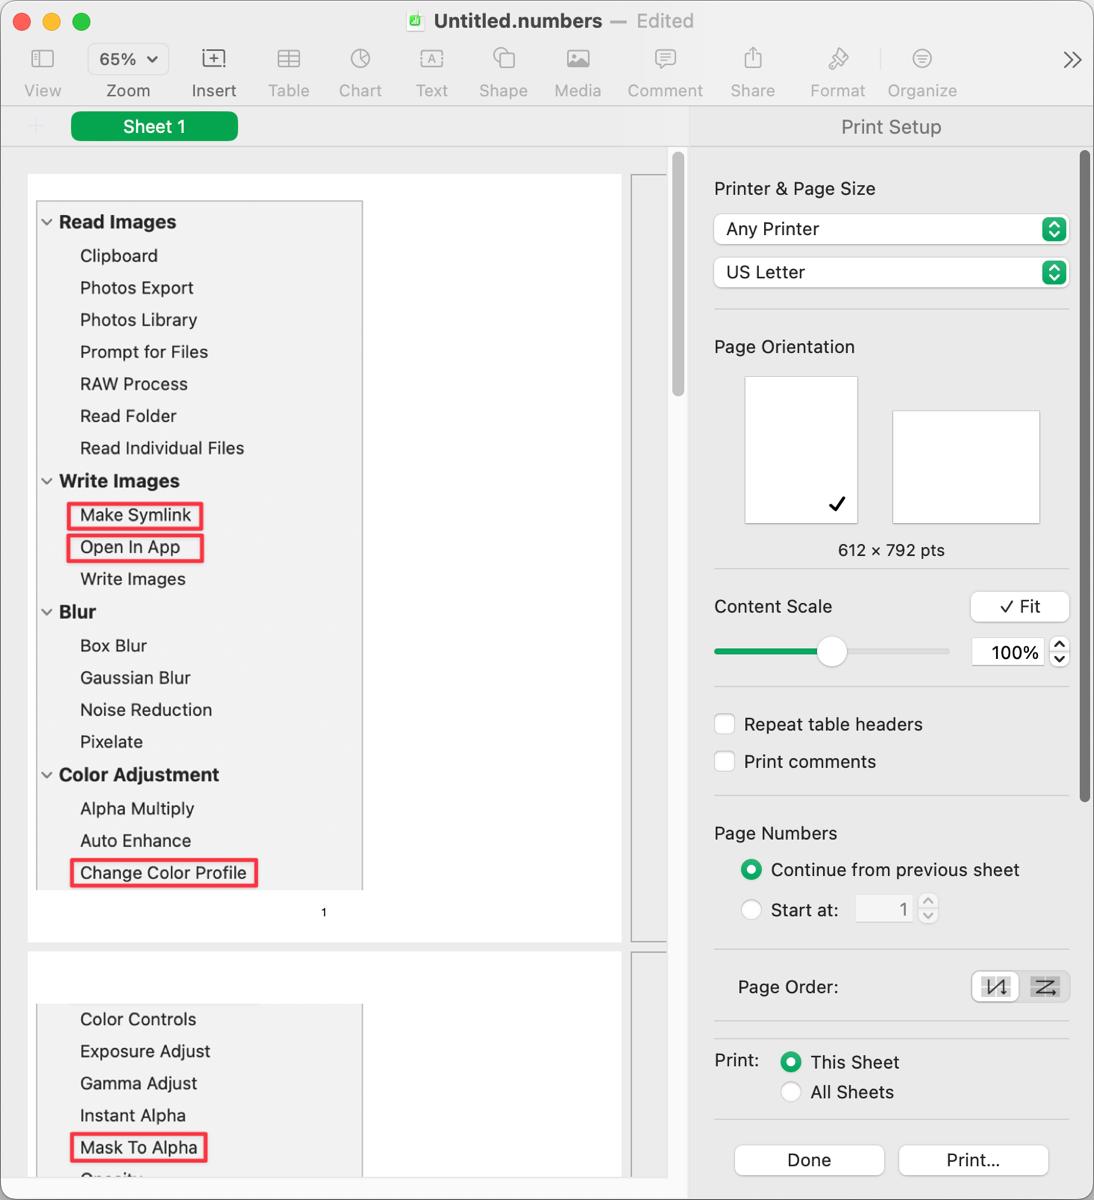
Grab the right edge of the giant long screenshot, and embiggen it until you can easily read it onscreen. Now choose Print and you’ll see in Print Setup how the screenshot will now be spread across multiple pages. You may have to go back out of Print Setup and shrink or enlarge the screenshot until it spreads across your desired number of pages. It’s a bit of a back-and-forth but it works.

I wish I’d recorded the forum link where I found this unlikely solution, but unfortunately, I can’t give credit to whoever figured this out.


<>
Embiggen ??????? I got a great laugh..thanks 🙂
Brilliant. And I also love the use of “embiggen.”