I recently embarked on a project to create videos for the rest of A Level Physics to go on my YouTube Channel, “Physics Shorts with Dr Sheppard“, having done half a while back. I spent some time developing my process, so I thought I’d write it down and share.

Aims
In developing my process, my goals were as follows:
- Produce videos with clear, correct information presented in my style, with my structure, for my students to refer to before or after my lesson, and to make them freely available to any student.
-
Make the whole process relatively quick so I can feasibly complete the whole course.
- Ensure my written material is in a simple format that could potentially be fed into generative AI in future to produce new formats for students to consume as they wish.
- Record high professional quality audio and video.
- Create videos that could be edited if content needs to be corrected, augmented, or removed (unlike my older Lesson Videos).
After much consideration I ended up with:
- Writing notes in markdown and LaTeX using Typora since generative AI can parse those formats and they are lightweight, easy to type, and reasonably human-readable.
- Recording audio-only with Audio Hijack since video required a permanent studio with camera, tripod, lighting, screen as well as microphone, and I needed to memorise what I wanted to say to make it look professional. Audio-only just needs the microphone and the ability to talk from the notes, and Izotope RX11 to produce a final wave file.
- Creating the video in Keynote since it will be easy to update in future and produces extremely high-quality output.
I will go over my reasoning for each of these decisions separately, giving you details on how to get the most out of them. For context though, my old process was making longer content I called Lesson Videos, and had me writing out full scripts in BBEdit, recording the main audio in Audio Hijack, and talking-head intros on a big-boy camera, playing the audio at half speed as I wrote notes by hand using Explain Everything on my wife’s iPad, then combining and editing it all on my Mac using Final Cut Pro. The results looked great if I took care with my handwriting, but it was ridiculously lengthy and going back to fix something, well, I never drummed up the energy. So, onto the new process.
Creating Content
With the new Physics Shorts I decided I didn’t want these to take over my life, so unlike my previous videos they are not 5 to 10 minute lessons, they are 2 minute overviews or reviews, intended to be used alongside actual teaching.
I have taught Physics for many years, so I have a style and a preferred way to approach explanations. So, I went through my scheme of work, the lesson order so to speak, looking at the syllabus content and I just wrote. I looked at Lesson 1, opened Typora, and wrote out the key aspects I wanted to teach in my voice, but in bullet or note form. Since I have done this in the classroom for 20 years, it did not take long.
When I needed a formula, ChatGPT helped me learn LaTeX to do this or simply provided it for me.
I then edited the notes down to remove unnecessary waffle — I can waffle to my heart’s content in the actual classroom — and saved it.
I then record the audio, about 2 minutes’ worth, in one take doing a bunch of them in one session.
For the video, I take my markdown notes and put them in Keynote. I’ll chop them up a bit, add images as needed and animations if they help, and then export as a video, which can be uploaded straight to YouTube.
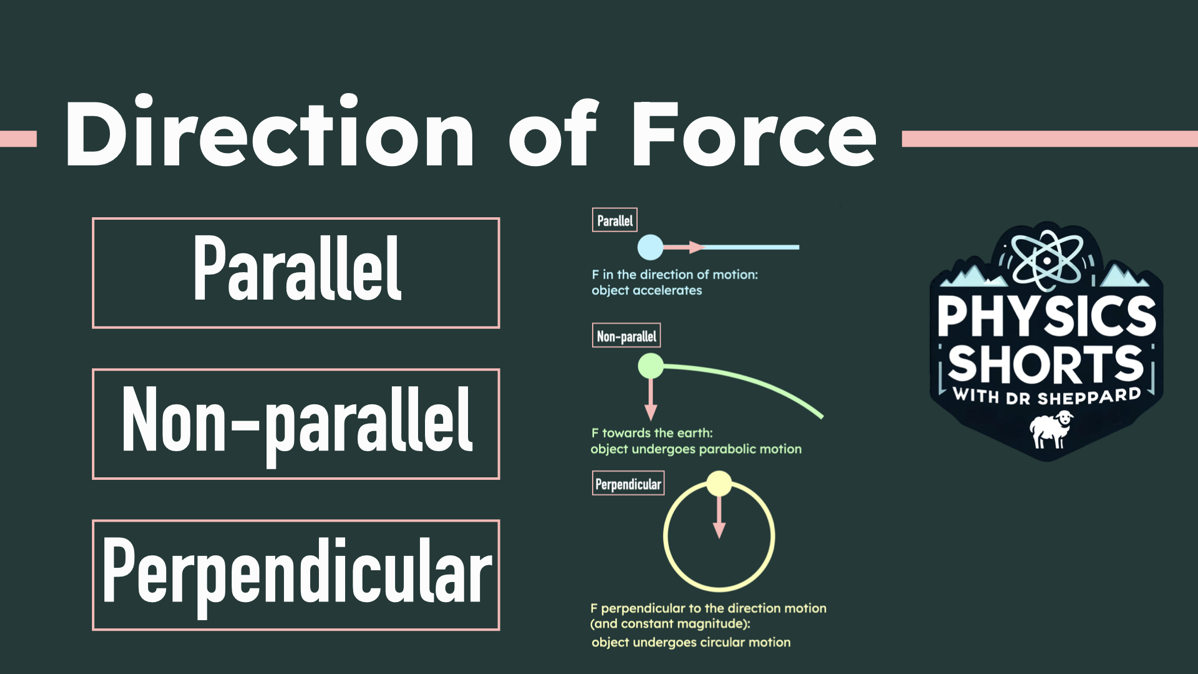
A couple of final niceties are that I’ll create a thumbnail for each video using a standard format, in Keynote, and I’ll use MacWhisper to get subtitles from the exported video. I could rely on YouTube’s auto-subtitles, but doing this myself allows me to make any corrections to technical terms easily, and make sure the symbols in equations are correct, such as changing lambda written out, to the greek letter λ.
In the follow-up articles, I will go into the details of the 3 steps, giving a partial review of Typora for notes, my workflow for Audio Hijack and Izotope RX11, and finally describe how to use Keynote as a powerful video content creation tool.


