I’ll be focusing on using a Mac on your home network using an Airport Extreme Router (of course any router will work but the screenshots will be for the Airport). If you have a router capable of installing the Tomato Router Firmware, you should look at Donald’s full instructions because you may not need to use a Mac at all for this, your router can do it all. See Donald’s notes for other options.
Read Donald’s instructions ===> here.
If you’d rather download this manual for easy off line reference, click here.
If you’ve installed the VPN Server but would like to UNinstall it, click here for instructions.
If you can connect to your VPN server but can’t get outside your network, click here.
Let’s get started already!
SECTION 1 – Setting Up a Static IP for the Server on the LAN Side
These instructions should be completed on the machine that will become the VPN server.
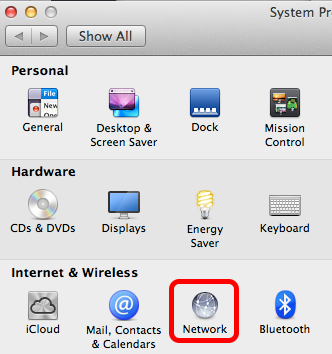
Open Network Preferences
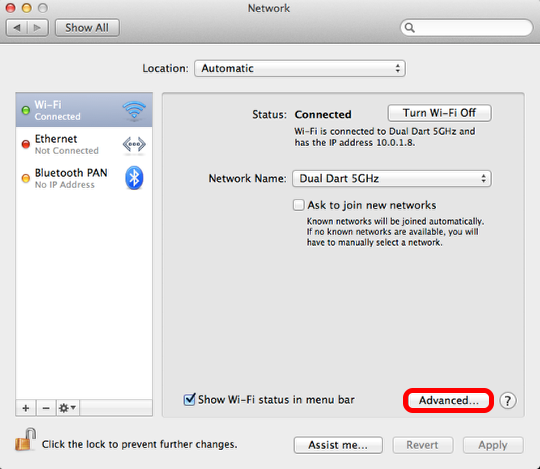
Select Advanced
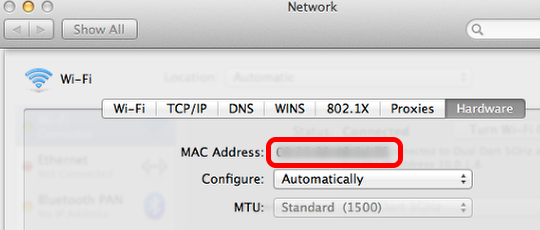
Copy the Mac Address
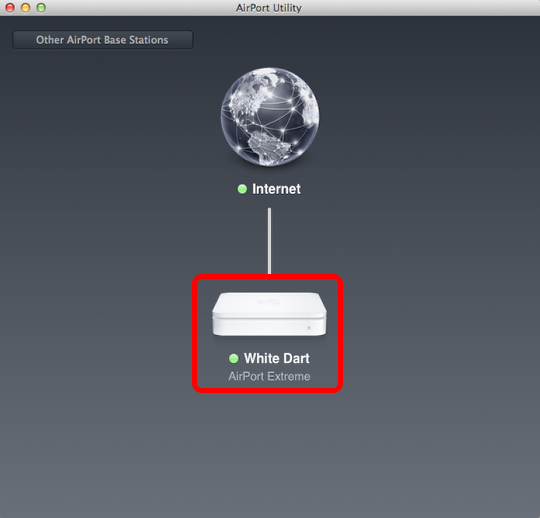
Open AirPort Utility
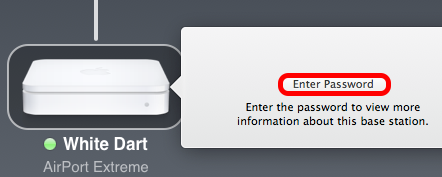
Select Enter Router Password
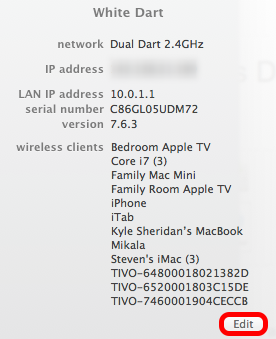
Select Edit
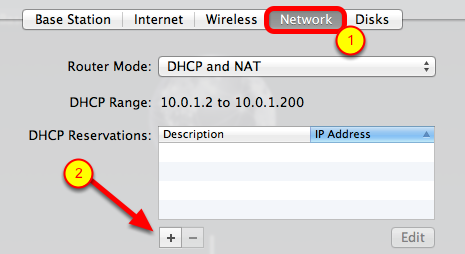
Select the Network Tab and Click the + Button
Paste in the Mac Address You Copied Earlier
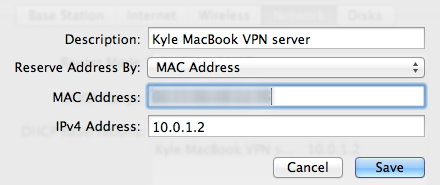
Select Update
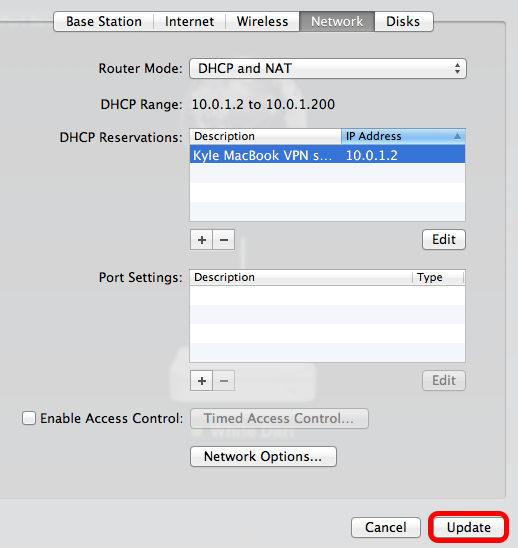
Select Continue

Create a Username and Password
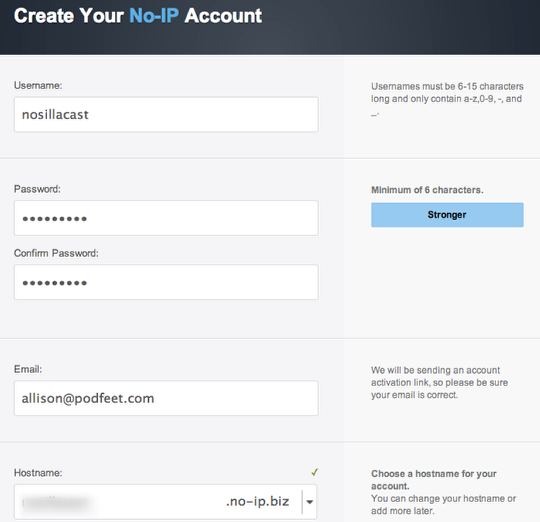
Select Sign Up

Email Confirmation Will be Sent
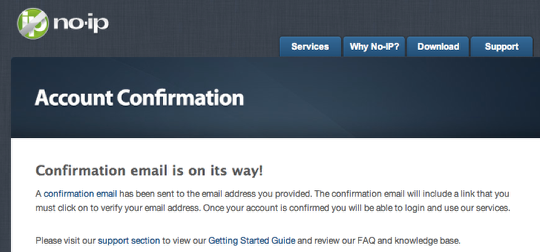
Click the Link in the Email
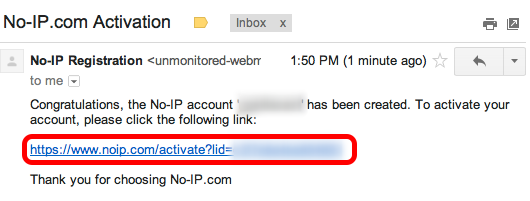
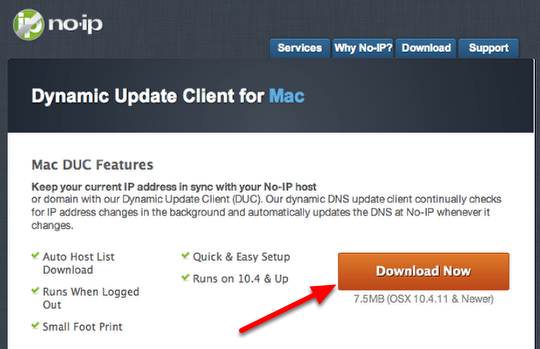
Download the Update Client
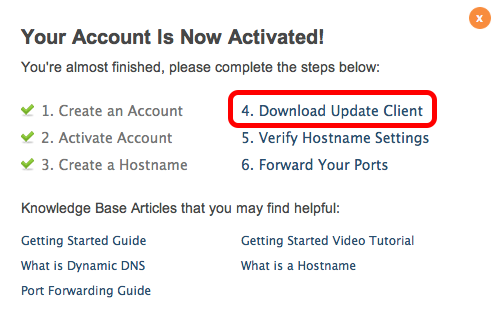
Download and Install the Client
Enter Your No-iP.com Account Info You Just Created
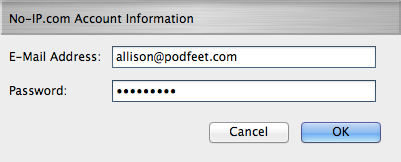
Click OK

Click on Hosts and Check the Box Next to the Host Name You Chose
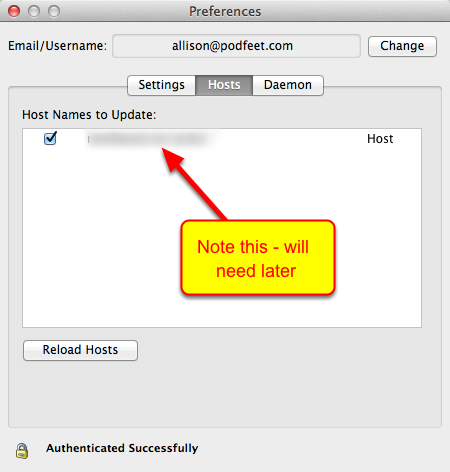
Select Update Now

Turn on the Daemon
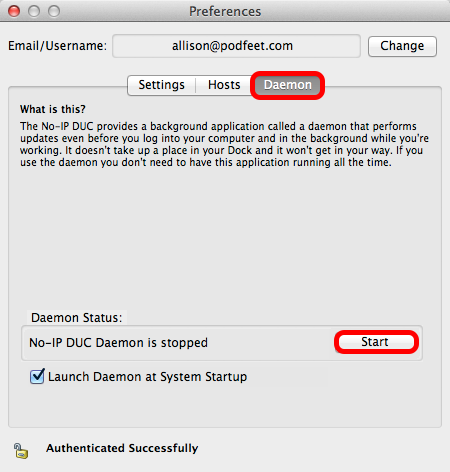
SECTION 3 – Installing Xcode and Running Command Line Tools
Install Xcode

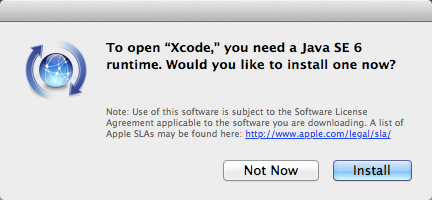
Install Java
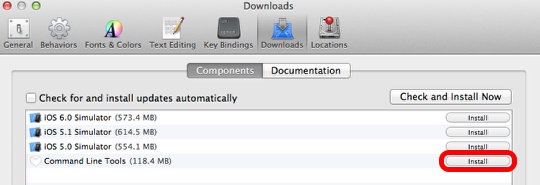
Select Install Next to Command Line Tools
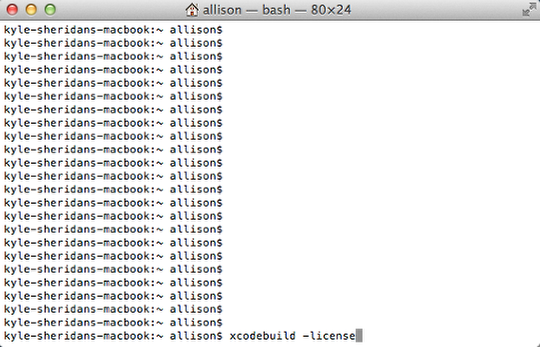
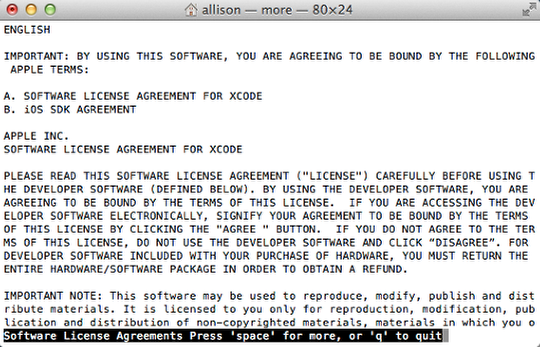
Type xcodebuild -license to Open the License Agreement
Start Hitting the Space Bar to Scroll Through the EULA – A LOT of Times
Type Agree
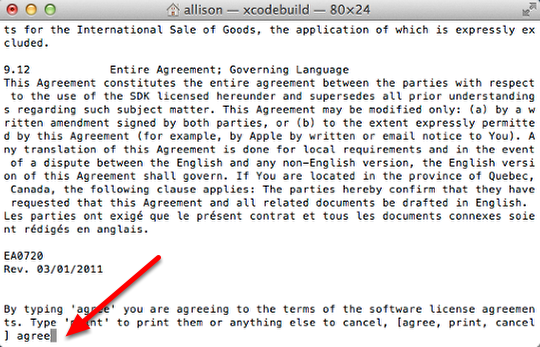
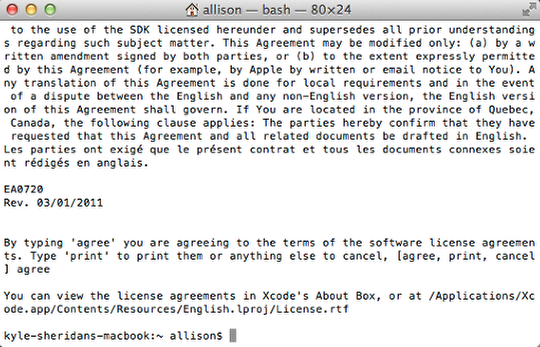
Joy of Agreement
SECTION 4 – Installing MacPorts
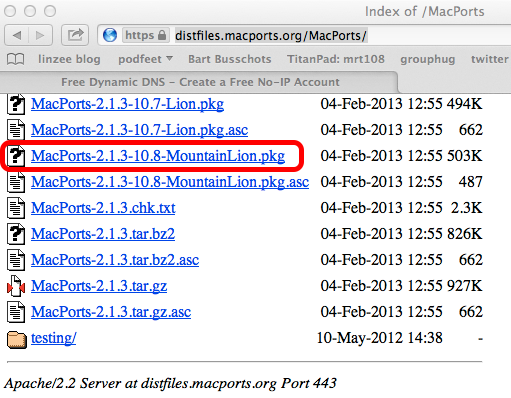
Install MacPorts
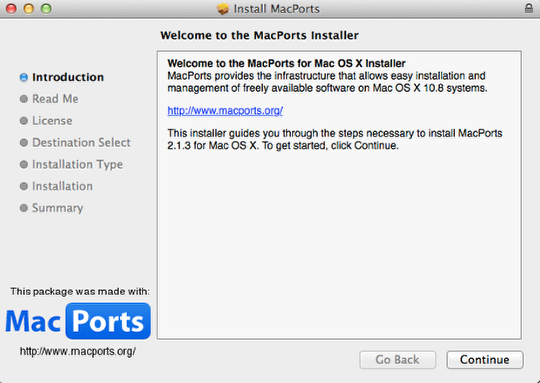
Enter These Commands in the Terminal

  source ~/.profile
then
  sudo port -v selfupdate
and enter your administrator password
Success
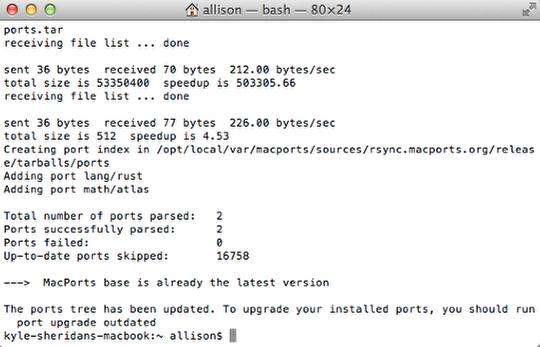
Open the VPN Software

sudo port -v install openvpn2
and watch a lot of glop go by…
SECTION 5 – Installing Tuntap Drivers
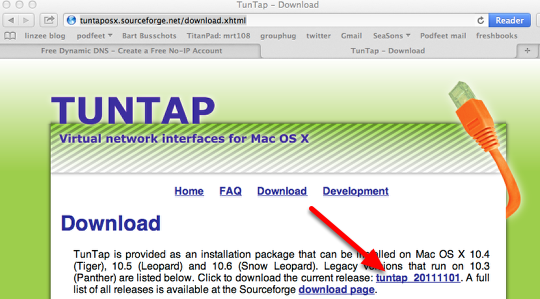
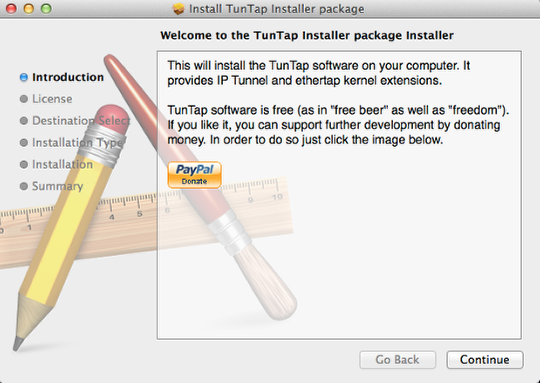
Open the Package File (in the folder after tuntap expands)
SECTION 6 – Donald’s Nifty Scripts of Doom
Type These Commands to Unarchive the Scripts

cd ~/Downloads
tar xvjf openvpn-mac.tar.bz2
Setting Up OpenVPN Server
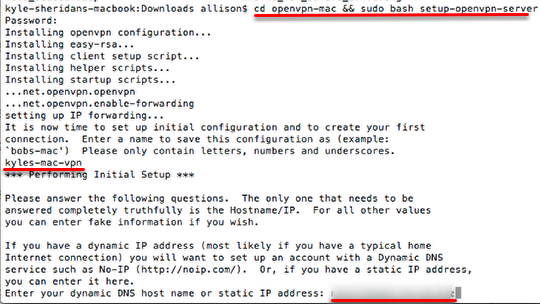
cd openvpn-mac && sudo bash setup-openvpn-server
Name your Server (I’ve entered kyles-mac-vpn)
Enter the dynamic dns host name you noted back on no-ip.com (you DID note it, right?)
Keep Answering Questions

Hit Enter for All These Questions for an RSA Key
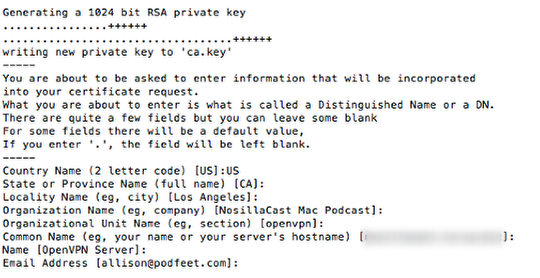
And Again for Some Reason
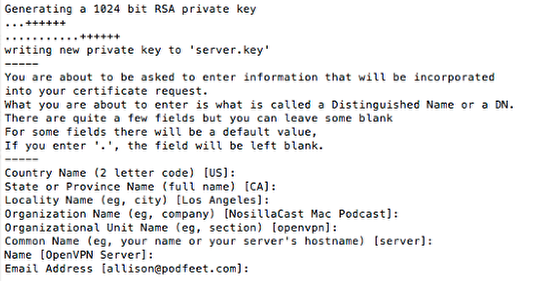
Keep Answering…
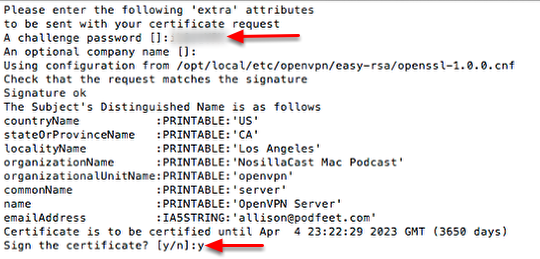
And Again
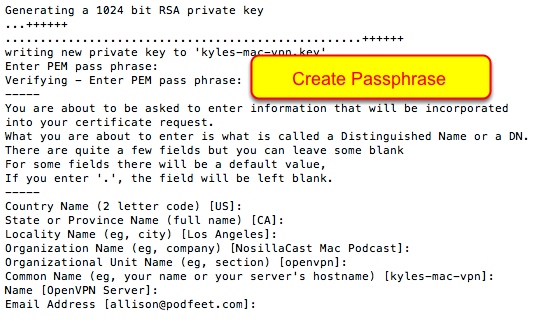
And Again…
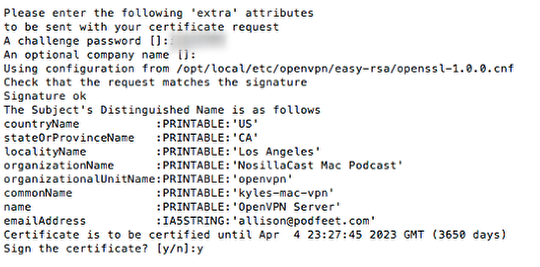
Whew!
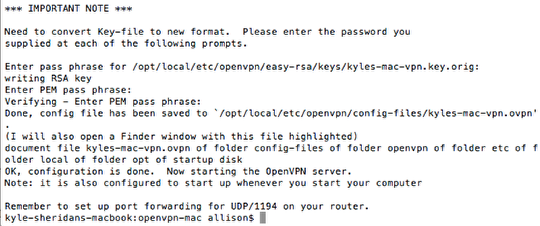
Finder Window Opens Showing config-files

Create a New VPN Connection Document for Each Device You Have
sudo setup-openvpn-client connection-name
where connection-name means something to you for each different device you’ll want to connect to the VPN server. Move each of these files to Dropbox to be picked up on your devices.
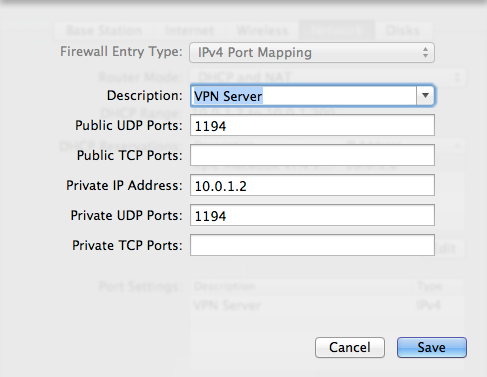
SECTION 7 – Opening up UDP Port 1194
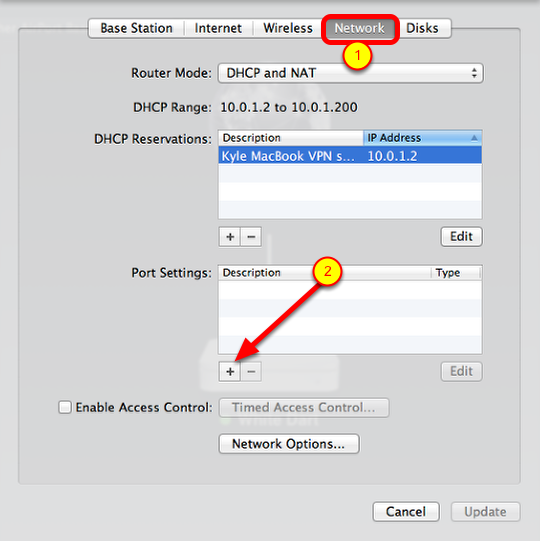
Enter Information As Shown
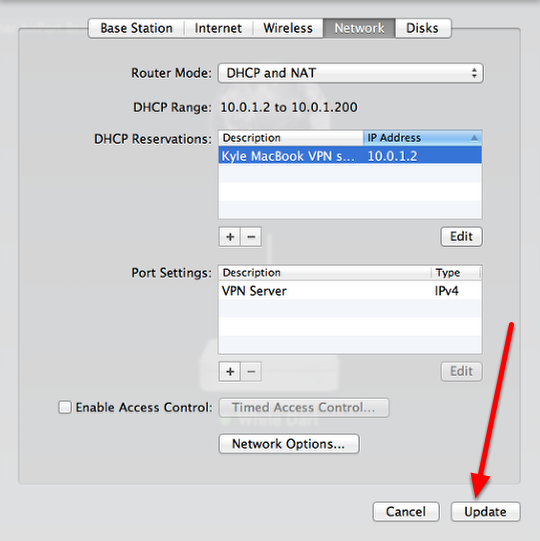
Select Update
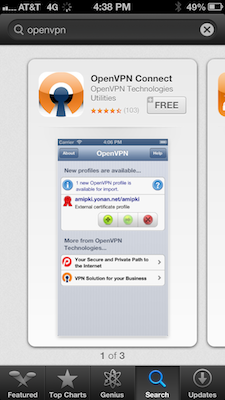
SECTION 8 – Install VPN Software on iOS
Open Dropbox
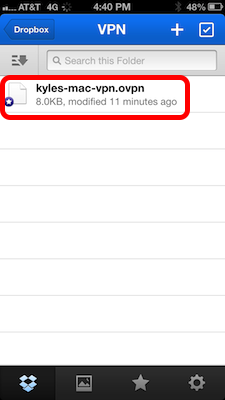
Select the Open In Button in the Bottom Right
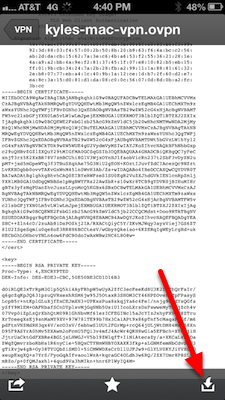
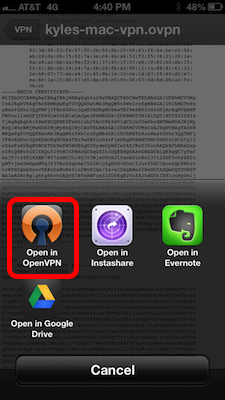
Select Open in OpenVPN
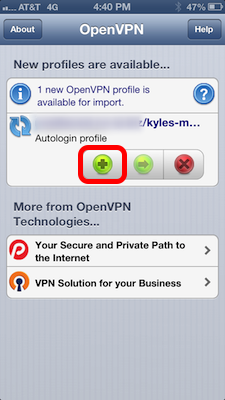
Click the Green Plus Button to Import the File
Enter the Password
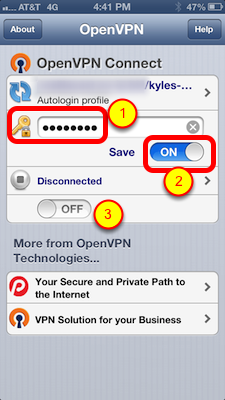
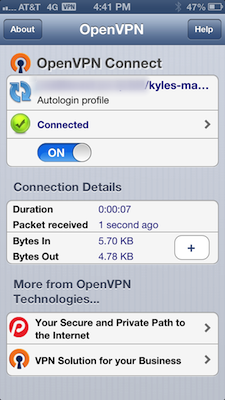
Connected!
SECTION 9 – Install VPN Software on OSX
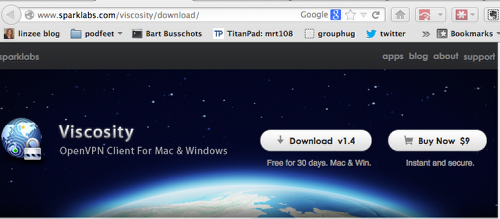
After the show Dr. Matt suggested the free TunnelBlick from http://code.google.com/p/tunnelblick. I installed both and they both work well. This tutorial will be for Viscosity, but if you try Tunnelblick you have to do one thing to make it work. In the Settings, Configuration tab, select Advanced and then uncheck the box to use TunnelBlick’s tun/tap drivers.
Let’s keep going with Viscosity as our example.
Install Viscosity
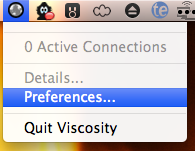
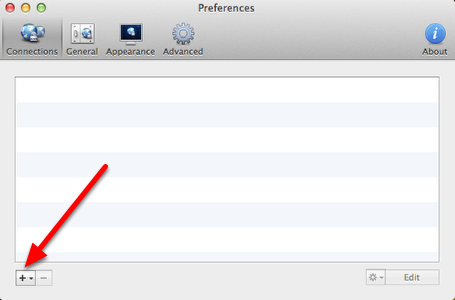
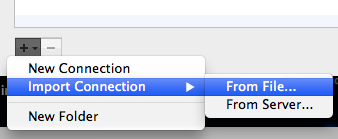
In the Connection Tab Click on the Plus Button at the Bottom
Select Import Connection From File…
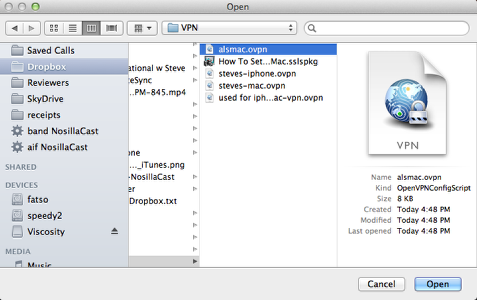
Navigate to the File You Created for This Device
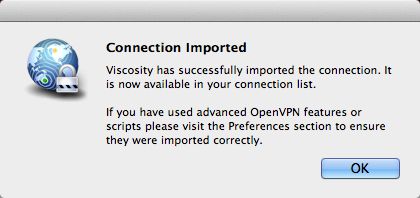
Connection Imported
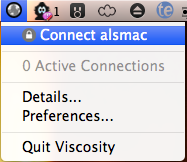
Connect Using Menu Bar App
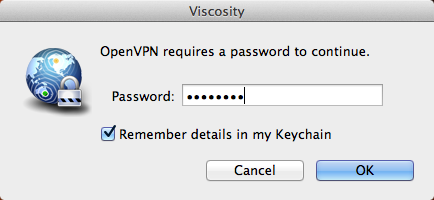
Enter the Password You Created
Fleeting Notification of Connection

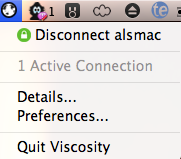
Use the Menubar Icon to Disconnect When You’re Through


[…] How To Set Up a VPN Server Using a Mac « Nosillacast […]
[…] How To Set Up a VPN Server Using a Mac […]
[…] How To Set Up a VPN Server Using a Mac […]
Thanks for this post. I need install OpenVPN Server on my mac, but it’s very difficult find a guide that in complete. The dropbox link that you have posted is expired, can you post the Donald’s Nifty Scripts of Doom file again? thx
Paolo – I’m sorry to say that Donald Burr has disappeared from the Internet and I’ve lost all normal methods of human communication with him. I searched my own drive to see if I’d saved a copy but I’m afraid I did not. I’m sorry to let you down like this.
Perhaps there could be a way to replicate the missing scripts, or at least an explanation as to what to do here…
Hi all, a copy of “Donald’s Nifty Scripts of Doom” can be located here: https://www.dropbox.com/s/1em9kwbnmzp74uh/openvpn-mac.tar.bz2?dl=0
PS. This is thanks to the wayback machine at archive.org, you should consider donating: https://archive.org
🙂
I just found Donald Burr again recently and he gave me a good link to the “Scripts of Doom”. Turns out they were in his Dropbox all along, but Dropbox changed the way you link to folders so it broke the connection. Enjoy!
Hello,
Just have a quick question, do you know how to install the OpenVPN Access Server UI?
Also, how many concurrent connections can you have with this?
Thank you!
guys this stuff no longer works…just FYI .. I got to the end to find out sysctl, ipfw and natd no longer work as expected/exist on Catalina 🙁