Let's Set Up for a Recording
Let's Set Up for a Recording
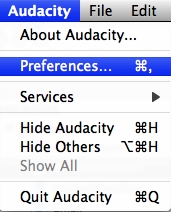
We need to set some stuff up before we can get started recording. Open up Preferences from the Audacity Menu.
Acquire the LAME libraries
This next part is kind of difficult to understand, but you only have to do it once and forget about it. When you're done recording, you'll probably want to change your audio into an MP3 file so it's easily usable by others. Unfortunately there's some arguement over who owns the MP3 format, so the Audacity folks play it safe and don't distribute the libraries necessary to create MP3s with Audacity. You have to download them. they're free, and the ones we'll be using are called the LAME Libraries. LAME stands for LAME Ain't An MP3 Encoder, reflecting LAME's early history when it was not actually an encoder.
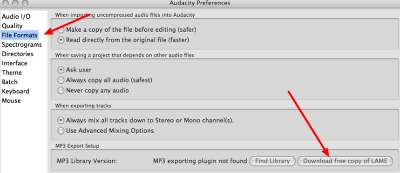
In Preferences, click on the File Formats tab on the right, and then click on the button on the right to Download free copy of LAME. This button will take you to the Audacity website at audacity.sourceforge.net/download/lame. They give really good instructions on this site on how to download and save the Libraries and what you should do with them later. I won't repeat the instructions here because their's are so good, and because they're different depending on your operating system.
Tell Audacity How to Address Your Mic
If you're on a Mac, pull down under the name Audacity in the menu bar to Preferences, and then click on Audio I/O on the left hand pane. On Windows you'll find the same menu under Edit, Preferences, and Audio I/O is a tab across the top of that window. Look for the section on that window that says Recording, and you should have a pull-down for the device. Find your microphone in the list and pull down to it to select it. Close that window and try recording again and you should now see the wave form (the squiggly lines).
In fact, you might see a pair of identical wave forms, because the default for Audacity is to record in stereo. Your first instinct is probably that stereo is what you want anyway, because we all know stereo is better than mono, right? In this case it actually isn't. Since you are one voice going into one microphone, recording in stereo doesn't buy you anything, and makes the file twice as big as it needs to be, which wastes disk space and bandwidth for the person downloading your Podcast!
Go back to the I/O section in the Preferences, and right below where you chose your device from the list, you'll see a pulldown next to the word Channels - pull that down to select 1 (Mono).